Author Archive

Author:
• Monday, March 08th, 2021
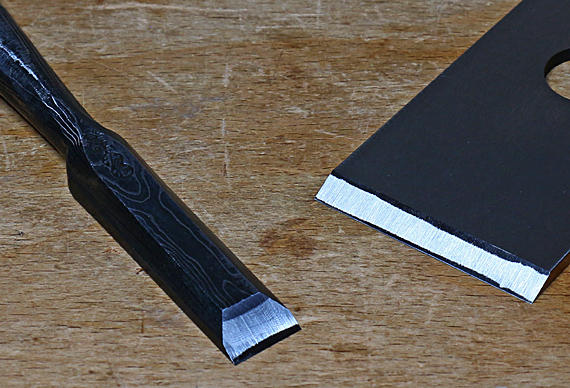
sharpness for accurate work

When considering the benefits of beautifully sharp tools, what usually comes to mind is a smoothing plane producing a cosmetically flawless surface on the wood. This is often the impressive conclusion of a sharpening demonstration.  

Sometimes it is the joyful ease of pushing a sharp blade through the wood that compels us to accept our sharpening chores.  

No question, these are important reasons to hit the stones. However, I suggest that the foremost and most common reason to use a sharp tool is to be able to work accurately. I’m guessing that may not be what you usually have in mind when you go to the sharpening bench, but consider this: you pretty much always want to work accurately when you pick up an edge tool. You assume that.

It’s simple: a sharp tool immediately cuts the wood, and cuts just where you want. (And in small increments if needed!) The result equals the intention.

A dull edge is more likely to be diverted by the fiber structure of the wood, or tear the wood before it cuts it. Forcing a dull tool can cause you to overshoot or just miss the mark. Of course, all of these problems and others reduce accuracy.

Here are a few examples. The final shavings with the jointer plane to produce an edge-to-edge joint must be easy, thin, and precise to produce that square edge with a tiny camber. Just a very few thou matter, and if your blade cannot easily pull thin shavings, you cannot dial in that accuracy.

Similarly, trying to shoot an accurate end grain edge with a dull blade is like trying to produce calligraphy with a crayon. 

Consider paring a hinge mortise or a tenon cheek. You intuitively know that you want a sharp edge. Less obvious, consider chopping to the baselines of dovetails. You know the dull chisel is slower but think about that first entry where you want to avoid push back against the gauge line. Accuracy requires sharpness.

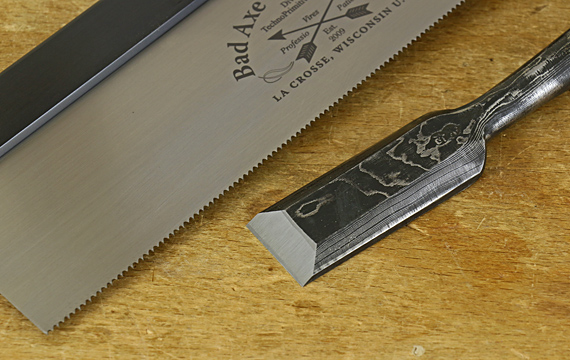
The same goes for sawing. Sure, the sharp saw is faster but most important, it is accurate.

And so forth. 

Working wood is way more fun than working tool steel (aka sharpening), so we need a darned good reason to get over to the sharpening bench. The foremost and most common reason is to work wood accurately.

Category: Techniques  | Comments off
Author:
• Friday, February 05th, 2021
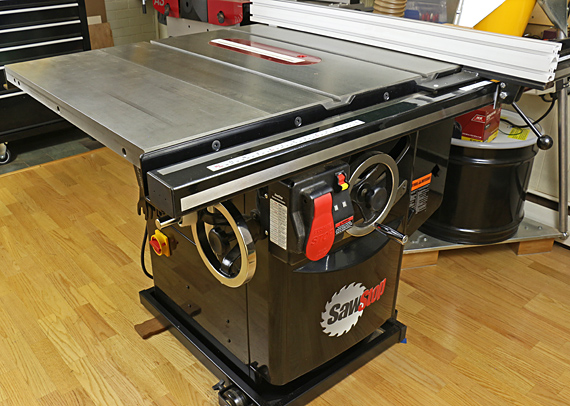
table saw

A reader who recently sold his table saw asked about managing without it.

If you have been reading this blog over the years, you probably know my opinion. Of the five major small shop machines – table saw, bandsaw, jointer, planer, and router table/shaper – the most dispensable is the table saw.

Don’t get me wrong, the table saw is certainly helpful and I don’t want to give up my Saw Stop. It is great for clean, accurate ripping and crosscutting among other tasks. But you can still build everything you want without that cast iron landing pad with an emergent blade, just not as fast or conveniently.

I suggest the following tools as keys to working efficiently without a table saw. The links give lots more information. 

1.  Bandsaw! This takes up much less shop space than a table saw, though you still need infeed and outfeed space. 

You can rip quite accurately on a well-tuned bandsaw. Decent crosscutting can be achieved with or even without the miter gauge though you will need outboard support. And, of course, the bandsaw is much more versatile than the table saw. 

No bandsaw either? I could still do just about everything by hand (but I really, really don’t want to) with my Disston ripsaw, wide and narrow-blade bowsaws, an inexpensive crosscut breakdown saw, large and medium ryoba saws, a Gyokucho “05” crosscut kataba, the wonderful Bad Axe hybrid backsaw, and a few more. 

2. Cross-grain shooting board with an appropriate, ideally dedicated, plane. Here’s how I made my current one. This will clean up your crosscuts like no other tool on earth, hand or power.

3. Long-grain shooting board. This underutilized technique is great for accurately and conveniently cleaning up short to medium length rip cuts. My current board accommodates work up to about three feet. This is very easy to make and does not really require a dedicated plane, though I prefer my Lie-Nielsen #9. 

4. A jack plane, or better yet, a jack and a jointer, round out the essentials for the shop without a table saw. 

This is all in addition to the usual complement of hand tools and machines that you would want to have with or without a table saw.

By the way, my longstanding recommendations for machinery remain: for your first machine, get a thickness planer. Then get a bandsaw. Then get a jointer, 12” or wider, if you can. Build a router table. And, yea, get a table saw too, if you can. 

Category: Tools and Shop  | 10 Comments
Author:
• Thursday, February 04th, 2021
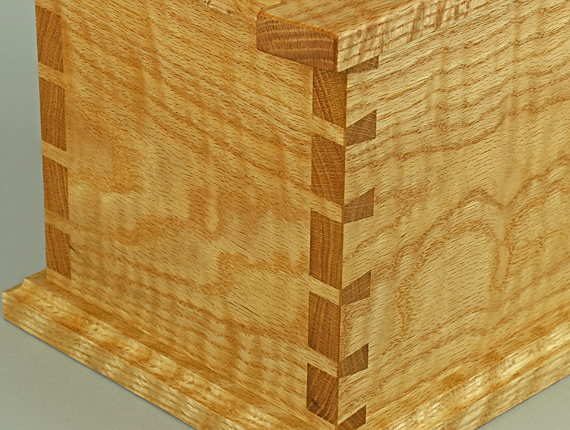
red oak dovetails

Several years ago I wrote more than 60 lengthy posts for a crafts instruction site called Craftsy. Woodworking was only a small part of their business, which dealt mostly in knitting, cake decorating, sewing, and so forth. Craftsy has since changed hands, first acquired by NBC Universal who called it Bluprint, at then by its present owner, TN Marketing, who returned it to the Craftsy name. It appears they are no longer actively involved in woodworking. 

Nine of the posts that I wrote were assembled into a 43-page “Dovetail Guide,” which was available for free as a downloadable PDF. This was (if I don’t say so meself) a very useful, at-the-bench instruction guide for cutting dovetails, helpful for beginners to experienced woodworkers alike. It covers the hands-on things you need to know in an intimate way that few other sources do. “From the sawdust and shavings at my bench,” as I say. 

The link to the PDF disappeared in the corporate shuffle and has not returned as of now, despite my requests. Many readers have contacted me looking for the Guide. 

Good news: the links to the original nine posts are available at this writing. So, you can get all of the information in the guide but you have to click on nine different links. If you are interested, I suggest you get a hold of this soon because it would not surprise me if it also gets lost in the corporate shuffle. 

Here are the links to the nine sections of Rob’s Dovetail Guide, in order, labeled by topic. Each will open in its own tab.)

1. Essential tools for dovetail joinery

2. Stock preparation and marking out a dovetail joint

3. How to saw dovetails – accurately!

4. Chop the waste with good chisel technique

5. Marking the pins from the tails

6. How to saw and chop the pins

7. Fitting the joint together

8. Assembling and gluing

9. Fixing errors and finishing up (Introducing the Woodshop Spy Cam)

The guide covers through dovetails but the skills are directly applicable to all variants of dovetail joinery.

My goal is simple: to help you experience the joy of our craft and the fulfillment of creativity. If you do use the Dovetail Guide, drop a comment or email me and let me know how it has worked for you or if you have questions. 

Author:
• Sunday, January 31st, 2021
James Krenov: Leave Fingerprints

Author Brendan Bernhardt Gaffney has produced a biography of James Krenov that anyone even slightly interested in the subject will want to read. For those for whom Krenov has been a major influence, and there are so very many woodworkers, including me, in this group, this book is a must-read. 

The depth, breadth, and detail of the research demonstrated in this book are truly impressive. As the author states, it “spanned four continents, six languages and hundreds of interviews” and “thousands of hours.” Even if you have already read, as I have, all of Krenov’s books and lots of related articles and interviews, this book presents vastly more. It is fair to say that you do not know Krenov until you have read this book.

Rather than overwhelming the reader with this mountain of information, Brendan does a wonderfully intelligent job of organizing for the reader the rather complex life of James Krenov. This has helped me further understand the many influences on the development of his craft and what drove him. 

No hagiography, this book does not shy away from uncovering the less pleasant, or at least more difficult to understand, aspects of Krenov. Showing the subject as a real person rather than an icon makes for a much more powerful biography. Along with this, Brendan seems thoughtfully aware of how his relationship to Krenov’s work and teaching can influence his role as biographer. 

I will mention a few quibbles. In some areas, I think the writing and factual accounts could have been made more compact, while it would have also helped me if some of the life landmarks were restated. I suggest for a future edition to add a two-page layout of a timeline of the subject’s life to guide the reader. I also found myself confused by the overuse, in my opinion, of semicolons. 

The best compliment I can pay is this. As Brendan presents all of Krenov – his genius, his contradictions, and the remarkable patchwork of his life – he offers mature, judicious insights into how the many elements relate. Yet, he does this sparingly and modestly, leaving the reader plenty of room to draw his own inferences about Krenov. Moreover, the sheer thoroughness of the book equips you to do that. This is a fine line to walk and Brendan hits it just right.  

One more thing: one evidence of the artistry with which Brendan has approached this work is on pages 248-249. There, facing pictures of James Krenov with a book in his lap as a studious-looking boy in Alaska and as an old man with an easy smile in California bring to mind the uncertainty and beauty of life’s journey. A “quiet joy,” of which Krenov spoke, after all. 

The book is beautifully published by Lost Art Press

Author:
• Sunday, January 31st, 2021
the why of woodworking

Disclaimer: Or what they do tell you but you might not notice.

For the last installment in this series, I present a simple idea that supports all of our work in wood. “They don’t tell you” this one because it is up to you, and maybe because it is obvious. Anyway, here it is: When you make something for a specific recipient or purpose or reason, you will be more energetic, you will concentrate more, you will be more efficient, and you will feel more joy. More, that is, than making something practically and in spirit only “on spec.”

Your reason for the project can range from furniture for your child/grandchild to just putting food on the table. (A table, by the way, that is probably not nearly as nice as the one you are making.) The reason may be internal such as your pure joy in building something, but is probably more powerful if it is also external to you. Maybe at the heart of it, your reason is ad majorem Dei gloriam.

So, as you develop a design, hunt for the wood, and fortify your shop, search also for your reason. Choose a good one and your chisel will be sharper and your saw will not tire.

Category: Ideas  | Tags:  | 2 Comments
Author:
• Saturday, December 19th, 2020
best woodworking books

Disclaimer: Or what they do tell you but you might not notice.

I offer for your consideration the following four points regarding learning woodworking: 

1. No matter the amount of instruction you receive or the sources you consult, you ultimately have to get into your shop, and with your brain and hands, find your personal approach to building things with wood. This is not to say you should wing it, nor adopt a sophomoric attitude toward competent instruction, but you must find the way to deliver yourself – your talent, ambition, and, yes, courage – through your fingertips to the work on the bench. 

2. Learning is continuous. Yes, you reach a point where the general principles of woodworking come together in mind and hand, and from there it is easier to add new skills. But new frontiers are always out there, and will always be humbling and challenging. For me, some examples are use of non-wood materials, art skills such as carving and marquetry, bent lamination panels, along with many more. 

3. The corollary of the second point is to beware of being bedazzled by any so-called expert who you might think has seen it all and knows it all, and so can be relied upon for all definitive answers. Sure, there are some great woodworking teachers out there, but none that should supplant your common sense. We all have more to learn.

4. I’ve made this point before but it bears repeating. The most difficult part of making a piece is the big picture – putting all of the elements together. This is true, I suppose, of any field of endeavor.

The design must create enthusiasm. The wood, joinery, and construction plan must make sense to carry out the design. Each of the construction elements – stock preparation, joints, finishing, etc. – must be coordinated and carried out with cognizance of their roles along with particular attention to the critical junctures. Furthermore, you must be willing and able to make adjustments and corrections along the way based on continuous assessment of the work.  

The only way to get good at this, which is what really makes you a “good woodworker,” is to build things!

One more post in this series is coming.

Category: Ideas  | Tags:  | 4 Comments
Author:
• Monday, December 07th, 2020
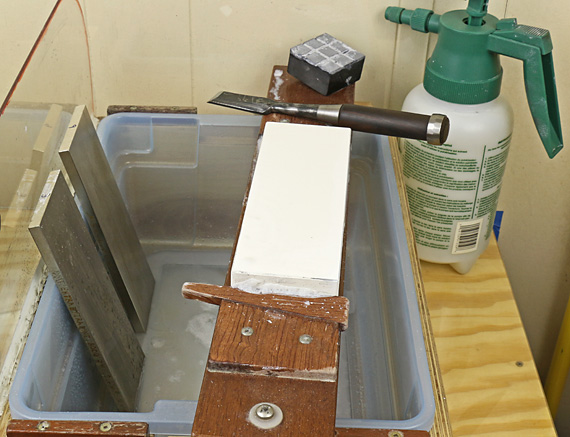
Suehiro Gokumyo 20,000

Disclaimer: Or what they do tell you but you might not notice.

Just as you cannot be a good woodworker without understanding a lot about wood, so too, you must be a highly capable sharpener. However, with all the available information and devices devoted to sharpening, it is easy to forget about the other end of the matter – blades get dull.

In fact, a plane blade, for example, starts to dull almost immediately when it is put to work. So, to be practical, you really should think of sharpening and dulling together as a system. Teaching demonstrations may finish with an impressive hair shaving flourish but that is not the full story of what you do in the shop.

The first step in an effective system is to consider the steel type and quality when choosing tools. For example, I value my Japanese chisels for how sharp the edges can be made but more for how long those edges last. The point is to think about how that nice sharp edge is going to play out when you are making things with it. 

Here are a few more hints in thinking about a system: 

  • Each sharpening procedure, including the edge geometry, should be customized to the tool, the steel, and the intended use.
  • For smoothing planes and paring chisels, plan your work to make the best use of a pristine edge. 
  • Consider the trauma incurred in the steel just behind the edge, especially when grinding a fresh bevel. I avoid grinding out to the very edge whenever possible. I refer you to Brent Beach’s site for more on this.
  • An edge rarely has to be perfect, and rarely is. Get to work
  • If your sharpening station is not easy to set up, you’ll probably be working with inadequate edges. 

Remember that the edge wears on both the beveled and the back (flat) sides. To get a sharp edge, you have to remove the round over on both sides. The back side of a plane blade can be surprisingly prone to neglect when sharpening, even if it was flattened well in preparing the blade when it was new. The solution is David Charlesworth’sruler trick.” I use it on almost all of my plane blades. 

One more thing: Still not enough attention is given in teaching materials to the need to adjust the amount of camber in plane blades according to the bed angle. I pointed this out more than ten years ago here

Category: Techniques  | Tags:  | 7 Comments
Author:
• Sunday, November 29th, 2020

Disclaimer: Or what they do tell you but you might not notice.

I do not think I am much of a designer. I suppose that I am more of a composer, but certainly a woodworker. Metaphorically, I arrange the flowers but I do not breed and grow the blossoms. I might come up with a truly novel theme but I don’t count on that. I can recognize raw visual talent in others and their work but for as me, as Dirty Harry advised, “Man’s got to know his limitations.”

Anyway, looking at the body of work of most outstanding designers, there are typically just a few big ideas, maybe only one. The dedicated designer/artist/designer-craftsperson usually has to ride an idea for a long time through many iterations and refinements to bring it to full fruition. 

If you default to making things only from plans, or making only reproduction work, or everything you make looks “Shaker” because you think you cannot come up with a decent idea of your own, think again and give it a try. Please, this is not in any way to disparage plans, reproductions, or Shaker! They are all wonderful endeavors if you choose them. However, I do think that many woodworkers gravitate to them just because they are intimidated to try their ideas and designs. 

What “they don’t tell you” is that you can credibly venture into your own ideas. 

Your idea does not have to be great, grand, original (are any truly original?), or even fully formed. Maybe you will rework or build upon other ideas. We can call that “borrowing” if you like. For example, in my work, I have repeatedly borrowed (and reworked) elements of the Japanese torii gate motif. 

If you are inclined to take this route, I encourage you to give it a try. In the words of “woodworker” Sam Maloof, “You just have to try; you have to use your imagination.”

Category: Ideas  | Tags:  | 2 Comments