We cannot do fine hand tool woodworking without very well sharpened tools. Yet, we want sharpening done in high quality and without great effort.
So let us look at logical efficiency.
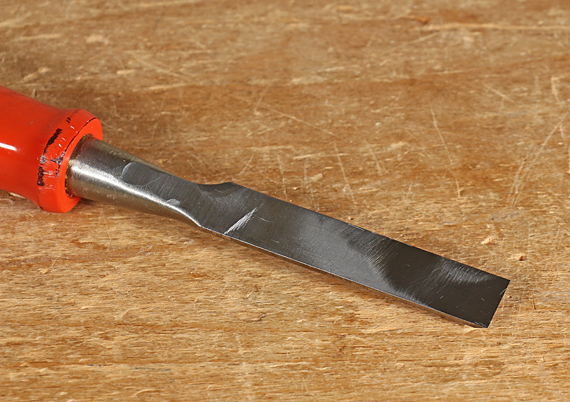
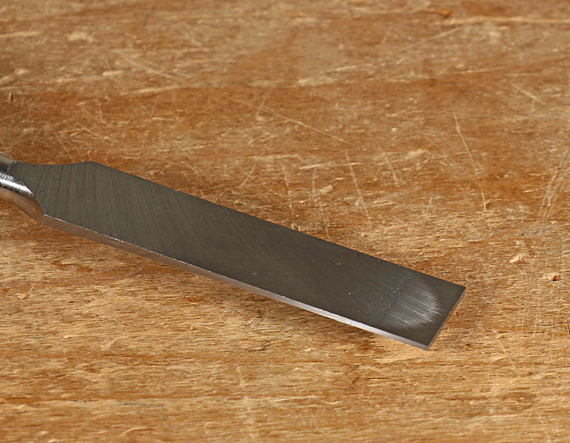
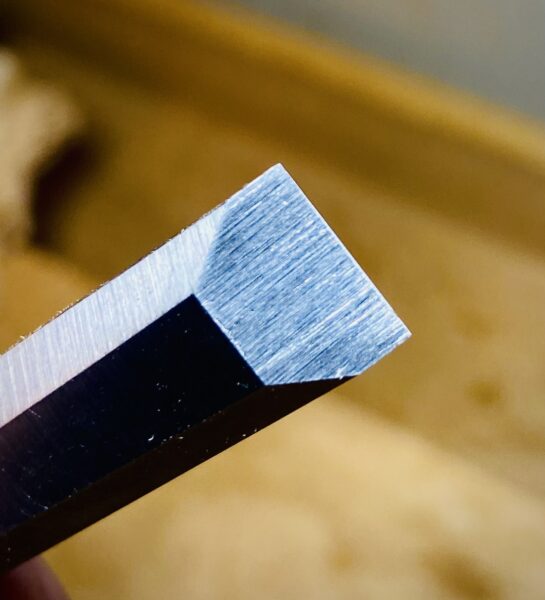
Now for most tools, I work with a 27.5° main bevel, and a 32.5° edge bevel. Use your choices in angles. (Forget my decimal numbers. I just established them long ago with equipment and nerdiness.)
If the working edge has deteriorated a lot from use, particularly with edge breaks from rough work, or if there has been a large series of sharpening done that greatly expanded the second, steeper bevel (32.5°), you need to regrind. Most of the time, you don’t need to do this but it is easiest to do with a machine.
The first step is to grind the lower (27.5°) edge on a wheel. The expensive Tormek machine is a basic approach. I have had one for about 25 years but now I suggest a similar machine at about one-fourth the cost. I also suggest a CBN wheel (cubic boron nitride), 10 or 8-inch diameter (8 is cheaper and easier), and ideally 2 inches wide, but spend less for a narrower wheel if you need to.
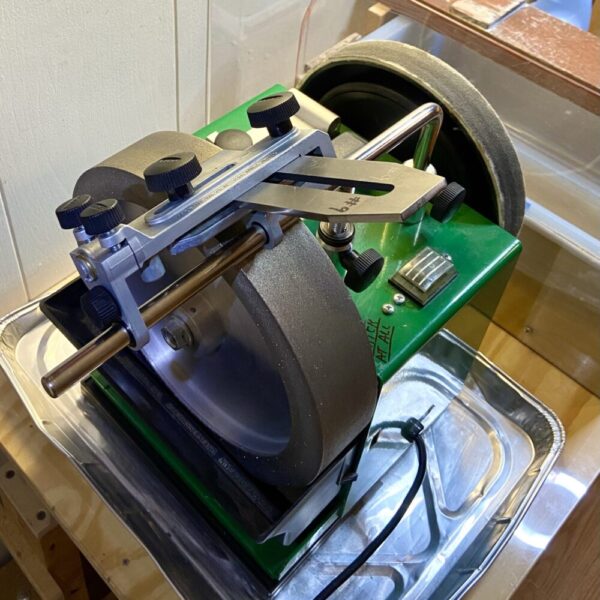
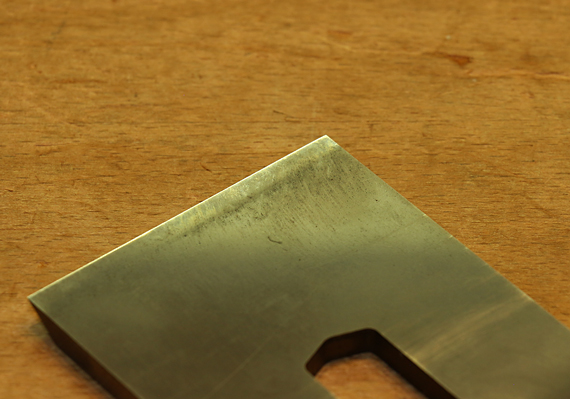
Grind away the bulk of the edge. If the edge tip is not broken up much, then barely avoid cutting the very tip (and usually the corner at the top). If the edge is broken up a lot, then just barely cut it away too.
It is not necessary to be exact about the angle. Here, we are working efficiently without a high-speed wheel. I like a 200 grit wheel.
Now to the stones. Or directly to them if the edge is not too bad.
If the blade has been machined fully or just short of a rough edge, start with a course stone at the low angle (27.5°).
If this is one of the majority of sharpening times without machining, go right to the intact higher angle (32.5°)
Now let us look at how we will use the hand-work stones.
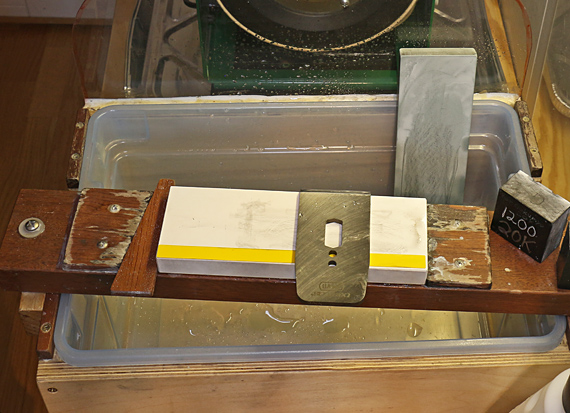
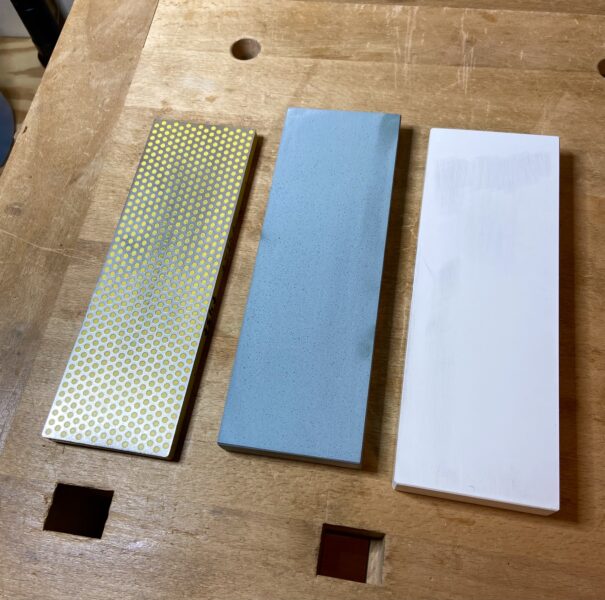
Here, organize your approach based on the micron levels. The micro numbers guide the fineness of the cuts. I work with these:
45µ Most coarse.
9µ I use a two-sided 9µ-45µ combo DuoSharp E/C. It is fast.
2µ The step from the 9µ.
0.5µ The final step.
I use the 45µ on a more dulled edge, especially with breaks, and if it has been machined to the edge.
However, most of the time I start with the 9µ. That is because I try not to delay to resharpen. In a really minimally imperfect edge, I go right to the 2µ. Use your judgement. Sense and see the response you are getting from the stones.
Note that the step interval is about 1/4 to 1/5 degree of fineness. That is the key to making sense of the stone progression. You could use smaller micron steps but you will need more stones, more setup, and probably take more time.
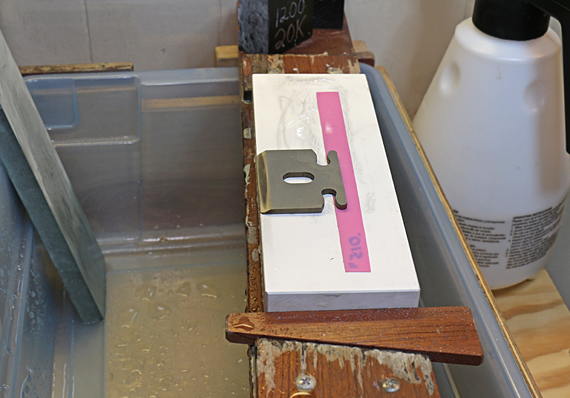
From the DuoSharp 9µ I go to a Shapton Kuromaku 8,000 (~2µ), then finish with the 0.5µ. Regarding the finest stone, after many years I continue to use the Suehiro 20,000 0.5µ as the final stone. It is a great stone leaving a great edge. It is now about $265! The Shapton Kuromaku 30,000, also 0.5µ, is even more at about $345, and their 30,000 Glass Stone, also 0.5µ, is about $290!
But I notice online, the Proyan 15,000, which is 0.64µ, is only $46! I have never tried it but it sounds like a nice deal to finish off with.
Another way, but not quite as good, is to use a 3 or 4µ instead of a 2µ, and finish with a 1µ, such as a the much less expensive Shapton Kuromaku 12,000. Finishing off with a mere 3µ, such as a DMT 8000, will not give the same quality edge as the finer stones.
That is a rational plan for managing your tools. I will later go on to discuss some ultra-fine very quick applications to do after the stoned edge.