Now let us briefly go through some machine options for the classic mortise and tenon. However, the discussion on this post is that we can move on to more practical construction.
For the mortice, the router takes over. The welcomed speed and accuracy make the whole job easier and more accurate. My changes of systems are discussed later.
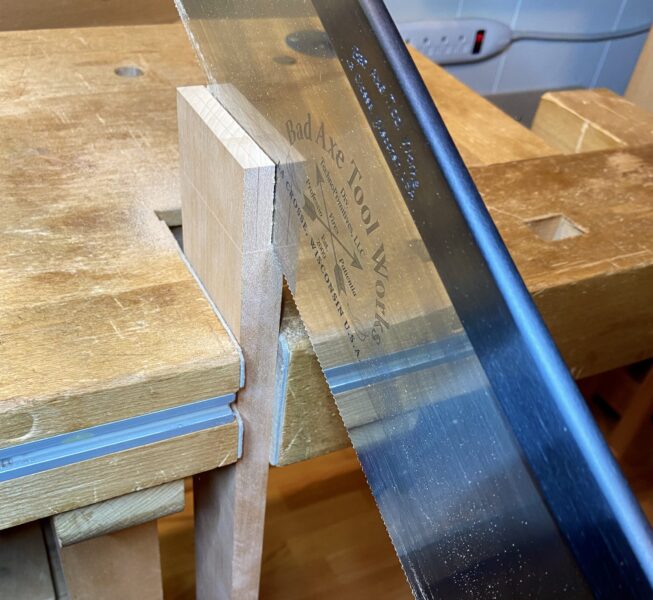
To make tenons with machines, there are also many systems. A partial list: bandsaw, table saw setups, and supported router. Over the years, I moved to a routine: bandsaw for the tenon thickness and width, and table saw 90° pushes for the shoulders. I finished as needed with chisels to refinement the shoulders. Finally, small hand plane work refined the tenon thickness as needed.
Nowadays, with rare exceptions, I do not make “pre-attached” tenons anymore. Really, why bother? Just make two mortises. Then, easily make a free tenon that will neatly fit into both. (I will get to the issue of angled joints in an upcoming post.)
Let’s get past the strength issue regarding this. The free tenon first goes into a mortise with the same grain direction. Properly fitted, that is every bit as strong as a traditional tenon.
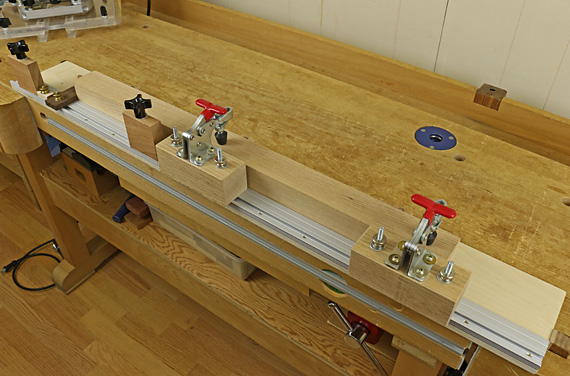
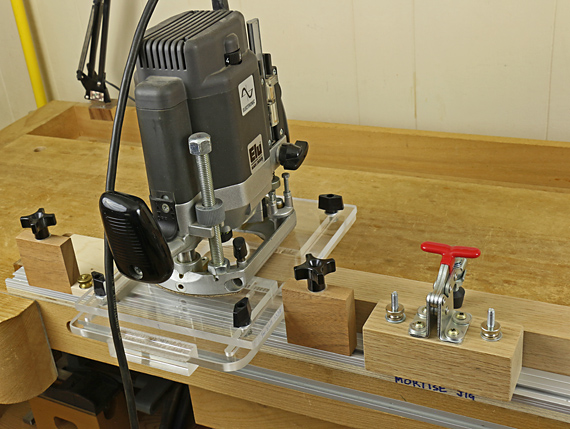
So, the router takes over the “double” mortise production but there must be excellent alignment and safety. Eventually, I shop-made a good jig that lasted several years. It was better than commercial guides that I previously used. Still, I wanted more convenience and versatility.
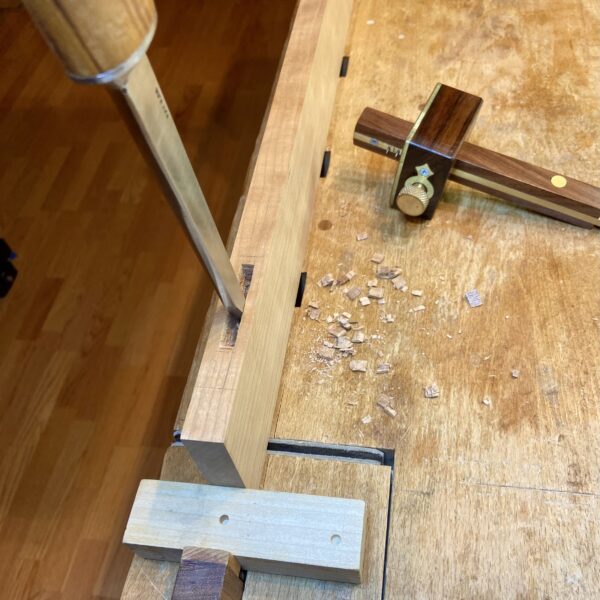
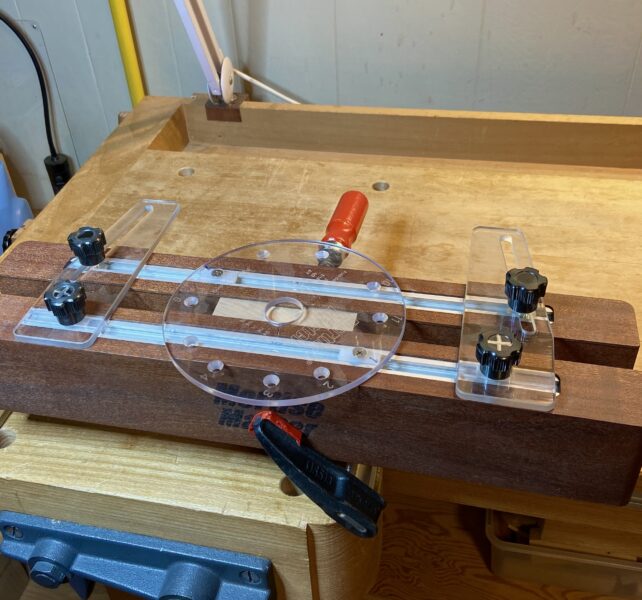
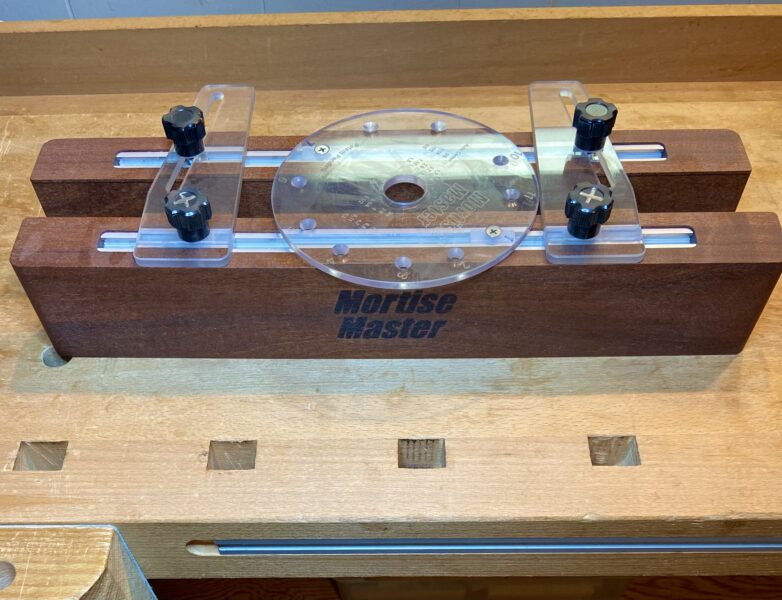
Enter the Mortise Master – the primary rig that I use for this purpose now. I wrote about this in an 8/3/25 post, having gotten it a few years before. (Photos: at the top of this page and below.) It is based on an intuitive setup system that gives consistent accuracy. Like most systems, dust collection is absent.
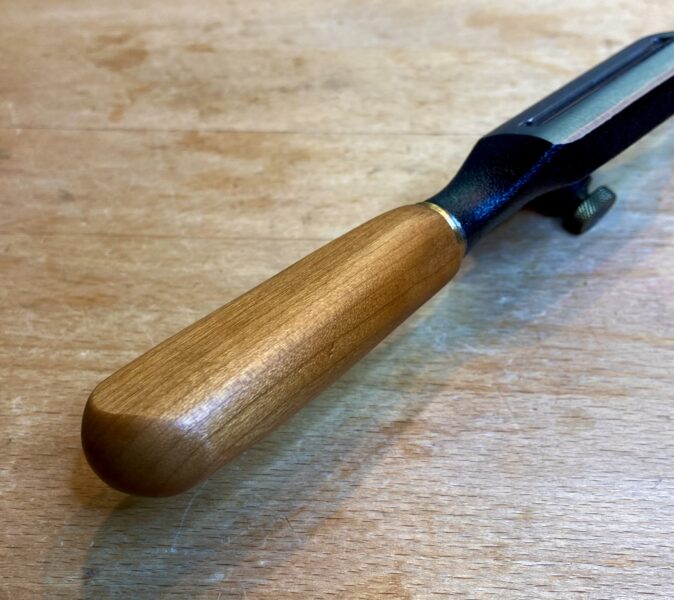
The tenon material is made with the thickness planer and table saw. Thickness is refined with quick hand plane work. I often round the edges with either a mini curved-blade plane or router table set up.
So, here is the point to which I have discussed so far: A pair of mortises done with a router set-up, and then a free tenon. But there are lots more options available to make end to side-edge joinery.
More posts to come in this series. The goal: to help you organize and choose among the many options available to make these joints.