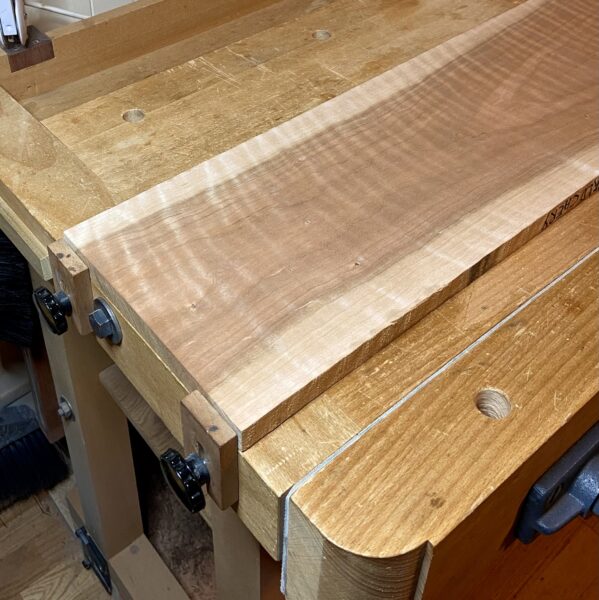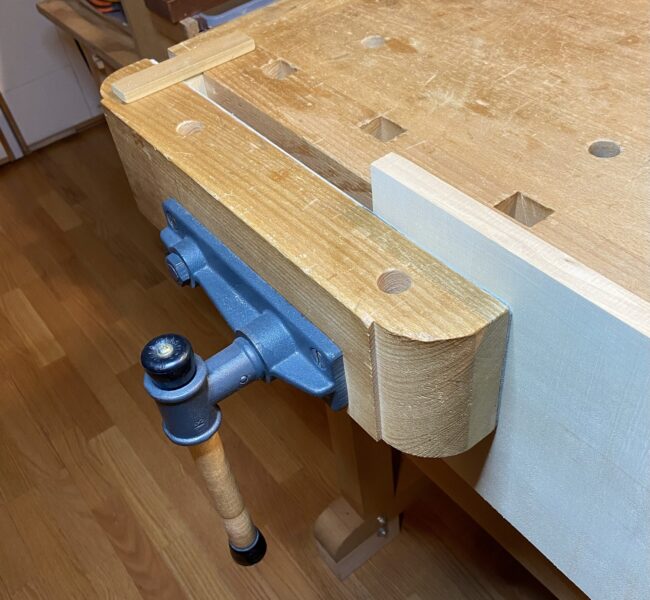
Let’s say you want to hold a wide piece of wood in a classic front vice of the workbench. You probably do not want to grip it in the middle area of the vice because it must be held above the lead screw and guide rod.
You can grip the wood by the part of the jaw that is fully to the right of the screw and rod. This allows the wood to be lowered to where you want it. It will be held at a much better working height for planing and other tasks. (Exactly what is done with the right end of the wood itself will be discussed in a latter post.)
But the problem now comes when the vice is tightened. The empty left side of the moveable vice jaw can curve toward the bench top. This especially happens when strongly gripping thick pieces of wood. When the vise is turned tighter, it actually reduces the area of the pressure contact against the workpiece. (All of this varies with differently constructed vice designs in different benches.)
Solution? Yes. Easy!
You just put an approximately matching thickness piece of wood in the left side of the jaw. This distributes the tightening pressure against the bench from the right and left ends of the vice. The vice stays aligned and, most importantly, the work wood is gripped more securely and evenly.
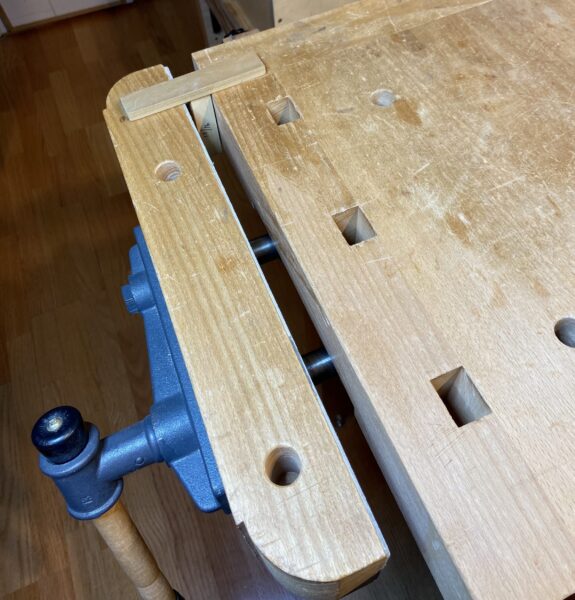
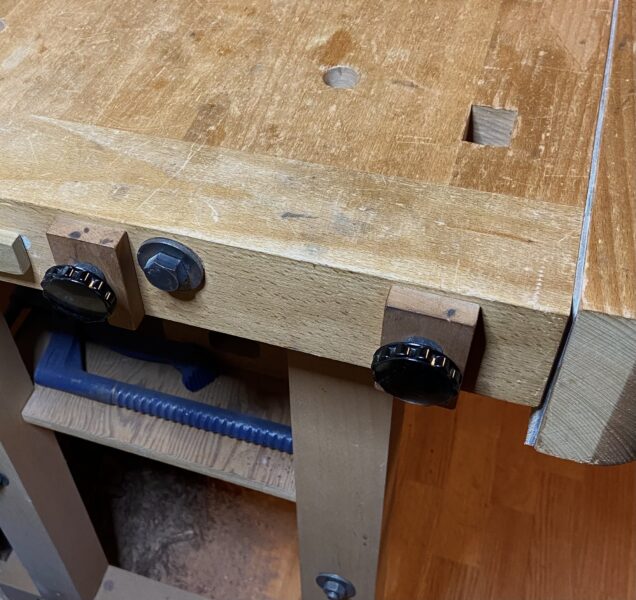
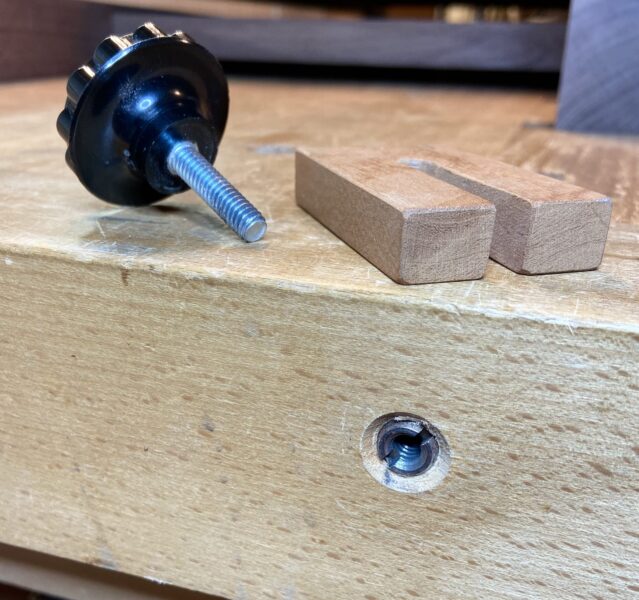
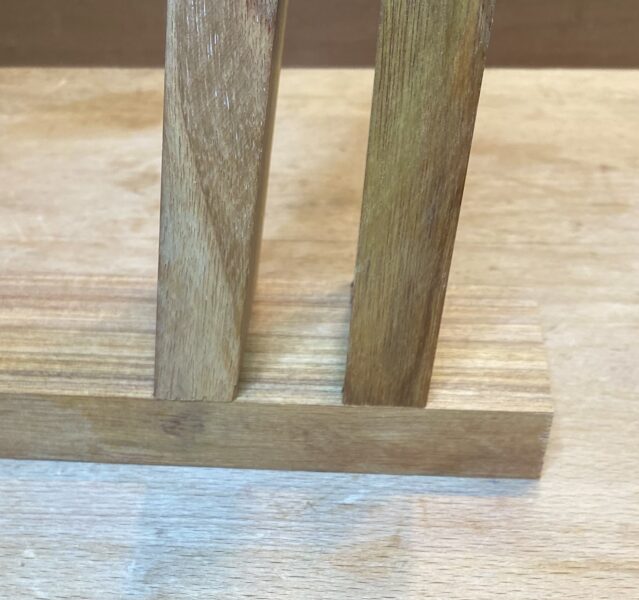
You do not have to hold the matching piece there when tightening the vice. A wide cross piece grips it with a magnet and keeps it there. (See photo above.) So you place it, let it go, and then place in the work piece on the right side of the vice at whatever height you want.
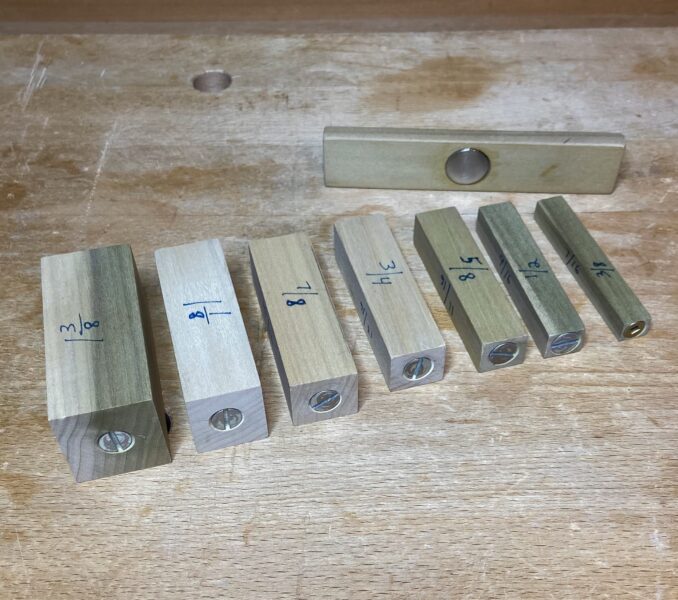
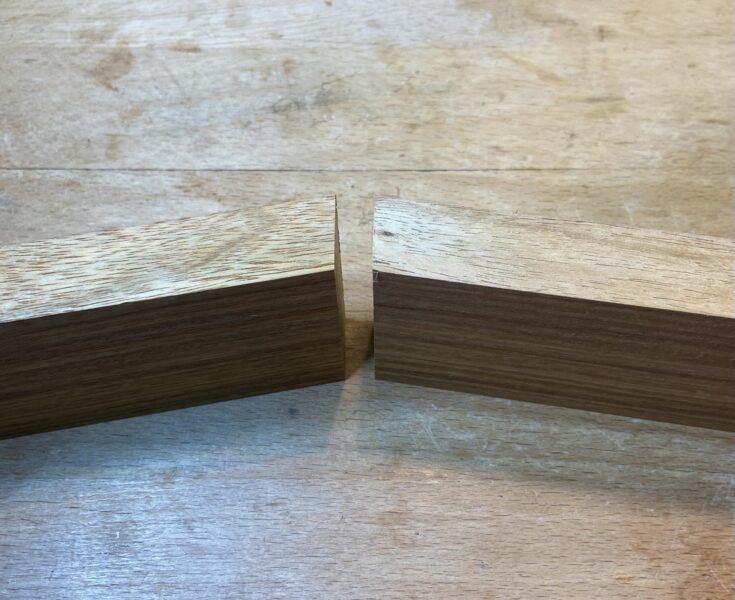
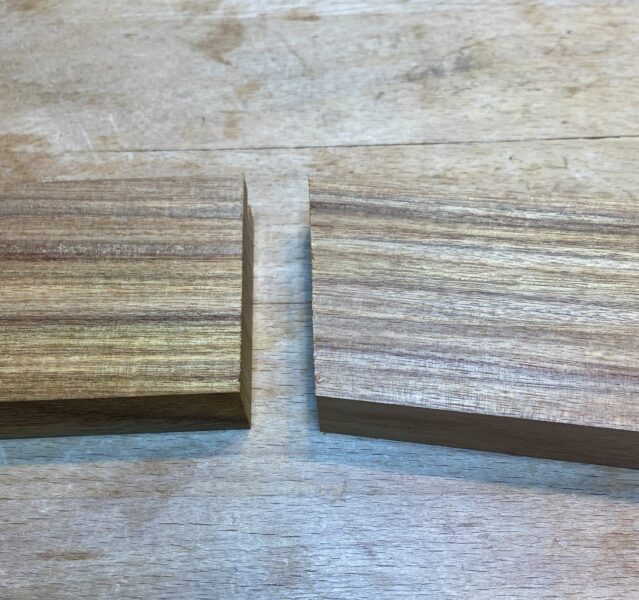
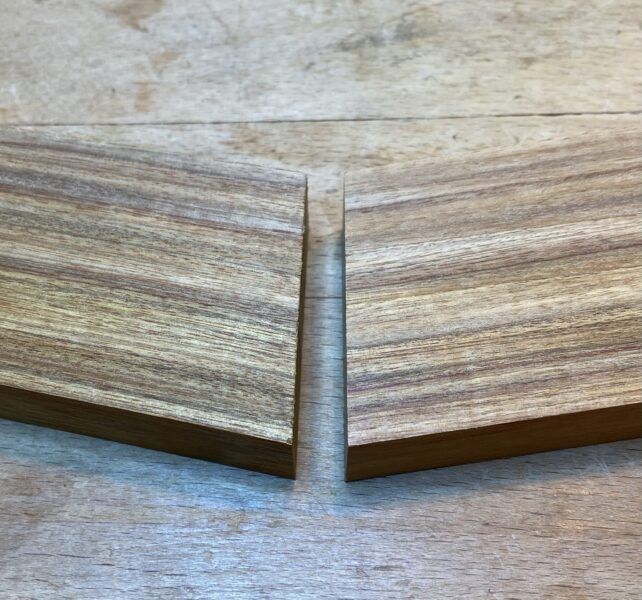
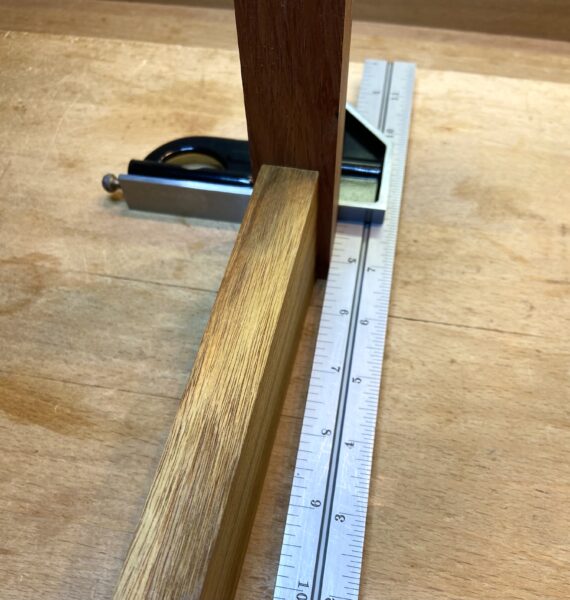
I have a small collection of gripper pieces, from 3/8” through 1” in 1/16” intervals, and 1 1/8” through 1 3/8” in 1/8” intervals. That is 14 sizes that covers thicknesses within 1/32” of most work pieces. Close enough to work.
They are 3” long with a flat head screw in one end to grip the holder top piece. The holder is 5” x 1” x 3/8” with a 3/4” diameter magnet at the center. The grippers get stored in the bench drawer, and the holder gets stored at the head of a flat screw leveled into the side of workbench.
This is very easy to make and use. It really improves the performance of the bench vise.
But what do you do with the right side of that long workpiece which has its left side securely in the front vice?
Answers in the next two posts coming up!