Disclaimer: Or what they do tell you but you might not notice.
Perfection is not the fundamental quality or even the goal of good joinery. Instructional promises of “perfect” joints, and especially “perfect every time,” are missing the point.
The skillful craftsperson is always is working within a sensitively understood range of tolerance. Understanding that range, and what lies beyond each end of it, are the keys to excellent work. You practice and refine your skills to develop that understanding and feel. You do not practice with an eye on perfection. The pursuit of “perfect every time” is naive and counterproductive because it misses the point.
This is generally true in any field. The mason knows the idea is to make a good wall despite the imperfections inherent in every brick. The violinist continually makes tiny variances in the intonation of notes depending on the musical circumstances. I think if you ask a pitcher what is the perfect curve ball, he would say the one that ends up in the catcher’s mitt after the batter swings.
And yet woodworking joinery seems to often be taught, and woodworking machinery promoted, as if the idea is to make, if you could, a 9000-micron tenon to fit into a 9000-micron mortise. And when you inevitably fail, you are supposed to keep practicing with that perfection as your target.
I suggest instead that you practice to learn how much deviation to tolerate from flat, straight, square, on the line, etc. Learn how fit can vary and still function and look great. This is not to license sloppy work! Your work can and should be excellent. But learn when and how variance matters. Learn tricks to make small deviations cancel through the building process. Understand the concept of one-sided tolerance. (Please see this post.)
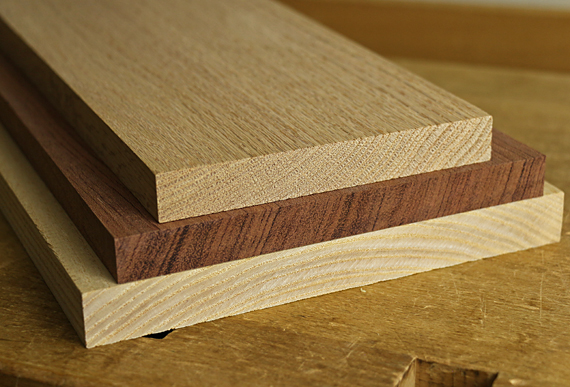
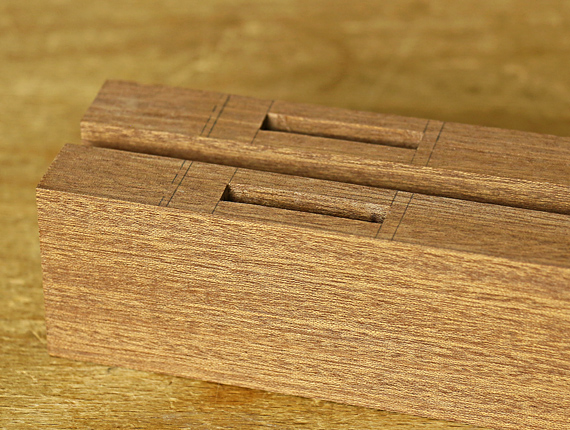
Appreciate too, that wood is compressible and this varies with the species so you must adjust your tolerances. Consider that the ideal (I don’t mean perfect) tenon fit where you gently and evenly swoosh, not force, the tenon into the mortise, and then it stays when you hold the assembly upside down. That involves slight wood compression, and you have to work with that.
There’s another thing “they don’t tell you.” It is fine to practice making an individual joint such as a mortise and tenon but you have not mastered the joint until you can make it in context such as eight of them working together in a table. The same is true for case joints like dovetails. So, by all means, practice, but practice intelligently, and don’t forget that you have to also practice by making things.
Do not get distracted by perfection. Aim for excellence.