If you are going to put a lot of work into making a nice wooden small box, you might as well use fine quality hinges and possibly other products.
So, let us go through options of hinges, lid stays, and locks. I will make recommendations. I will hold off discussion of feet, nobs, and latches.
Most woodworkers make a box, sooner or later. So here we go . . .
Hinges
You can use regular style hinges, widely available in good quality, that allow you to open the box lid 180°. Since you usually want to stop the opening range at just over 90°, you would need to install a stay mechanism. I will get to that later.
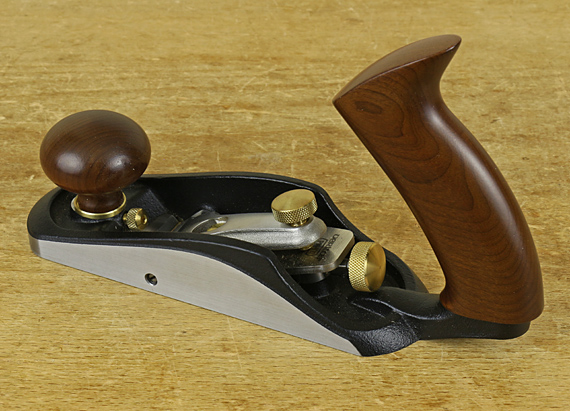
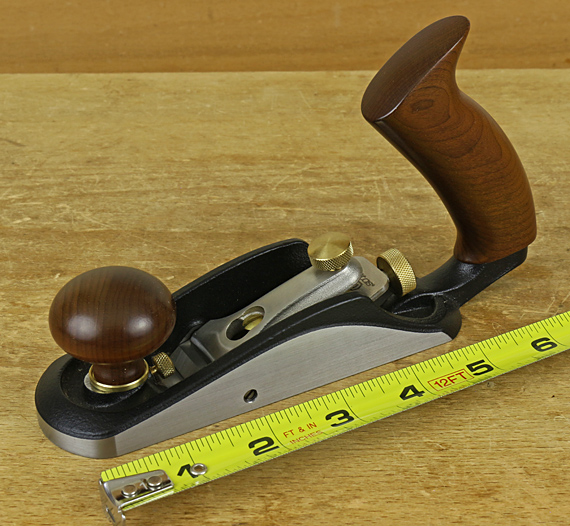
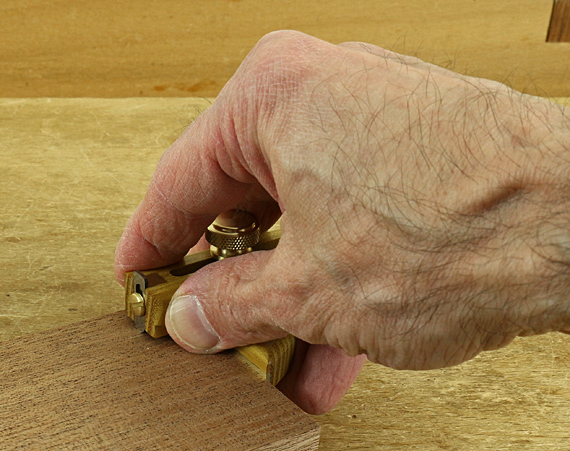
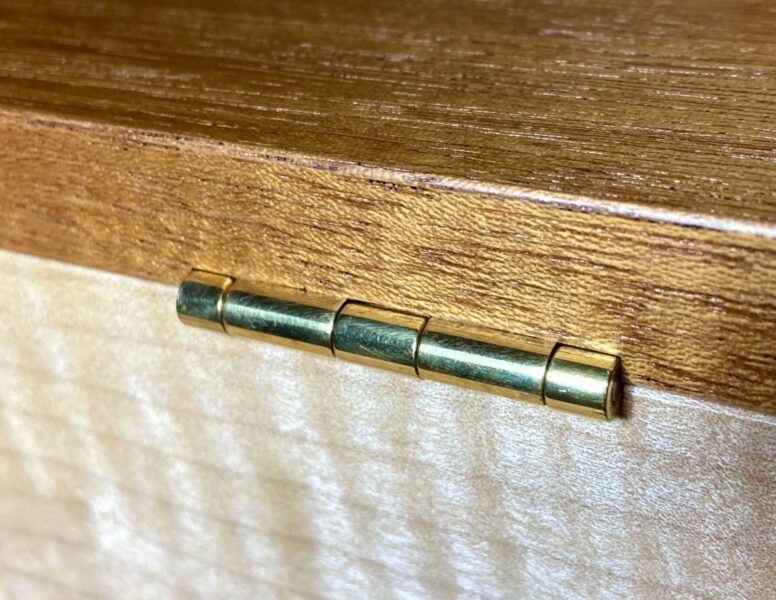
I prefer to use a hinge pair that will itself stop the lid from opening further at slightly greater than 90°. The two best available options are from England. smartButt hinges have clever, elegant round knuckles that stop the opening at 93°. (See the photos at the top of this article and just below this paragraph.) (By the way, there are some shadow images in the top photo; not an imperfect fit!)
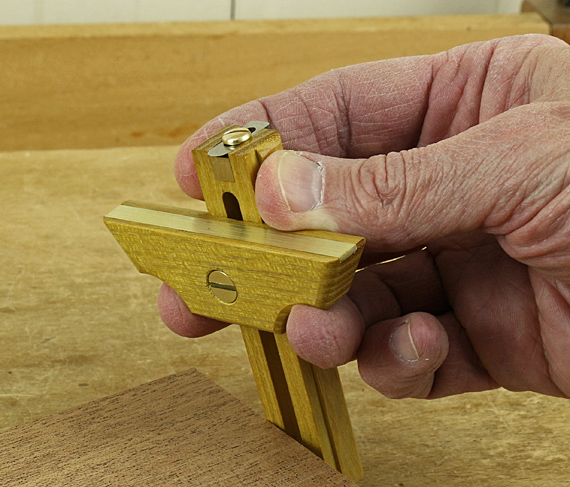
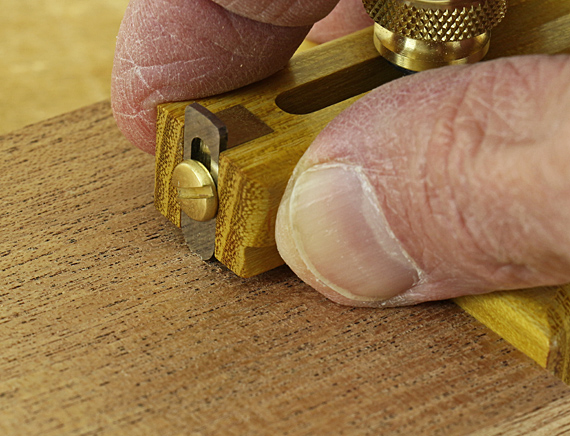
The other great option is smartHinges. (See the photo just below this paragraph.) These go on the side pieces of the lid and body of the box. These also stop the lid opening at 93°. You can easily and entirely use a router table to fit them. Note that the wood grains in the tops of the sides of the lid and the frame sides should go front to back. This is to avoid tiny short grain at the outer edges of the hinges.
The two excellent types of hinges are available from the great box maker Andrew Crawford at smartboxmaker.com.
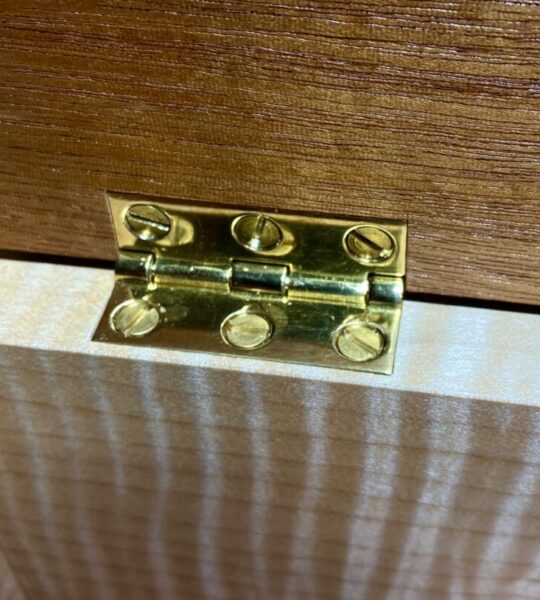
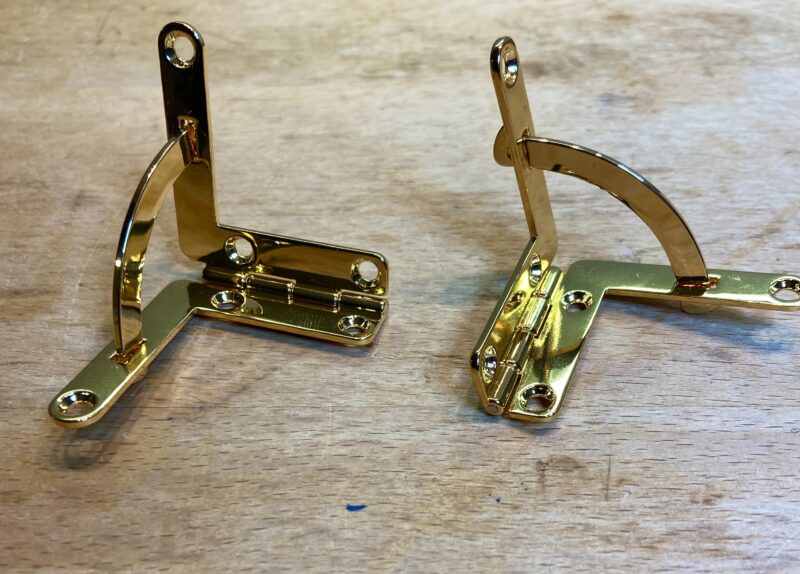
Also nice, but without the same elegance of Crawford’s hinges, are stop hinges (photo just below) and side rail hinges from Brusso (brusso.com).

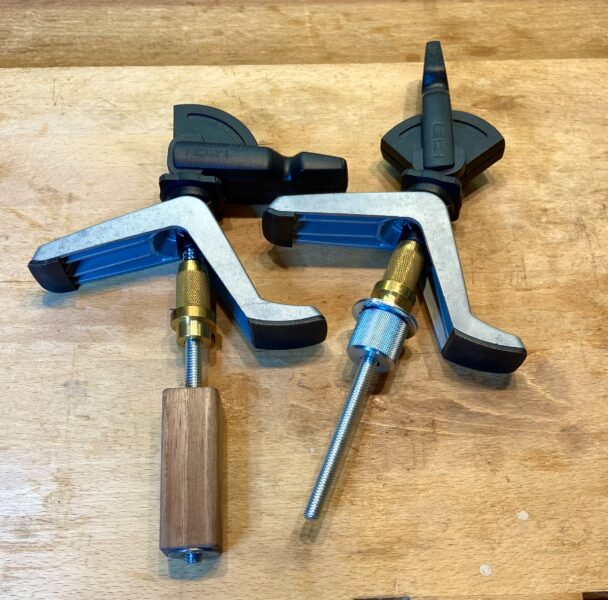
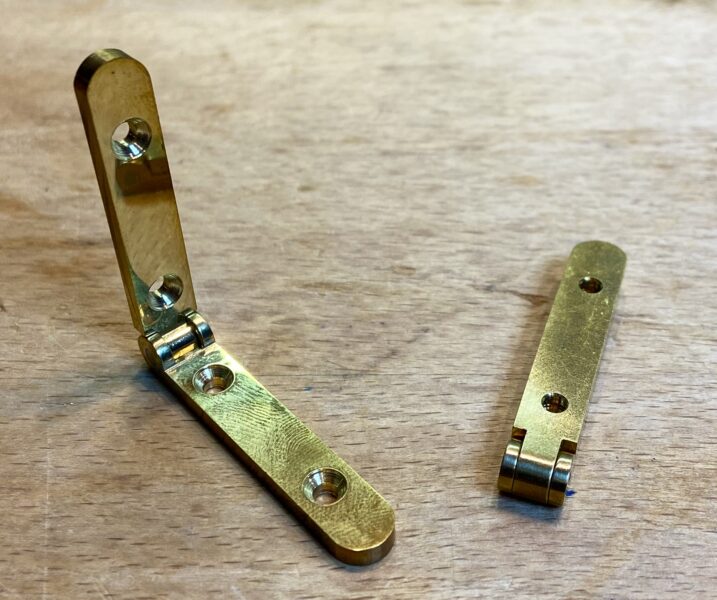
Brusso also sells quadrant hinges. I have an example of this type (not Brusso’s) in the photo just below. These also control the lid opening but I think are harder to install than the options mentioned above.
Separate lid stays on the side
Ok, if you nevertheless use hinges that do not themselves fix the lid open, you will probably need a lid stay on the side. There are numerous choices but I think Brusso’s lid stay is your best option.
You can also use a string made of metal beads, cloth fiber, etc. This is a bit floppy and not my choice.
(Photo just below.)

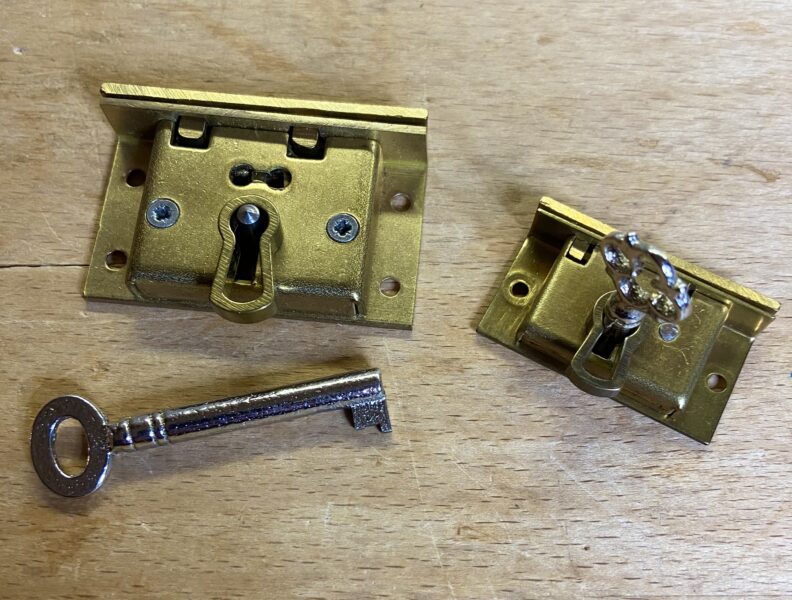
Locks
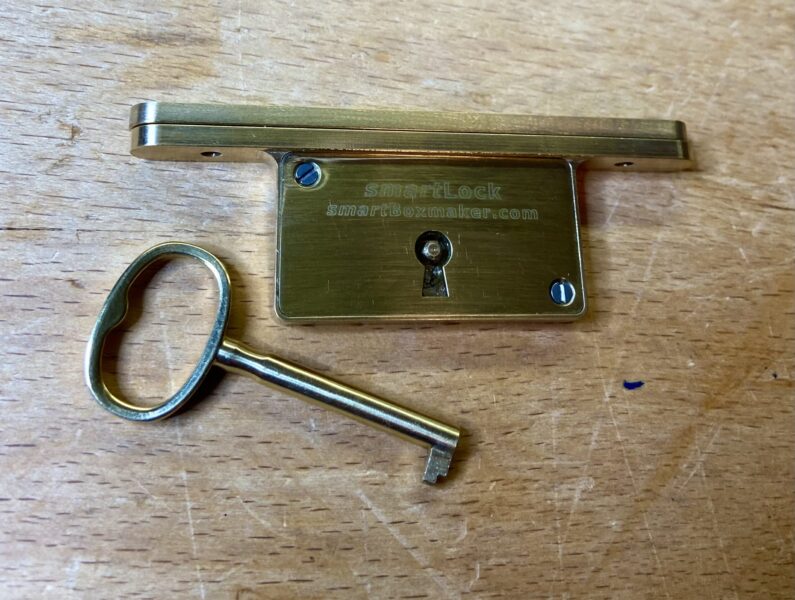
This is not strong security in your wooden box but is a nice image you might like. Again, I recommend the fine smartLock. Lee Valley has a good variety though less exquisite. (Photos below.) Don’t loose the key!
Brusso has a nice button latch for the box front, though not a lock.
So there is a quick summary of box parts that you can install. You are going to go through careful, detailed work that you want to make really nice, so install excellent parts to refine your work.
Enjoy!