These practical Japanese toolboxes with characteristically clean design and clever functioning are based mostly on Toshio Odate’s article in the October 1995 issue of American Woodworker magazine, pages 58-59, available online.
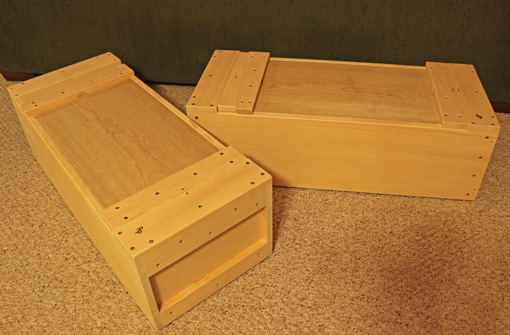
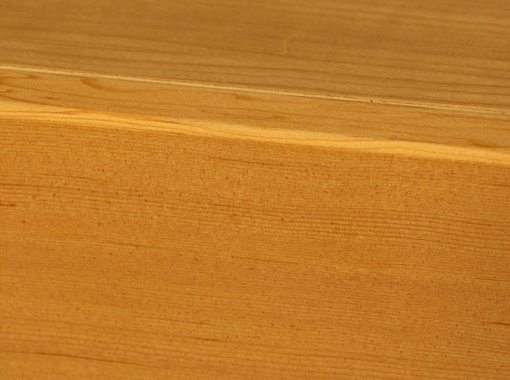
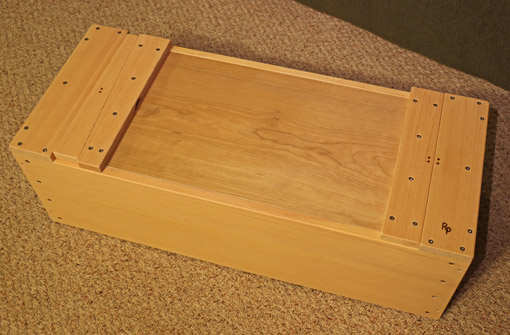
Overall dimensions of my version are 32 1/2″ long, 13 1/2″ wide, and 10 3/8″ high. The primary wood is quartersawn Douglas fir, obtained as dimensional 1-by stock. The tight grain reminds me of the raked sand in a Japanese zen garden.
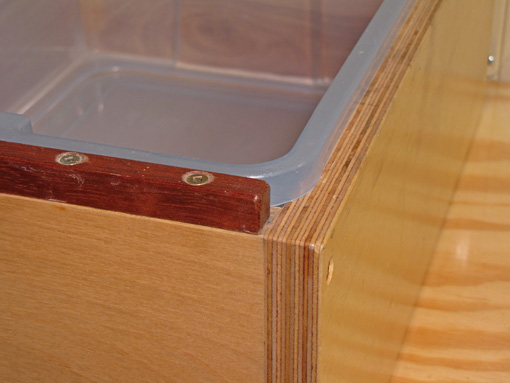
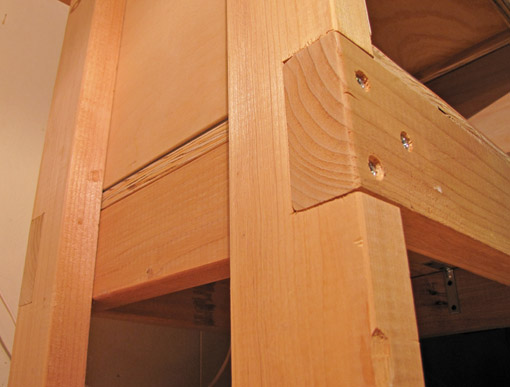
The sides and ends are assembled much like Odate’s but using deep thread screws instead of nails. The lower edge of the end “handle” is undercut with a 15° bevel to help the four fingers grab it reliably for lifting the box while the thumb comes over the top end piece. I added a like-sized piece below it onto the main end piece for extra rigidity.
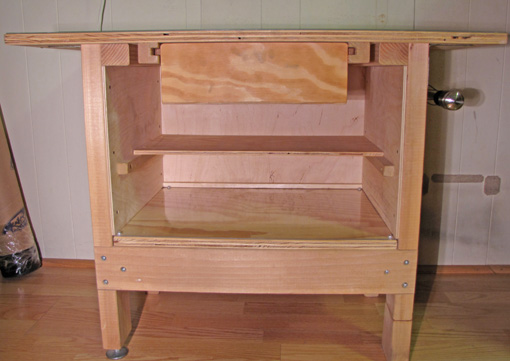
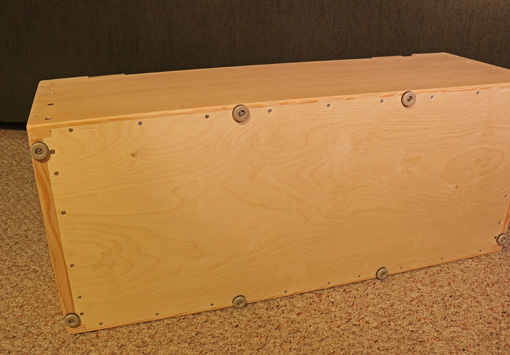
The bottom is 3/8 Baltic birch plywood fit into a rabbet, glued, screwed, and nailed. I preferred the plywood to avoid seasonal dimensional conflict posed by a solid wood bottom fixed cross grain to the end pieces. True, nails allow some give but the modern material avoids the risk of splits and is strong. Eight hard plastic feet will minimize abrasion wear on the bottom as the boxes are inevitably slid on hard floors.
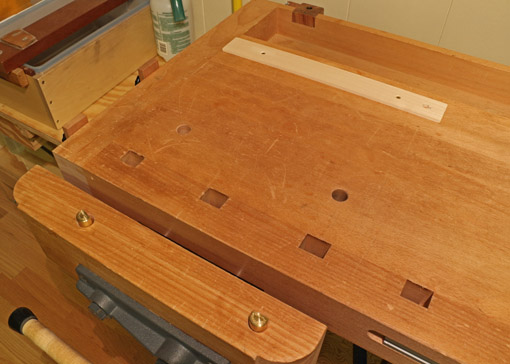
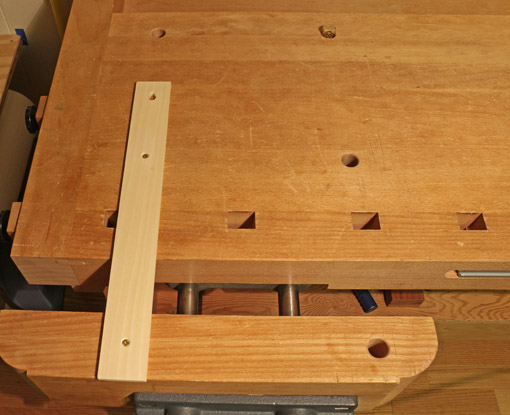
For the top, I similarly went modern with cherry veneered 3/4″ plywood. I found it by chance on sale but I like its looks with the Doug fir. The plywood allows a tighter tolerance between the top and the sides than would be possible to maintain with solid wood. The sliding-lock top is based on the traditional version as described by Odate, but with a very clever wedge lock described by George Snyder in an article on the Woodcraft blog. (Thanks to Wilbur Pan for the link.)
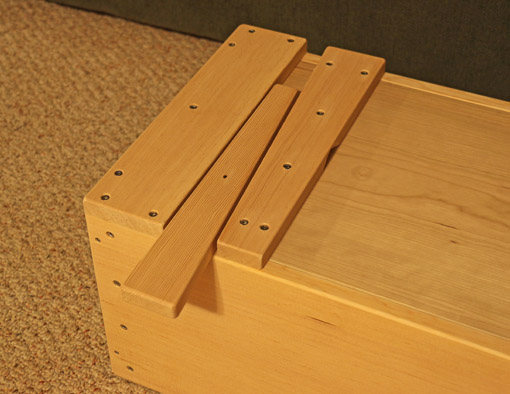
I added contoured undercuts on both edges of both top battens to make the top easier to handle for insertion and removal.

I’ve had the Odate article bookmarked on my web browser for years, so I’m glad I finally got around to building these boxes. The decision to use plywood for the top and bottom, and the wedge lock for the top resolved my reservations with the traditional design as presented by Odate. Then, finding the beautiful Doug fir got me building.
These toolboxes will no doubt see plenty of rugged use but with their bombproof construction they should be up to the job. They were fun to build.