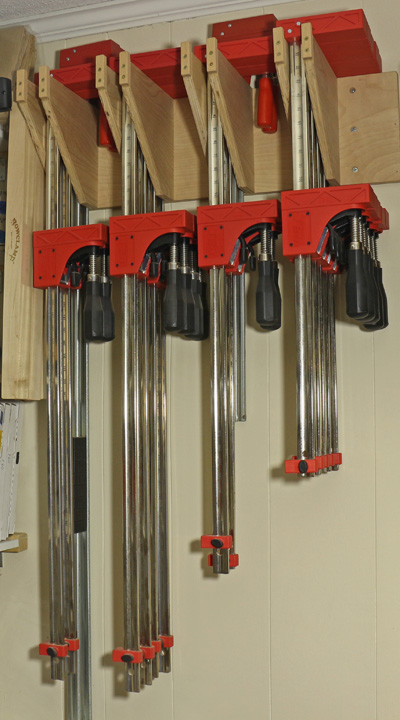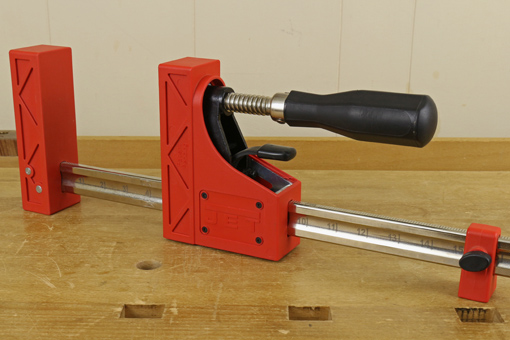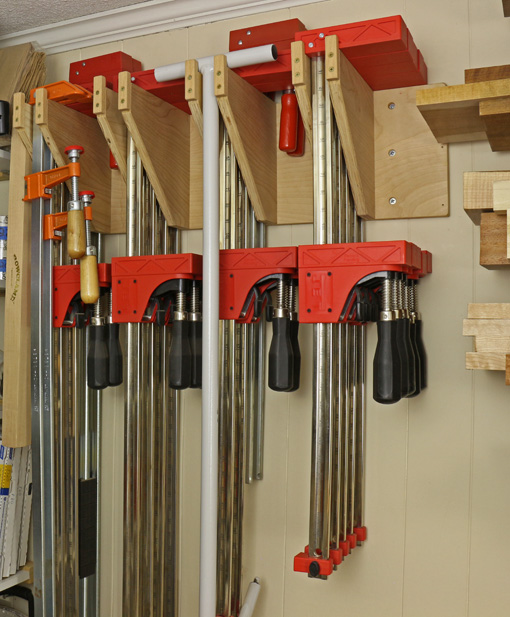
Whenever possible, I would much rather use parallel clamps than long F clamps for gluing up work. With parallel clamps, pressure can be applied more accurately and, if needed, readjusted more reliably. That also means faster, which is important when the “pressure is on” during glue up.
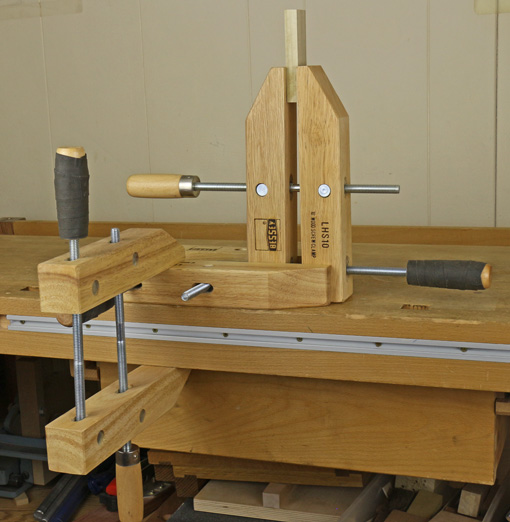
However, little of my work is fully rectilinear with nice flat contact points and with all the surfaces at 90° angles. Therefore, a key additional ingredient is usually required to use parallel clamps: glue blocks. I consider glue blocks to be a standard work component of most projects. Because almost all of my work is one-of-a-kind, the glue blocks usually get discarded when the project is done, but that’s OK, they are still well worth the effort.
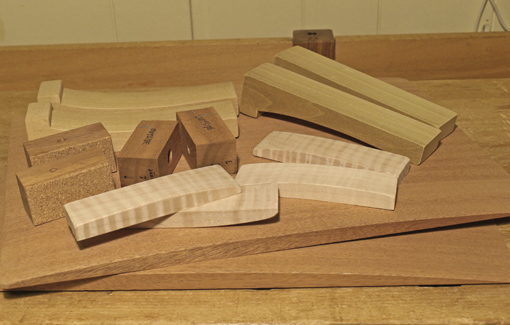
This approach is easier than trying to guess where the swivel-head sliding jaw and fixed jaw should contact opposing curved surfaces to properly direct pressure across the joints. Even after a dry assembly trial, there are likely to be too many uncertain adjustments to deal with during glue up crunch time when the meter is running. For similar reasons, F clamps are far inferior to parallel clamps for edge joint glue up.
The bottom line is that for table legs, curved case components, and so forth, I’ll do whatever I have to do to make the glue up a more predictable operation. Most clamp blocks are easily made from the bandsaw cutoffs produced during building the piece.
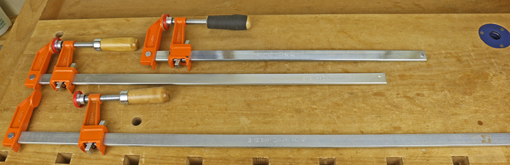
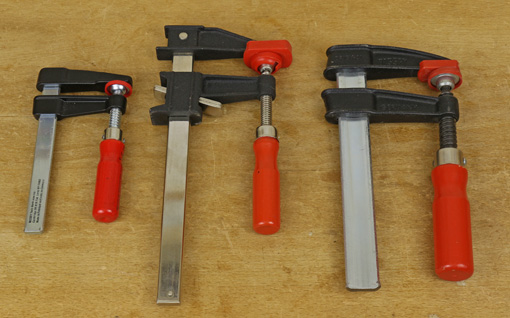
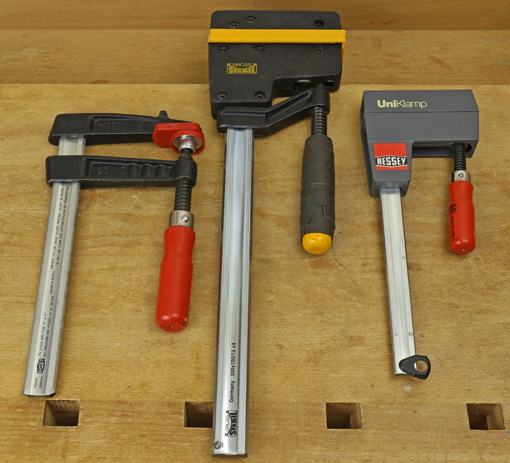
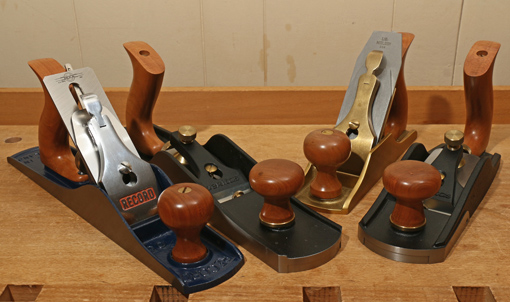
When a moderately long F clamp is useful, it is usually in support of parallel clamps or when the vault of the jaws is helpful to clear an element of the piece. For those occasions, the economical and widely available Jorgensen #3700 series work well enough. They also make the heavier duty but much more expensive 4500 series.
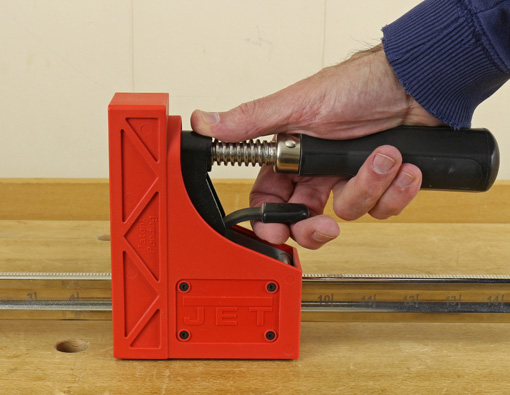
For long F clamps, I like the clutch system on the Jorgensens. When the head is set in place, it is sure to stay there throughout all the maneuvers during glue up that precede final placement of the clamp on the work.
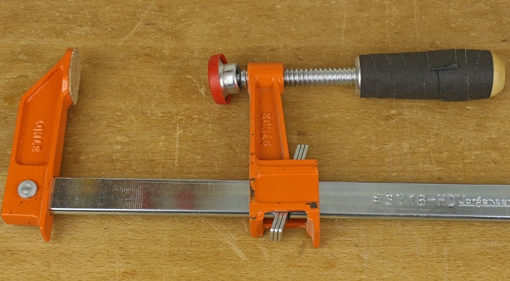
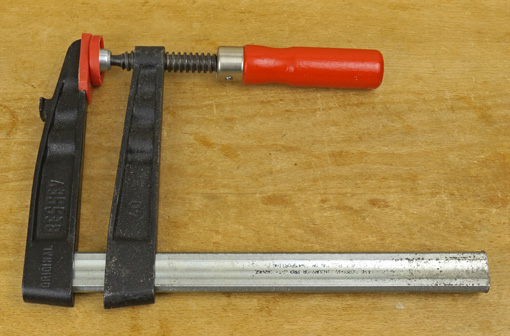
I replaced the orange Jorgensen pads with red Bessey pads that fit perfectly on the swivel end of the sliding jaw. Bessey pads do not snugly fit the fixed jaw so there I attach thin cork sheet.
More to come on clamps.