A reader recently emailed me to ask the best kind of question – a simple one with broad implications. Using only hand tools, he asked, how do you “cut several pieces of wood exactly to length.” He stated further that he wanted to make several pieces “exactly the same length.”
There are really two issues here. In furniture making, it is not often that you need to saw a piece to an exact absolute length, such as 18 5/16″. By exact, I mean to a tolerance well under 1/16″. Usually, a component must be cut to precisely match another part or an opening, after the general dimensions of the piece have been established. What’s more, most of the time, sawing to length does not demand high precision.
Let’s examine the matter by looking at the fundamental types of construction in furniture making.
Post and rail
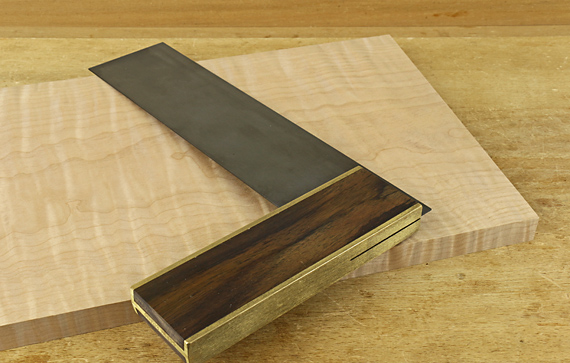
In a table frame, the critical matter is for the lengths of the aprons on opposite sides to be equal. The precision comes from knifing the tenon shoulder lines with the pieces ganged together. The absolute distance between the shoulder lines is not critical; it just has to be the same for the pair of aprons.
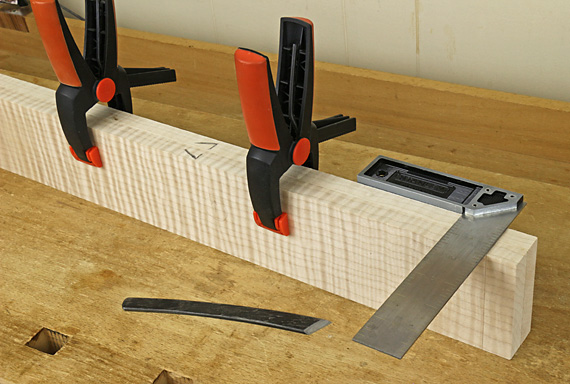
The sawn crosscut at the end of the apron just defines the length of the tenon, and since there should be extra depth in the mortise, it does not have to be a precision cut. As for the legs, gang them together, mark out the ends of the mortises, and cut the legs to length with adequate precision by hand.
Frame and panel
For a cabinet door or back panel, the precision in the frame components comes from knifing pairs of shoulder lines together. Later, you will plane the slightly oversized frame to fit the door opening or case. As for sawing the panel to length, those crosscuts end up inside the grooves, which give some margin for error. So again, the crosscut hand sawing just has to be good, not dead-on precise.
Board construction
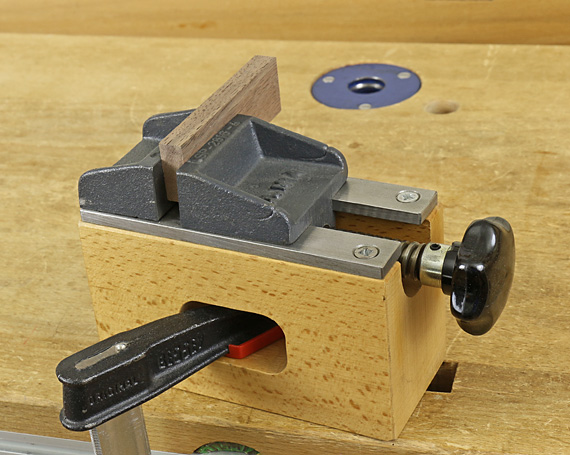
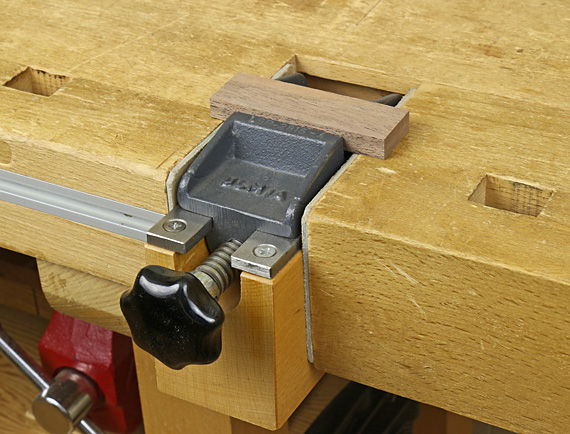
For a case or box, the absolute dimension is again much less important than making the opposite sides match. This is where shooting is an essential technique of woodworking. Saw the two boards to length as consistently as you can, shoot three ends, then incrementally shoot the fourth and final end to make two boards of exactly the same length with clean, square ends.
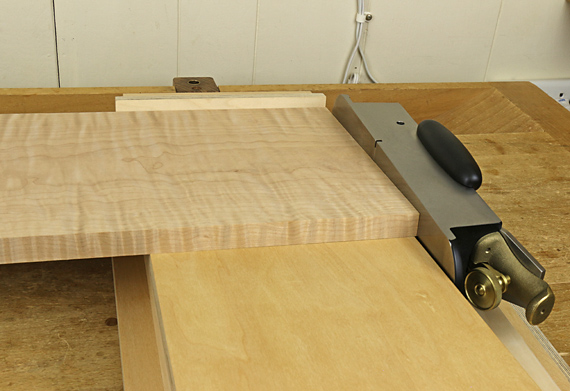
Oops, you overshot that fourth end? Shoot the end of the other board down to match. The absolute length is not important.
By contrast, fitting a drawer front to an opening is a matter of meeting an absolute measurement, and there is no going back. For this, shooting allows you to sneak up on a precision fit in a way that sawing cannot.
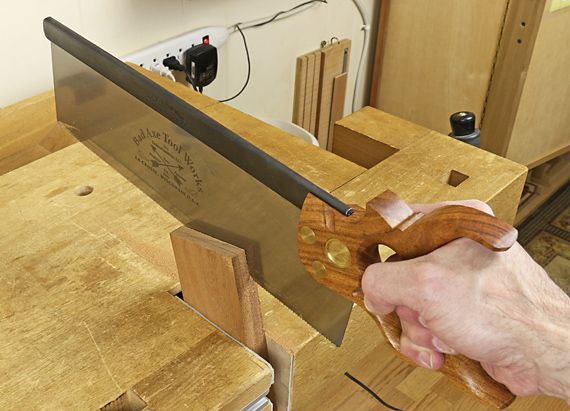
By the way, to answer another question that came up, one cannot use a stop block on a shooting board set up to trim endgrain because you are not cutting to a line. Rather, you are removing a certain amount with each pass, based on the blade depth. You must advance the board after each pass, so stop block set-ups are not used.
One more thing – and it’s important
Even if you use a table saw and miter gauge/sled to make your crosscuts, as I do, you still want to be able to nuance them with hand techniques. Very often in fine woodworking, we want to intentionally tweak a component slightly out of square, make something not quite straight, or correct a fit.
Theoretical exactness is often not the goal, and understanding the variance can elevate your technique and results. That is why incremental hand-tool techniques are so valuable. Some examples of this follow.
The top and bottom of a solid wood case may intentionally have ends that are not quite square because you want the case a trace wider at the back than at the front to allow well-fitting inset drawers.
Even if those table aprons were supposed to come out just right, you find during dry assembly that you need to tweak one shoulder with a shoulder plane. Now that apron does not quite theoretically match the opposite one, yet the whole piece fits together just right.
You can adjust the side snugness of a drawer front in its opening with the last shooting pass or two.
After fitting the hinges for a cabinet door, even though everything was supposedly dead square to start with, you plane the edges of the door to produce surrounding gaps that are consistent to the eye.
In the craft of woodworking, sometimes what you thought was exact is not right.