Edge joining thin boards, in the 1/4″ to ½” range, presents two special problems, both easily surmounted with the methods described here. These are usually fairly short pieces of wood, such as for panels and drawer bottoms, which permit alternative methods.
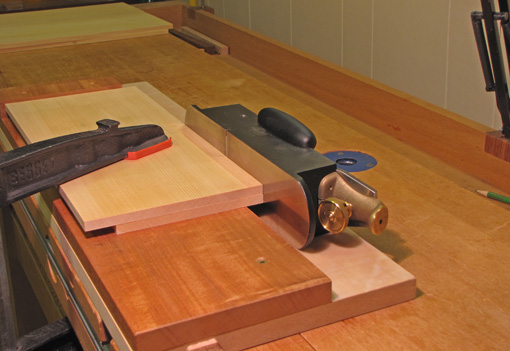
First, it is difficult to plane a straight, square edge using the usual procedure of clamping the board in the front vise and running a bench plane along the edge. The narrow edge provides little purchase to balance the plane consistently square to the face. The solution is the shooting board. I bring the two boards together, like closing a book, and align the working edges. Then I set the pair on the shooting board platform with the edges extended slightly beyond the shooting board’s running edge. The plane is, of course, used on its side, but the sole only touches the edges of the work pieces. Hold the boards firmly or use a clamp. Planing the two edges simultaneously in this manner negates any slight discrepancy from square.
In setting up for an edge joint, care must be taken to match and orient the boards properly. It may not be possible to meet all of these criteria with the available stock, but the first two should not be compromised.
- Join edges with similar cross-sectional grain orientation, rift to rift, quartered to quartered, flatsawn to flatsawn. Dissimilar edges, such as quartered and flat, will seasonally move differently in thickness to create a step at the joint surface and possibly stress the joint.
- Avoid figure runout or dissimilar figures at the edges of the boards. For example, do not juxtapose cathedral figure lines running off the edge with riftsawn straight figure. Make it look good. This is partly related to the above.
- The surface grain of the boards should run in the same direction to facilitate planing the glued-up board.
- The grain on the edges should run in the same direction when the boards are “folded”. This will make the edges easier to plane simultaneously, but is not a factor for thicker boards that are planed separately.

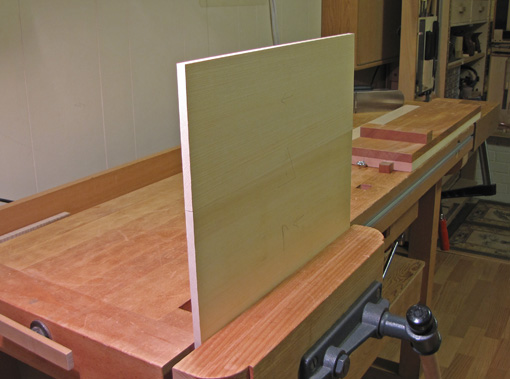
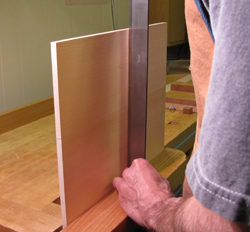
For the enduring question to plane the edge straight or concave, my simple answer is this: I aim for a straight edge allowing the least possible concavity but zero convexity (a one-sided tolerance). The ultimate test is to stand one board on the other and swing the top board. It should barely pivot at the ends, never in the middle. It must also not rock due to twist in the edges. Finally, a straight edge placed along the surfaces should predict a flat glue up. (Contrary to the appearance in the photo at right, I have five fingers on my left hand.)
When joining flatsawn boards I usually look for the nicest appearance and do not worry specifically about whether the heart and bark faces alternate or not.
By the way, it took me longer to write this than to make an edge joint. In the next post, I’ll describe a method to solve problems in clamping the joint.


Very nice, concise yet sufficiently detailed post. Thanks for writing this up!
David,
You’re welcome, and thanks for the comment.
Rob