Archive for ◊ April, 2012 ◊

Author:
• Monday, April 30th, 2012

Tip #2: Engage and stabilize your core.

“Core” muscles refer to the abdominals, obliques, hip flexors, spinal stabilizers, and the gluteus muscles. Strong, balanced, and activated core muscles allow the limbs to perform properly. Core involvement is the source of much of the precision and power of a tennis player’s swing, a fighter’s punch, and a sawyer’s stroke. Watch Chicago Bears linebacker Brian Urlacher demolish a ball carrier, or Boston Red Sox little guy Dustin Pedroia belt a ball over the fence, and you’re seeing core strength in action.

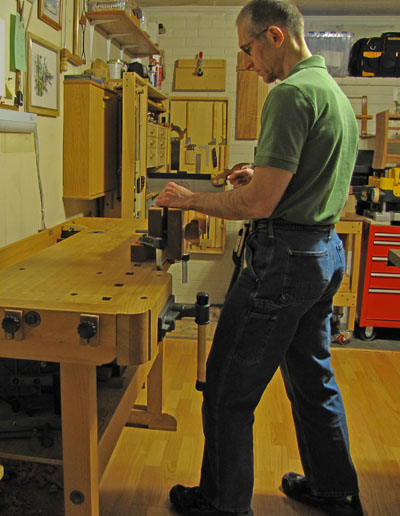
Pick up the saw, place one foot forward, and use your core muscles, especially the glutes, to find a balanced, stable stance. From there, the arm can operate with precision, intent, and strength. A stable core does not mean an immobile core, rather it is a controlled positioning and movement of the trunk. If the trunk is unstable, the arm flails.

Do not fall into the saw stroke, move into it. Maintain balance throughout the stroke. Do not use the bench or the work piece to prop up your body. A partial exception is when using a handsaw with a low saw horse or bench. Even in that situation, the non-sawing hand is really just an aid to the core musculature. You should not be falling on that hand with each stroke. Again, move into the stroke with intent and control, do not flail into it. You can still use your body weight for power, but in control using the core.

It was difficult to take photos for this post. I set the timer and quickly moved into position with the saw but I could only approximately convey the general ideas.

Whew, look at this guy. Bad news:
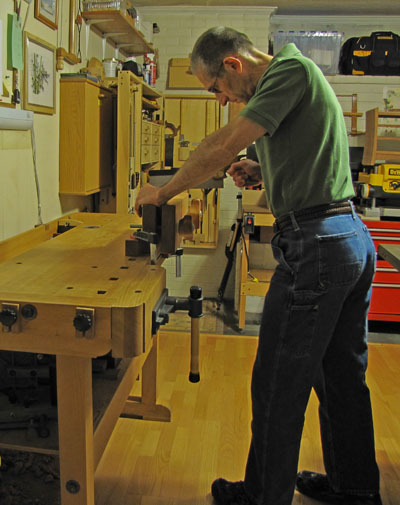
And this guy. Ouch. He won’t last a day in the shop.
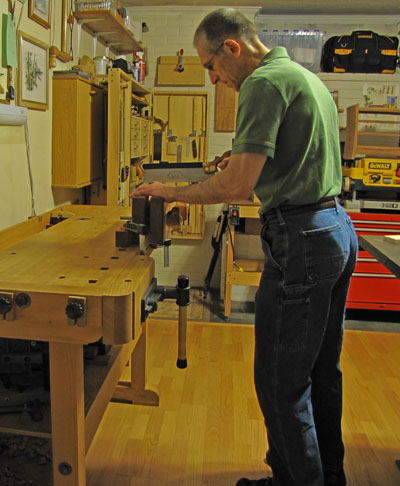
In addition to sawing precision and strength, you will also have shop endurance. Woodworkers often complain of low back soreness after a day in the shop, especially with tasks such as sawing joinery and sharpening. The way to avoid this is to use a balanced stance and active glutes to take the excess effort away from the lower back muscles. This applies to machine work too, such as precision sawing at the bandsaw.

Try this: pick up the saw, channel your inner Bruce Lee, and concentrate much more on your stance and core activation – stable, not stiff; intent, not mushy. You may surprise yourself to find following the line is easier and more natural than if you think just about your arm and the saw, forgetting about the all-important core. Be Bruce grabbing the cobra.

The core matters in sawing. I leave it to you to do the homework. 

Category: Techniques  | Tags:  | Comments off
Author:
• Sunday, April 22nd, 2012

All would be right in the world of woodworking if we could saw perfectly to the line every time. Joinery would fit directly from the saw, everything would assemble neatly, we would never grow old, and pay no taxes. In the meantime, however, let us consider some ways to improve this ubiquitous woodworking task. The uncommon tips in these posts apply not only to hand sawing, but also machine sawing without a fence such as might be done with the bandsaw.

We know the basics: an appropriately designed, good quality saw, straight, properly sharpened and set. The work piece is securely held in an ergonomic position. The sawyer grips the saw properly with good hand-shoulder alignment, and produces even strokes engaging the length of the saw.

Tip #1: Consider the line and what it means.

The idea here is to have mental clarity as to just what the line represents and thus how you will saw in relationship to it. Mental clarity precedes physical success.

Consider several scenarios.

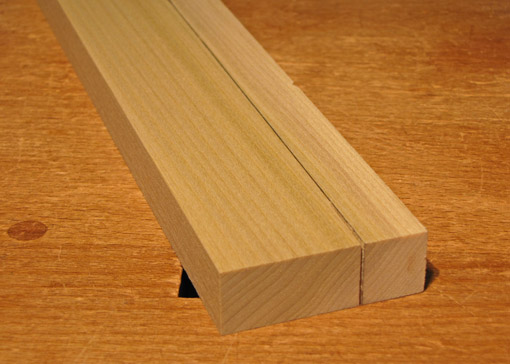
If the line is produced by drawing against a template as in, for example, sawing curved legs from rectangular blanks with the bandsaw, then the entire line is in the waste wood. If you split the line with the saw, there remains a half-line of extra wood to remove saw marks and fair the curve. If you want more margin for clean up, make a chunky line and saw right up to it without touching it. The key is to be clear about what you are aiming for and why.

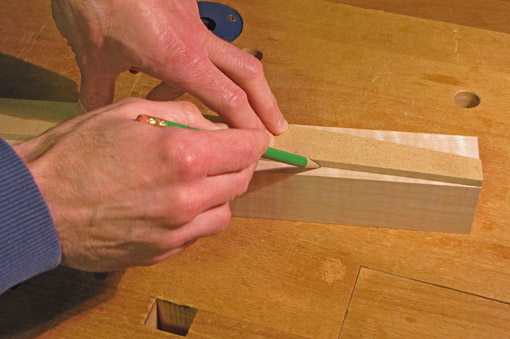
If you use a pencil to mark out pins from the tails you’ve sawn, the line is fully in keeper wood. If you split this line, the pins will surely be too small. If you saw to one side of it, and no more, things should work out fine.

If a part is marked to length by registering it with the end of another part which is thus used as a template, the line will be fully in waste wood. Splitting it with the saw will make the resulting piece too long, but perhaps this is a desired allowance to allow for shooting it just right. Sawing to fully remove the line would be an attempt to produce an exact match from the saw. Again, the intent should be thought out beforehand.

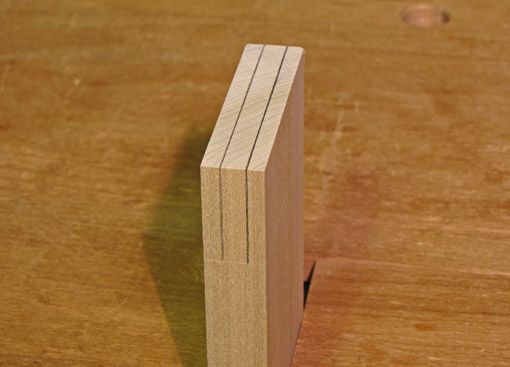
As another example, I set my mortise gauge so the two points are at exactly the width of the mortise and mark out the tenon with this setting. I run a pencil line so the point rubs against both sides of the “valley” of the scribed line. I then know that if I split this line with my saw, the tenon will be just right.

Visually, I find it easiest to split a line with the saw. The visual cue is that as the cut proceeds I can see half of the line remains next to the kerf, and this remainder looks half as wide (easy to estimate) as the uncut line ahead. When sawing to one side of a line, it is easy to be too timid and leave extra wood, though if this is not excessive it may work out fine, allowing for a bit of clean up. Sawing to completely remove a line, but no further, is visually difficult since the result looks the same if you have done it just right or if you have sawn too far into the keeper wood.

The key is to be clear about the “context” of the line and anticipate the next step in construction. In all of these matters, the concept of one-sided tolerance is most helpful.

Category: Techniques  | Tags:  | 7 Comments
Author:
• Wednesday, April 04th, 2012

This installment of the Q&A features questions from readers about shop electrical supply, convex-sole planes, gel varnishes, ripping, and Claro walnut.

A woodworker who is planning a new small shop is considering how much and what type of juice to have the electrician wire into it. Here’s what I use in my little playpen and why.

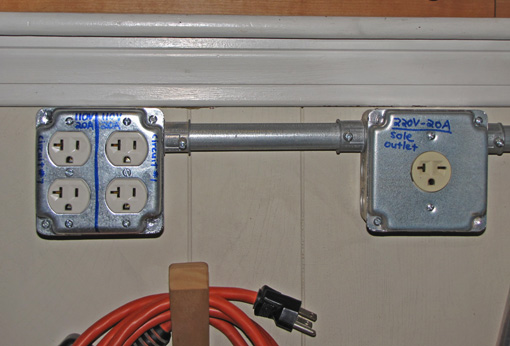
The pre-existing wimpy household 110V-15A wiring takes care of shop lighting and a few other small items such as a battery charger. Then there is a 220V-20A line with a single receptacle. This runs the bandsaw, table saw, and jointer-planer; one machine at a time, of course, because there’s only one guy in the shop. A 220V-15A line would not reliably handle a surge from the jointer-planer rated at 14A or the cabinet saw at 13A. There are also two 110V-20A lines, each with a pair of receptacles. Two lines are necessary to run the DW735 at 15A along with the dust collector at 16A. This also accommodates any portable power tool that I own along with the Fein shop vac.

It pays to plan carefully for the shop you have now and for the shop you aspire to. I think I’ll never need more juice than this in my one-man small shop.

A woodworker planning to make a coopered door inquires about options in planes with the sole and blade convex across their widths. The radius of the blade needs to be just a bit smaller than the curve it planes. Calculating an example, a 14″ wide door with a curve depth of 2″ has a radius of 13.25″. A 1-1/2″ wide plane blade of this radius will have a curve depth of 0.02″. Taking into account the effect of the blade bedded at 45 degrees (formula here), the blade must be cambered .03″, or about 1/32″. A tiny bit more depth than that will keep the outer corners of the blade clear of the wood and enhance control.

For this, my solution is to take any small wooden plane and camber the blade, and shape the sole to match it. Test and adjust. One nice option might be to get a Krenov style plane kit from Ron Hock and alter it accordingly. A Japanese convex sole plane is a more expensive option that is not tailored to the specific task, and is likely to be too curved for it.

I was a fan of Bartley’s gel varnish, which is no longer available as far as I know. A few questions came in regarding alternatives. Here are three:

A reader asked about my preferences in handsaws for long rips. My preference is the bandsaw, the “hand tool with a motor.” In most cases, I see no particular virtue in sweating out a long rip by hand, but the Disston D-7 is my weapon of choice if I really want to commune with the wood.

Speaking of communing with wood, I’ll hang out with Claro walnut any day. A reader wonders what woods might make a good combination with Claro. Of course, this is personal preference, but consider pear. The pink blush of pear seems to bring out the red hues in Claro, and its fine, delicate texture contrasts with the moderately open-grain nature of Claro. Unity and variety, right Mr Heath?

One combination that might seem promising but falls flat to my eye, is walnut and cherry. Maple and walnut usually don’t seem to work together. Claro and zebrawood look cool together, and ash also has potential with Claro. Just opinions.

Email questions (see the About page) and I’ll try to answer as time permits. Thanks, and happy woodworking.

Category: Tools and Shop  | 2 Comments
Author:
• Monday, April 02nd, 2012

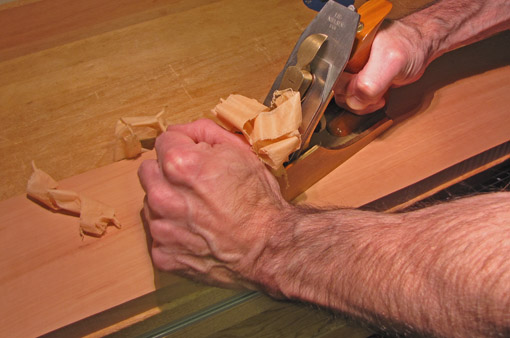
This Wednesday, April 4, 2012 I will be presenting at the Woodworker’s Guild of Rhode Island. The meeting starts at 7:00 pm and is held at the Scituate Community House in North Scituate, Rhode Island, which is just west of Providence. Click here for a link to a map and directions.

The nice guys at WWGRI were kind to invite me to speak and demonstrate at their group. Naturally, I demanded my usual compensation: all the plane shavings I can stuff in my apron pockets and not a penny less. Seriously, it’s always fun to hang out with fellow woodworkers and share the craft that we enjoy so much.

The topic of the talk segment will be “The Design Journey,” which is summarized in my article in the Winter 2012 issue of Woodwork magazine, and is discussed in the 2010 eight-part series here on the blog, “Creating a work in wood – from idea to finished piece.” This will include a short series of slides.

Then at the bench, I will demonstrate strategies for planing difficult woods. Bed angles, cambers, bevel-up, bevel-down, back bevels, toothing blades, scraper planes, and so forth will be included. There are many ways to approach this task and this presentation will hopefully assist each woodworker in finding what is right for his work with his tools.

The WWGRI welcomes new members and, Heartwood readers, if you are in the area, come on by and say hello.

Category: Resources  | 2 Comments