Solid wood drawer bottoms are the primary topic of this discussion and are used in this project. However, plywood also deserves consideration as a good quality option. Stable, strong, and easy to prepare, thin hardwood plywood is readily available in many species and thicknesses with flatsawn and quartersawn face veneers. The laminate edges will not be visible except at the back. I do not think plywood bottoms, skillfully and tastefully employed, diminish the quality of a “high-end drawer” in modern furniture.
The thickness of a solid wood bottom should be commensurate with the overall size of the drawer, the load it is expected to bear, and the strength of the chosen species. The Port Orford cedar bottoms of these fairly small drawers are slightly over 5/16″ thick, while those for a chest of drawers might be ½” thick. Gluing up thin stock presents special issues which have been discussed in two earlier posts. Quartersawn wood is preferable because of its resistance to cupping.
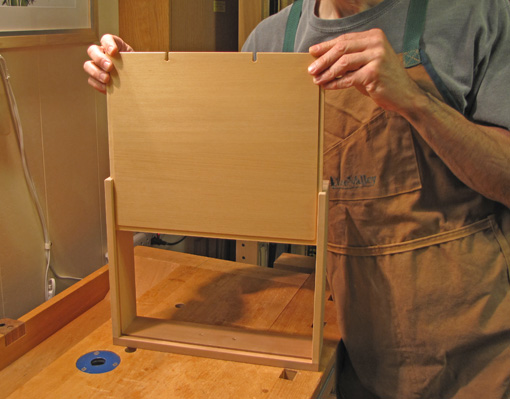
The grain runs along the width so this dimension will be stable through the seasons, preserving the critical fit of the drawer width in its housing. The panel is raised on the outside (underneath) face, here with a simple square-edged field, to create 1/4″ thick tongues to fit in the grooves, keeping a small border of consistent width along the two sides and the front. Many woodworkers prefer a flat-beveled or coved panel. The bottom can be sized to leave a very tiny gap at the base of the grooves in the sides to avoid distorting the drawer when sliding the bottom in place.

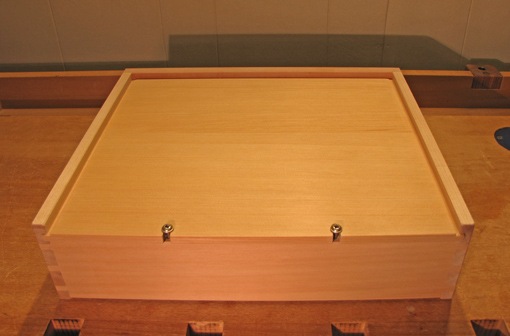
Now we must deal with seasonal changes in the front-to-back dimension (across the grain) of the drawer bottom. Calculate rather than guess the amounts. Unless you are working on the driest day of the year, the bottom must extend beyond the back of the drawer. To accommodate seasonal movement, screws pass through open-end slots in the bottom and thread into the back. Make the slots long enough and locate the screws to allow for the largest dimension on the most humid day, but don’t make the slots so long that they will be visible from the inside of the drawer on the driest day. It usually helps to have a thick drawer back and to locate the screws toward the outer surface of the drawer back. (Since I have experience messing up this last detail because I didn’t think it through, I feel compelled to warn you.) Here I used practical washer head screws, but you may prefer the look of a flat head screw in a tapered-rim slot.
I think it is best to lightly glue the front edge of the bottom into the groove in the drawer front (only!) so all of the movement “collects” at the rear of the drawer. I use hide glue for this since its reversibility will come in handy if a damaged bottom ever needs repair or replacement.
For drawers that are very shallow (front to back), it is often possible to simply cut the bottom flush, screw it to the back without slots, and make the groove in the front deep enough to accommodate all the movement that will collect at the front end.
Next: final trimming, drawer stops, finishing.


