• Friday, September 12th, 2008

You’ve heard it in ads, seen it on magazine covers, and on TV.
Perfect dovetails, every time.
This square is dead accurate.
The plane comes with a dead flat sole.
Perfect edges in two minutes of sharpening.
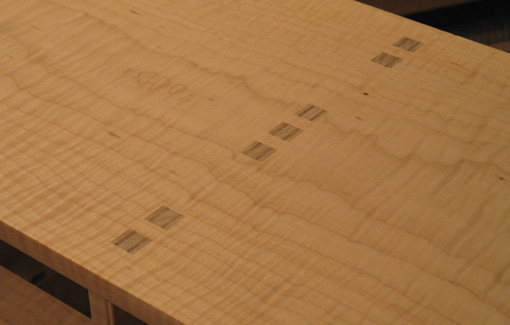
Stop it. Nothing is perfect. Not my work, not yours. The joinery in the photo is not perfect, trust me.
Let’s eliminate sloppy, low quality work from this discussion. I’m referring to high quality work done by very skilled woodworkers, top quality tools, and so forth.
As an example, consider the sole of your expensive new plane. Is it really perfect? Flat to within what, 0.002″? .001 “? Everywhere? 0.0005”? Doubt it. But what’s really important? A skilled woodworker knows that there should be, for example, no hollow just in front of the mouth. If there is light blocking contact there, as well as at the toe, heel, and just behind the mouth, it won’t matter if there is a bit of hollow in the middle of the front or rear sections of the sole. The wooden soles of Japanese planes are intentionally nuanced in this way.
How about cutting the tails in making dovetails? Is the saw held perfectly square to the width of the board? Within what tolerance? A skilled sawyer attempts to directly split the layout line on the waste side, cutting at 90 degrees, but nevertheless knows on which side is the mountain and which the cliff. You are aware of a one-sided tolerance – if slight error is to occur, try to confine it to where it could be trimmed, or perhaps yield to the slight compressibility of wood, or at least won’t be noticeable in the finished work.
The point is that a good craftsman gets beyond naive notions of absolute perfection of process or outcome and instead understands how to manage tolerances. He knows what is – and is not – critical to produce superb quality and apportions his energy accordingly. Likewise, a new woodworker should not be intimidated by the illusory goal of perfection. Nor should the novice be seduced by the claims of machine manufacturers that promise perfect joints or perfect anything.
I hope for an educated, perceptive excellence in my work. Understanding is better than hype.
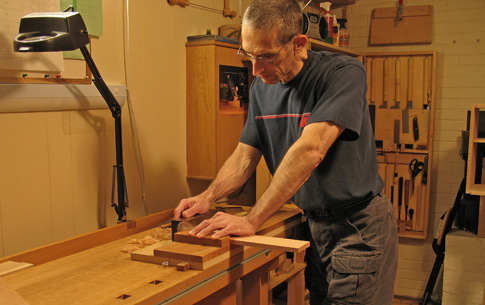 In this blog, I invite you to stop by my shop, look over my shoulder, hear what’s on my mind, and, of course, offer your comments.

