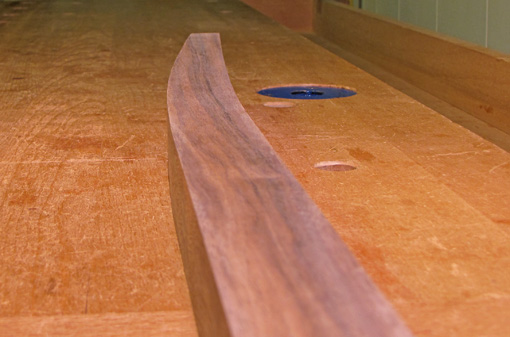
When fairing a curve by hand, you need tools that give continuous feedback about the curve you are forming – a closed-loop system. The tool must have sufficient rigidity and effective length to reduce unwanted bumps and span aberrant troughs. For concave curves, the rounded contact surface of the tool must be a bit steeper than the curve being formed in the wood. The other key point is to distinguish between the shaping and the smoothing processes.
There are plenty of options. Here’s what I use.
Shaping
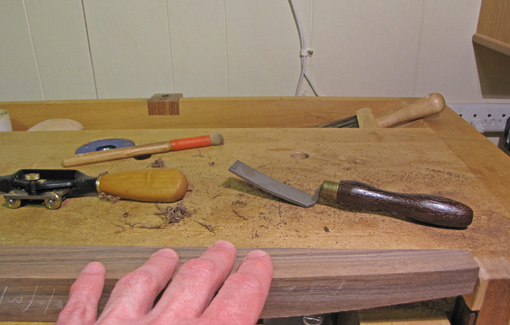
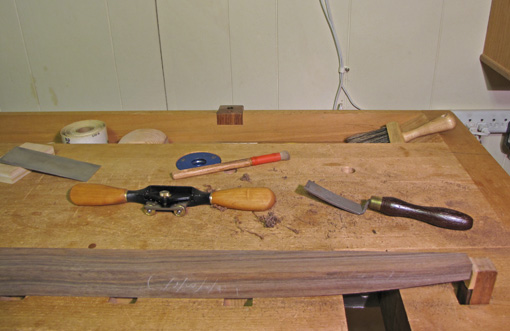
The Veritas round-sole metal spokeshave and Auriou “curved ironing” rasps, 30mm-wide #8 grain and 20mm #10, are my go-to tools for concave curves. The ride of the blade and teeth changes as they meet the varying resistance of bumps and valleys, so I can sense beneath the tool when the curve is becoming fair. The effective length and contact surface of these tools can be altered on the fly simply by changing the skew angle.
Working the surface of a curved leg to a slight crown across the width makes it easier going with the spokeshave, and in fact, I often finish it with this shape for appearance.
For quick hacking of big bumps, which might be present if I was daydreaming at the bandsaw, the inexpensive Stanley Surform Shaver works well.
The convex side of a half-round rasp can be used with some success on concave curves but there are cautions. The skewed stroke presents a varying contact profile as you push along a varying curve, so short strokes may be better. If the rasp is skewed too much, the teeth act like tiny knives and deeply groove the wood.
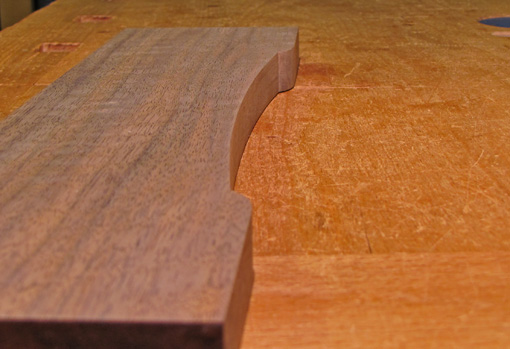
Convex curves are simpler to manage. A regular flat-sole block plane and the flat side of a half-round rasp work very well.
Smoothing
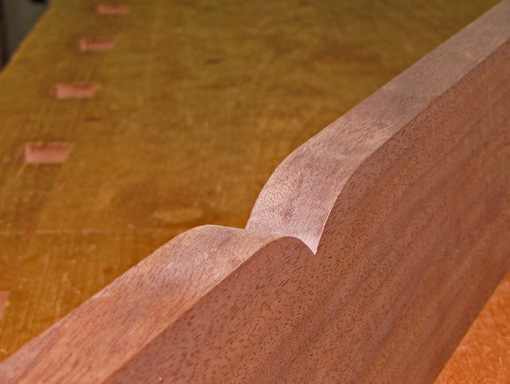
Smoothing the shaped surface is a different matter, much like smoothing and jack planes perform different functions. Here, card (hand) scrapers, especially in 0.024″ thickness, are my go-to tools, followed by light sanding.
Scrapers excel at smoothing, not eliminating, bumps and troughs, and so are not good for shaping, with the exception of light use on small, tight curves. With skewing, they may work for larger curves but it can be surprising how many lumps they preserve even when they seem to be shaping well.
Curved sanding blocks can be similarly deceptive. When working concave curves on legs, I find they are best left for smoothing because I just do not get as good shaping feedback as from rasps, spokeshaves, and planes. However, I have had success using carefully shaped sanding blocks with 60-80 grit paper to do the latter stages of shaping of broad concave surfaces. Also, a simple flat cork block does well on shallow convex curves.
Since I’m usually dealing with curly woods, rowed mahogany, or tough bubinga, I keep the spokeshave as a shaper.
What about spindle sanders and vertical belt sanders? I like my Ridgid combination oscillating spindle/vertical belt sander for many jobs, but use it only with trepidation for critical shaping or smoothing. I find it is just not as sensitive as hand tools, and it is more risky. Still, there are some curves where it is the best tool for the job, such as steep concave changes.
Pattern routing or sanding (with the Robo-Sander) with a template is a good option for single-plane curves, but I think is impractically complicated for multi-plane curves. Anyway, handwork is still required to make the all-important template.
I hope these tips help you become more comfortable, confident, and efficient with using curved elements in your woodwork. Choose the tools that are practical for you. No straightedge can be the arbiter of rightness for this work. You are a craftsman, so trust your senses!