It has been a while since I expanded this wish list, so here goes.
1. Is it too much to ask for Lee, Lie, or some other great maker to come up with a modern compass plane? To use this tool effectively, think of the compass plane as a light jack plane, not a smoother, for curves. As with other hand planes, I have little doubt that modern manufacturing, informed by history, will outdo vintage models.
2. Speaking of tools for curves, a curved rasp, flat across its width, would be nice. Start with the idea of the “curved ironing rasps” made by Auriou (pictured above) and Liogier but make one about 6-7″ long, 1 1/2″ wide, with a knob on the leading end and a near-vertical handle at the rear. And Santa, if you’re listening, I want the radius of the curve to be smaller toward the rear and larger toward the front. Medium and fine grain, thanks.
None of the following currently available tools quite fits the bill: flexible floats, the very coarse Liogier Beast, and the Surform shaver. The latter is decent when modified, but it’s rather short.
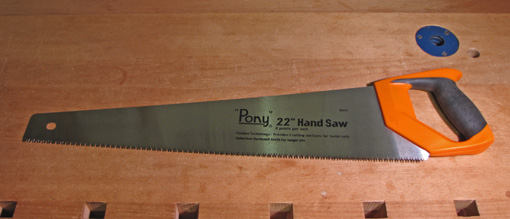
3. The Pony brand 22″ hard-tooth saw with three-bevel, Japanese-like teeth is a wonderfully useful stock breakdown tool and a great value at about $16. It crosscuts like a demon but does not rip very well. A 26″ rip tooth version would be a very useful bargain.
4. I still haven’t given up on advocating a higher bed angle for bevel-up bench planes. About 22.5° would be good. This is a large topic that has been addressed earlier on this site but here are some highlights. [I should add here that this is mostly applicable to bevel-up smoothing planes.]
Compared to a 22.5° bed, the 12° bed angle in Lee and Lie bevel-up models may have a slight advantage in reducing the downward deflection of the blade edge but I think this is made largely moot by the excellent support of the blade close to its edge that is provided by the bevel-up design.
The 12° bed creates problems with sharpening. For example, to get a 55° attack angle, the blade must be sharpened to a 42.5° secondary bevel. That makes it significantly more difficult to produce and retain a good edge.
Even if you don’t agree with my contention that such a blade creates a fatter wedge that is more difficult to drive through the wood, and that the only thing the woods “sees” is the attack angle, then why not use a 22.5° bed and make edge creation and retention easier?
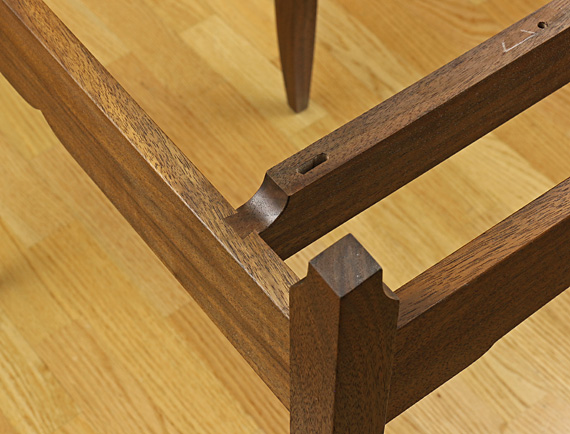
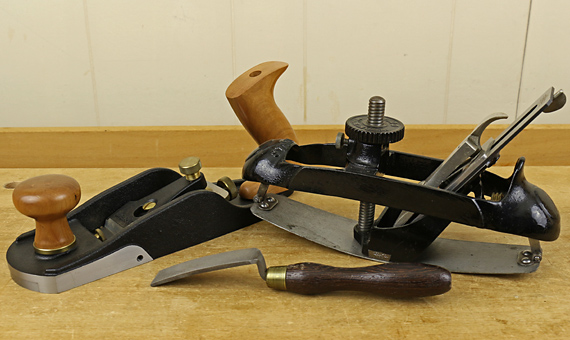
5. To mark pins from tails, in some situations, I prefer to use a chip carving knife like this, modified to eliminate the secondary bevel. I learned this idea from Chris Becksvoort.
However, it is not easy to flatten both sides of the blade to meet at the edge in a single bevel because the angle gets quite small, making the edge fragile. It would be nice to have a manufactured version. The sides of a blade 5/16″ wide and 1/8″ thick at the back would meet in a single bevel at 25°.
6. I wish the pads on my earmuffs did not squeeze the temples of my glasses against my skull. It’s uncomfortable. And I hate earplugs.
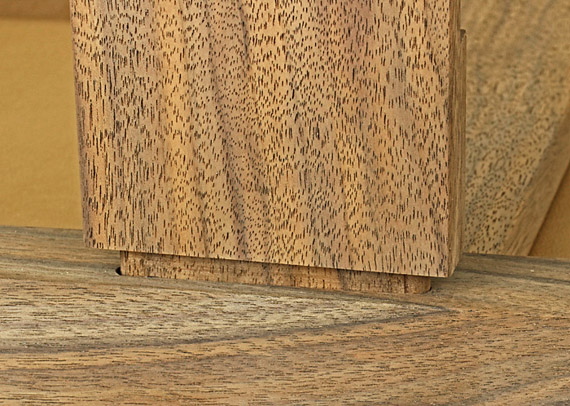
7. When jointing and planing to get flat stock, the thickness of some boards seems to disappear faster than cash in my wallet. I don’t need a board stretcher, I need a board inflator.
Hope is a good thing.