Shooting is a gateway technique that produces reliable accuracy and control unattainable with machines. Here are three simple tips to improve your results with shooting.
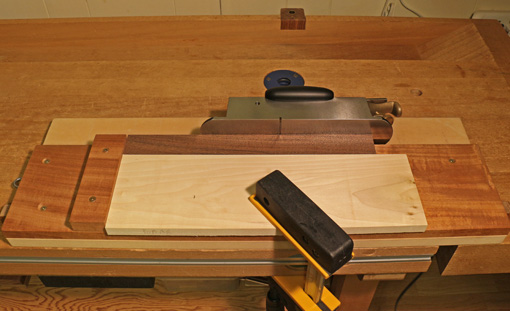
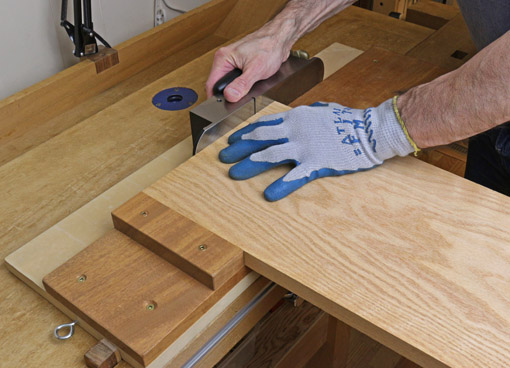
1- Put a grippy glove on your left (non-dominant) hand
An inexpensive, widely available glove with a rubbery grippy palm adds remarkable strength to your hand. The work piece must be controlled with the left hand in two respects. First, it must not slide or pivot during the cutting stroke of the plane. The torque can be considerable with a wide work piece of dense wood. The glove gives you control with much less effort than a bare hand.
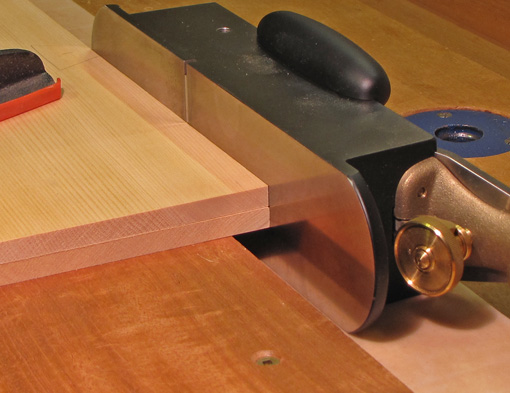
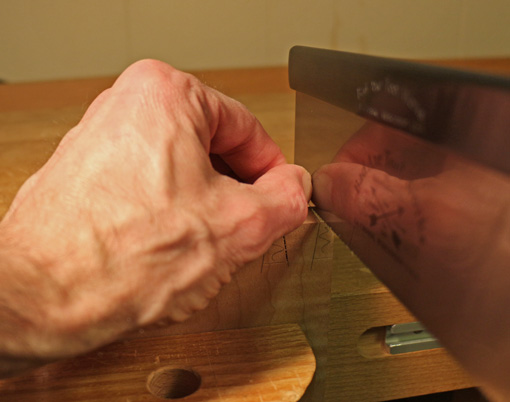
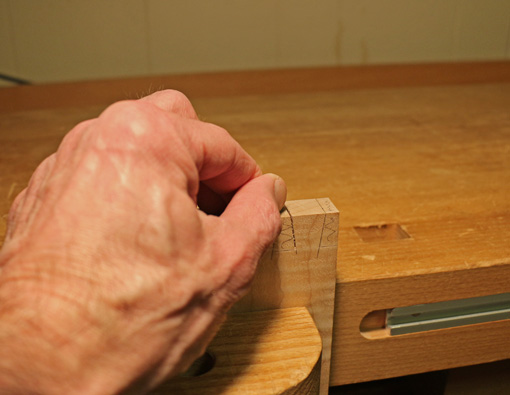
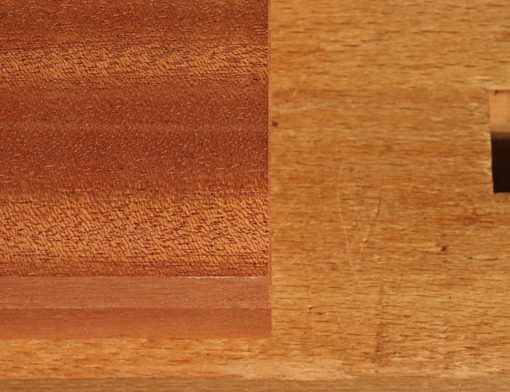
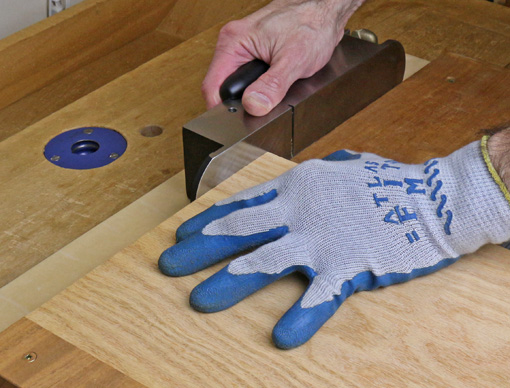
Second, in preparation for the cut when shooting end grain, the work must be advanced a tiny amount along the fence toward the plane. Without this, the blade edge will simply clear the work piece because it has already cut away the previously projecting thickness.
Practically, the work piece is advanced just to meet the toe of the plane sole, as in the photo below. This is done almost without thinking but it is a precise move made more controllable by the gloved hand.
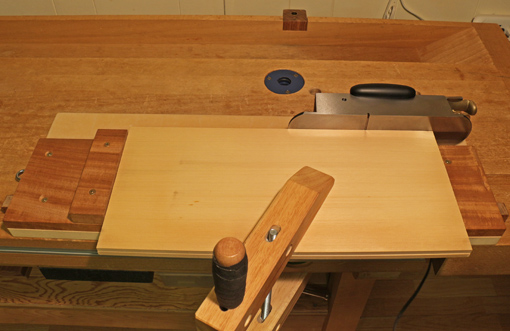
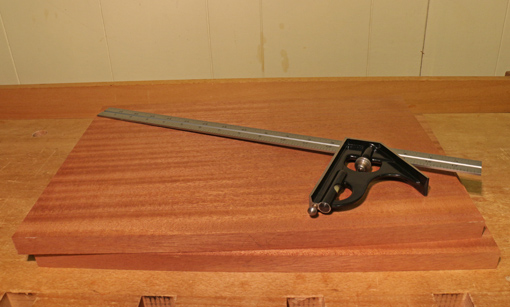
2- Simple microadjustability
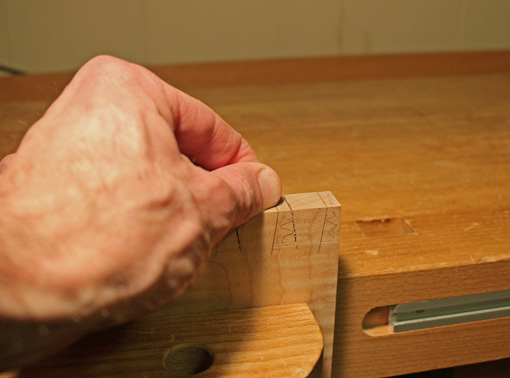
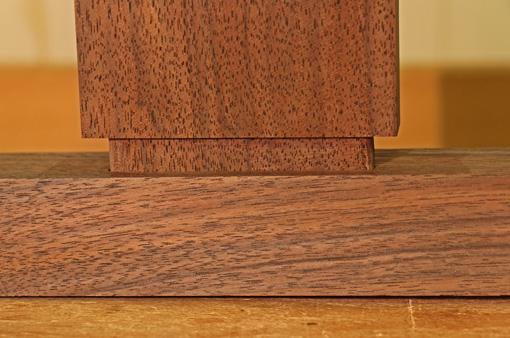
Everything is not square in woodworking, even when we intend it to be so. For example, when fitting a drawer front to its opening, the sides of the front piece should be made to match the opening, even if it is a bit out of perfectly square.
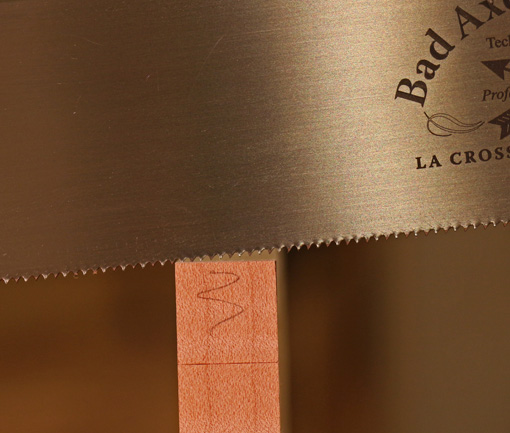
To minutely adjust the shooting angle away from 90°, just place a piece of blue tape at the appropriate end of the shooting board fence. Realize too, that the angle can be adjusted with phenomenal precision by slightly altering the position of the tape.
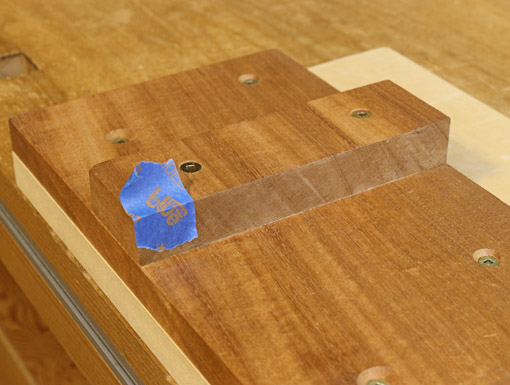
Of course, this is done empirically, but for some mathematical fun, note that a .003″ thick tape placed at the end of a 7″ fence will change the angle .025° from 90°, and moving it to the 6″ position will adjust that new angle, in turn, by .004°. Using a .001″ plane shaving would create an initial adjustment of .008° from 90°. Shims are magic!
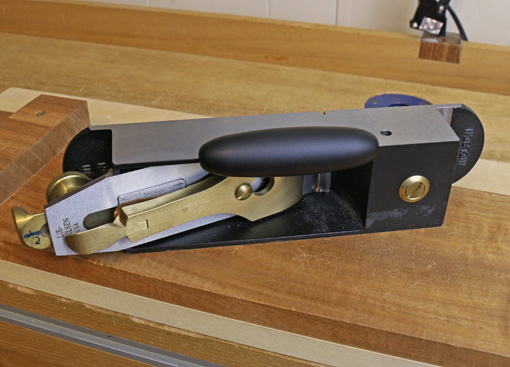
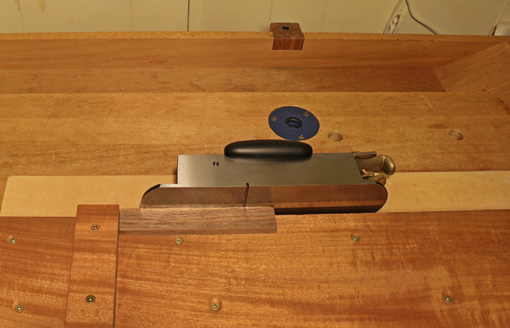
3- Hold the plane like you mean it
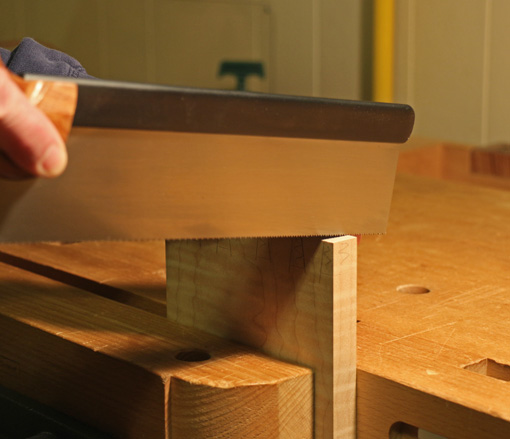
Whether you have a dedicated shooting plane like the #9 I use, or use a nice heavy bevel-up bench plane, or, yes, a bevel-down bench plane, grip that righteous beast over the blade. Get the big muscles at the base of your thumb firmly down on the sidewall of the plane, wrap your fingers around into the throat of the plane, and plant the ends of the fingers on the lower part of the lever cap. That way, you can control the ride of the plane on the horizontal track while keeping the sole tight sideways against the vertical runner.
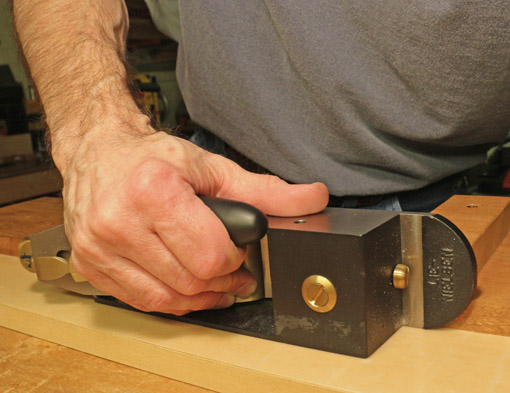
Furthermore, you get a good tactile sense of the blade’s cutting action. In concert, all of this promotes accuracy by preventing the plane from tipping in any direction as it takes a firm, uninterrupted stroke.
I like the “hot dog” attachment from Lie-Nielsen on the #9. This is something I imagine could also be readily made by the user.