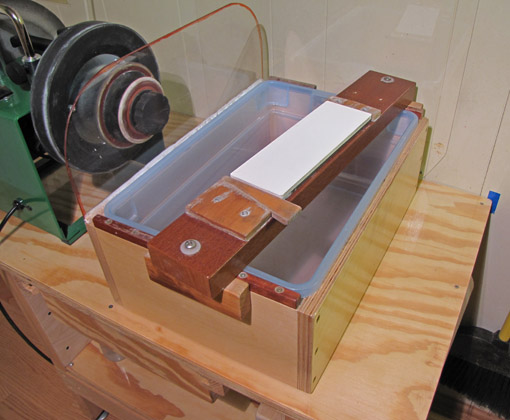
This and the next installments of the series will describe the box-basin-bridge apparatus for hand sharpening. This setup is quickly put into service and can be left as is after finishing the sharpening session – the mess is contained and may be efficiently cleaned up later.
Good ergonomics are important to this system, especially proper height adjustments. The height of the bench and its components will depend on your stature and body mechanics, the grinder and stones you use, how you construct the box-basin, and your sharpening techniques. Therefore, if you are building a sharpening station like this (or any other kind), please do not accept my height specifications. Rather, experiment and adjust everything to your situation, then build. By the way, I am right-handed.
The basic idea is a plastic basin spanned by a bridge that holds the sharpening stone, but the basin is not nearly rigid enough, so a strong box must surround it.
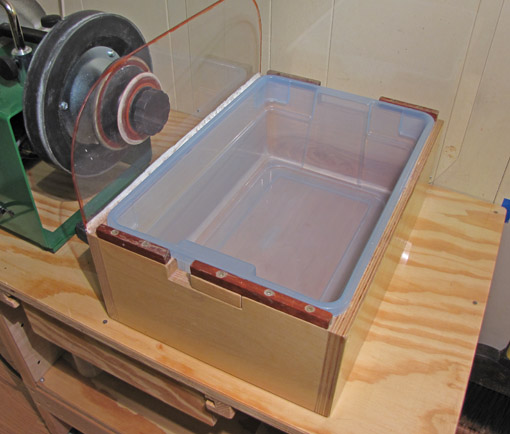
Buy the tub first, then build the box to fit snugly around it. In my setup, I used a sturdy Rubbermaid brand storage container with outside measurements of 15 3/4″ x 10 3/4″ x 5 3/4″ high, including the 1/4″-wide x 1/2″-high lip that surrounds the top edge. The inside dimensions of the box are therefore 15 1/4″ x 10 1/4″, and 5 1/2″ gives a little extra space in height.

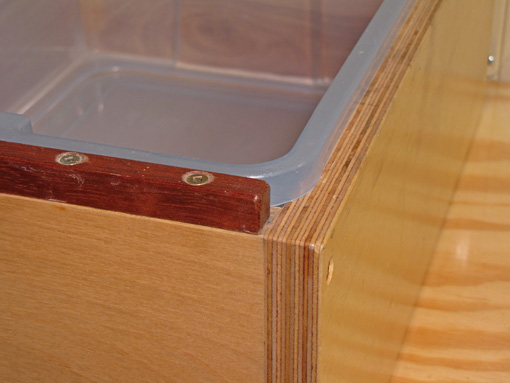
The box is made with butt-jointed 3/4″ plywood sides, and a 1/4″ ply rabbeted bottom, all glued, screwed, and finished with polyurethane. The inside seam where the bottom meets the sides is caulked. A polycarbonate spray shield, attached with screws, covers the left outer side and extends 6 1/4″ above it. The corners are rounded, the edge is made more visible with red marker, and the seam is caulked.
The box is screwed to the benchtop through the inside of the bottom near each corner. It is positioned just 1″ from the front of the benchtop for good ergonomics, with 5″ of handy space to the right.
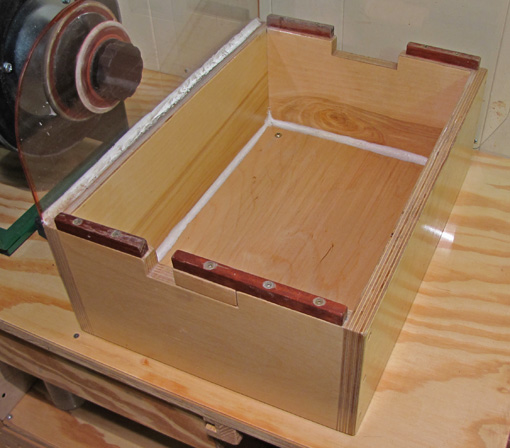
Note the notches in the front and back walls of the box to permit easy removal of the basin. As you can see, I made them unnecessarily large and had to insert a patch at the front to extend the area where the bridge could grip.
The bridge must rest on a rock-solid footing, not the top edge of the basin, so hardwood risers, 3/8″ wide and slightly more than 1/2″ high, are screwed to the top edges of the box at the front and back. It is important that they are proud of the top edge of the basin and slightly shy of the outer walls of the box.
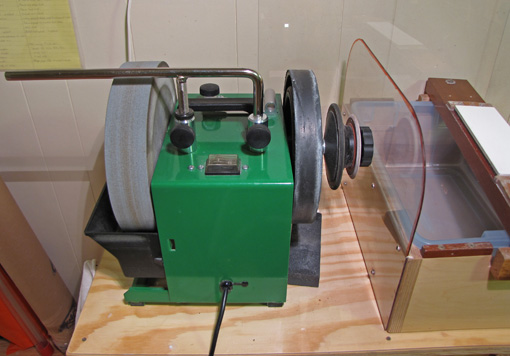
There is still plenty of room for the Tormek on the left side of the bench.
Next: the details of the bridge that holds the sharpening stones.
