2. Taking the readings
Whether a moisture meter or your blood pressure, if you don’t take the readings properly, they won’t mean much. So let’s take a look.
Pin meters:
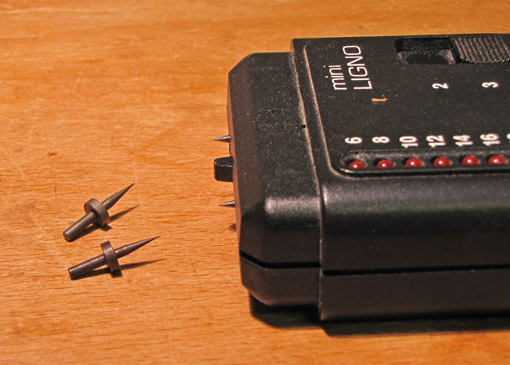
The pins must be inserted and held in without backing off, which will create a small air gap, or cause the spring-loaded activation button to release. This can take considerable force, especially if using longer pins. Though longer pins are available, even big hammer-in probes for some meters, I almost always use the default pins on my miniLigno that penetrate about 1/8″.
The pins at the left in the photo penetrate about 1/4″, and even those are difficult to push into dense woods, and I find they tend to break.
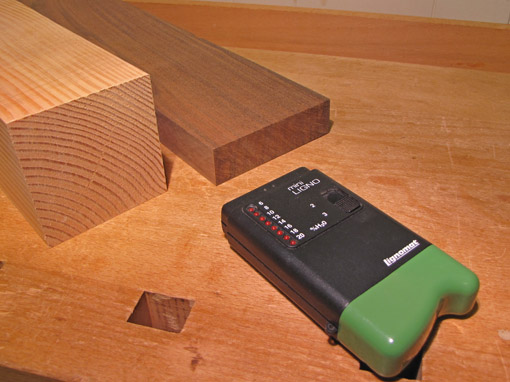
One of the advantages of a pin meter is its ability to check precisely for a moisture gradient through the thickness of a board that has not reached uniform equilibrium moisture content. In the photo at the top, my pinless meter, which has a measuring depth of 1/2″, could evaluate just about the full thickness of the 1 1/8″ Claro walnut board. Remember however, those would be readings of the average moisture content in the measured volume of wood. By crosscutting the wood, then promptly comparing pin readings taken in the end grain near the surface and near the center of the board, a moisture gradient can be detected. The same can be done, sometimes with dramatic results, in a stick like the 16/4 Doug fir in the photo.
I have found little or no difference in pin readings taken along versus across the grain. Furthermore, there is usually little or no difference in the readings for most species whether the meter is set on “wood group” 2 or 3 on the miniLigno meter.
Pinless meters:
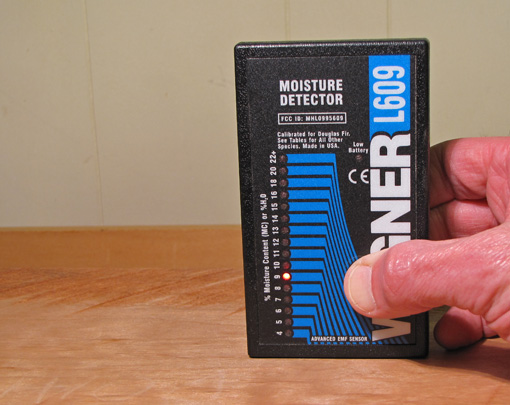
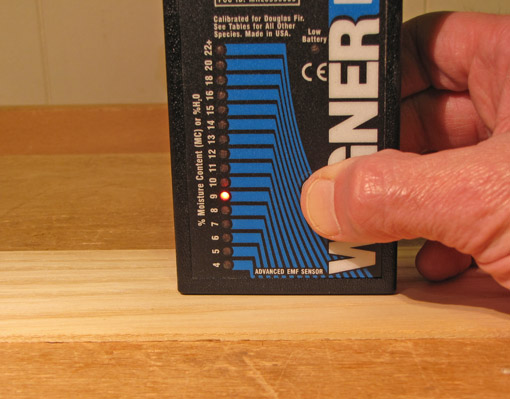
Readings are best taken on a smooth, flat wood surface with the length of the sensor aligned along the grain. In the photos of the cherry board, below, my Wagner L609 meter is reading 9% with the sensor along the grain of smooth wood, but 7% on the immediately adjacent rough surface. It read 11% with the sensor placed across the grain of the smooth, flat wood. These relationships are typical. Note also that if the wood surface is not flat in any case, the readings are likely to be relatively underestimated.
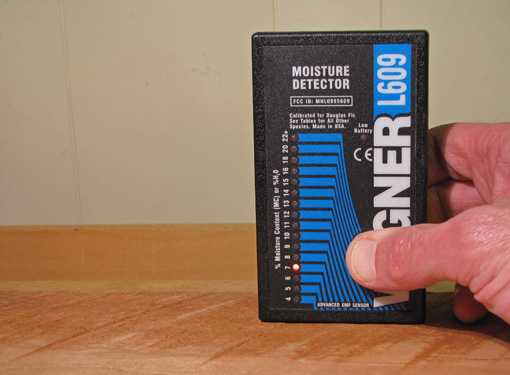
At the lumberyard, you probably won’t have the luxury of reading off a smooth surface, but at least you can make comparisons between similarly rough boards.
Pinless meter readings must be corrected for the density of the species. Some meters allow this to be programmed in before taking a set of readings, but with my meter I must hassle with having to add or subtract an amount based on tables in a little booklet that comes with the meter.
By the way, do not measure thin wood in the manner as shown below, unless you want to average it with the moisture content of your workbench!
Next: In part 3 of the series, we’ll look at important factors that affect the readings, especially for pinless meters.

