Using a straightedge is easy, right? Yes, but it does pay to use a technique that is both practical and consistent with the tolerance to which want to work.
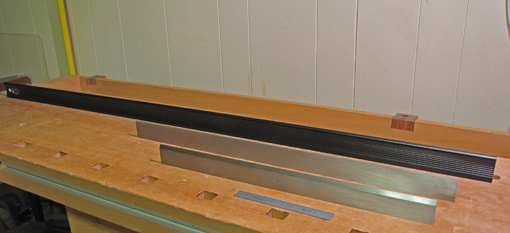
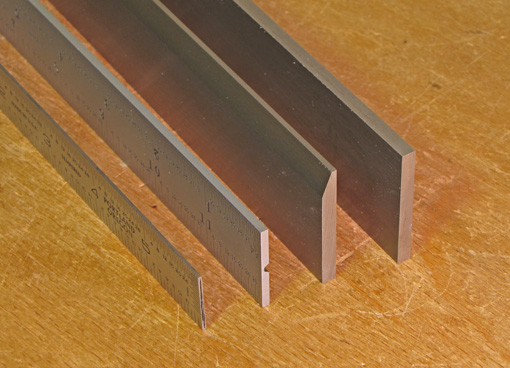
Pictured above are, from front to back, a 6″ Bridge City rule, the 18″ beveled Starrett #385, the 24″ unbeveled Starrett #380, and a Lee Valley 50″ aluminum straightedge. The photo below shows the thicknesses, from left to right, of the 6″ rule, a Starrett combination square blade, the #385, and the #380. The Lee Valley is about 7/16″ thick at its base.

Let’s look at three techniques for using a straightedge and consider some of the related features of different straightedges.
1. Eyes won’t lie
This is the way a straightedge is usually thought to be used. You simply hold the tool against the surface and look for gaps against a light. Done properly, this allows the eye to easily detect gaps of 0.0005″ (half a thou) or less.
It is helpful to use a diffuse, linear background light, such as a fluorescent bulb, and a thin edge against the work, such as a beveled edge. If a wider edge is used, ensure that your line of sight is parallel to the surface. A false impression of accuracy will result if the light under a gap is blocked from view simply because there is an angle between your line of sight and the width of the tool’s edge.
This technique can be awkward and tiring because you have to hold the tool and the work up to the light, or bend and maneuver to view a stationary surface. It is good for testing a plane sole or other small, very precise work. The #385 or an accurate small rule are good choices. Avoid tipping the straightedge which can introduce errors caused by any slight bow of the tool along the length of its face.
2. Shim it, shim it again
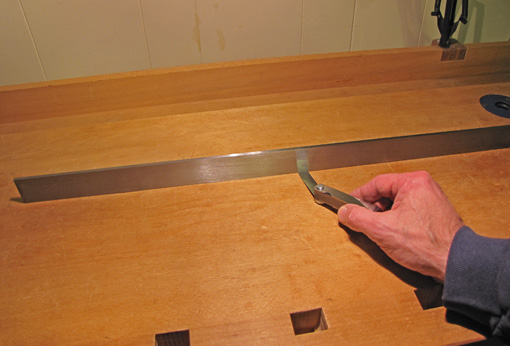
Here you lay the straightedge on the surface and use feeler gauges to seek out gaps. Look for hollows near the middle of the tool, but also press down near an end to check for gaps at the opposite end created by a bump somewhere in the middle.
A good way to work to a specific tolerance, say 0.001″ for a plane sole that you are lapping, is to put a leaf gauge under a wide-edged straightedge, and then gently pull the leaf to see if it drags the straightedge or slips through freely. The former indicates you are within tolerance (as long as there was no previous rocking of the straightedge), the later indicates a gap. Decide how large and where you can tolerate errors.

This technique is also handy to test a tablesaw top or jointer bed which you cannot lift and where bending is difficult or impossible to get your line of sight parallel to the surface.
The #380, or any tool with a similar wide edge, is a good choice for this technique.
3. Swing it easy
The first two techniques are slow and almost always overkill for wood preparation. So here’s the quick, easy, practical method that I suggest for dressing stock.
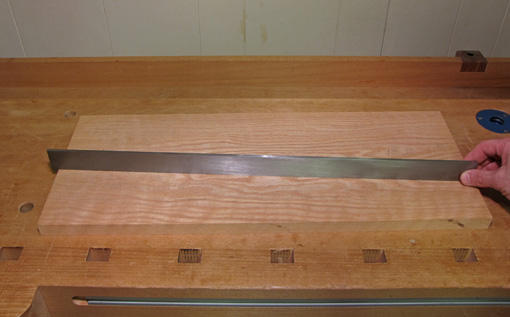
Set the straightedge on the wood, grasp and unweight one end, but do not lift it, and gently swing it along the surface. See where the tool “grips” or pivots. If it pivots just barely at the opposite end, the surface is slightly concave. If it pivots somewhere in the middle, you’ve got a bump. In woodworking, bumps are generally undesirable so you work with a one-sided tolerance, flat or a trace concave. You’ll quickly get the feel of this method.
Here is where a heavy, wide-edged, metal straightedge gives you a nice feel on the wood. The steel Starretts or the big Lee Valley aluminum work well.
This is convenient – no lifting or unclamping the work – and it quickly tells you what you want to know – that one-sided tolerance. It allows you to work in rhythm with your craftsman’s intuition.

In conclusion, the straightedge, while the simplest of tools, requires matching the technique to the task.

