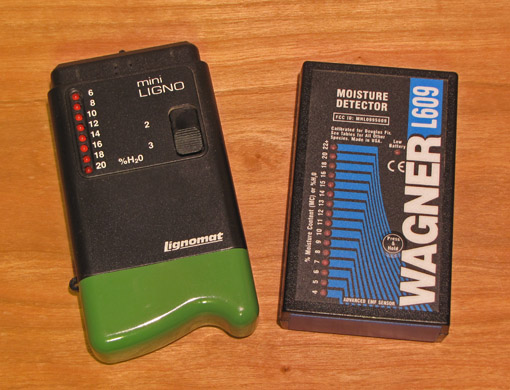
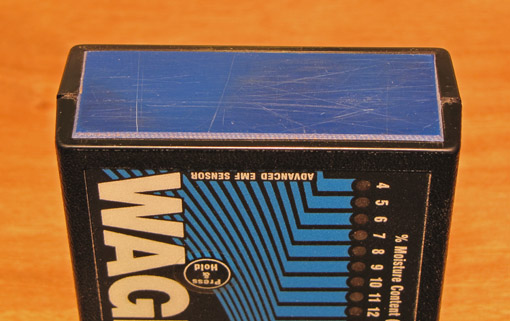
The relationship between wood and water is of great concern to woodworkers. Specifically, we want to know how much water is in the wood, and what will happen to the wood when that amount changes, as we know it always will. A moisture meter tells us the percent moisture content of wood relative to its completely dry weight.
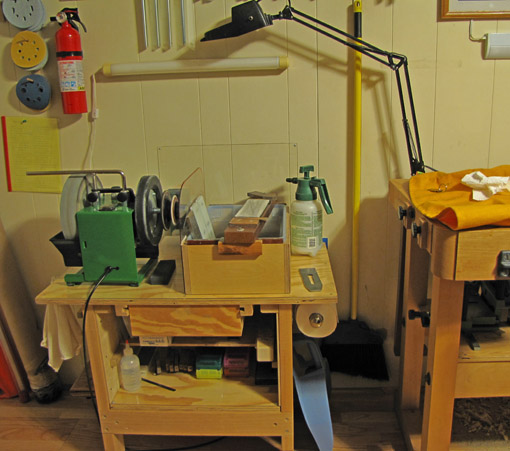
So, we all need a moisture meter, right? Well, on the one hand, great furniture was made for hundreds of years without moisture meters. On the other hand, a meter is a modern convenience that facilitates reliable management and use of valuable wood. I use mine regularly in the shop and when I buy wood at the lumberyard.
However, to be of value, a moisture meter must be used intelligently. That is the topic here, geared for the small shop woodworker. Reviews of specific brands and models can be found in the magazines, whose publishers have the wherewithal to do such testing.
There are four keys to making effective use of a moisture meter:
1. Understand how the meters work.
2. Take the readings properly.
3. Understand the main factors that affect the readings.
4. Interpret the information and use it. You are craftsman, not a data collector.
1. How they work
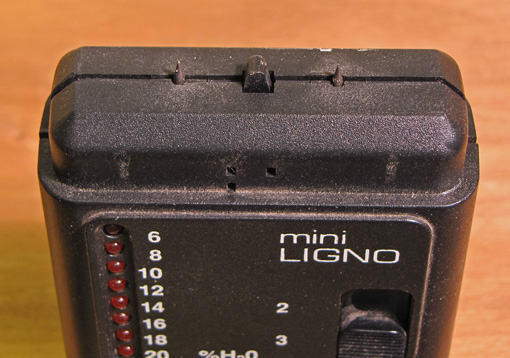
“Pin” meters involve sticking two pins, from 3/16″ to 2″, into the wood. The meter works by conducting a small electric current through the wood from one pin to the other. The water in the wood conducts electricity well but the wood resists electrical flow. The meter measures the resistance, and from this, figures out how much moisture is in the wood.
It is important to realize that the meter measures the path of least electrical resistance between the pins. This means the wettest wood layer that is anywhere between the two pins. (The exception to this is the use of insulated pins that have metal exposed only at their tips.)
“Pinless” meters involve simply placing the base of the meter on the wood (no punctures). The meter produces an electromagnetic field in a three-dimensional volume of wood, defined by the functional base area of the meter and the depth to which the meter is designed to operate. The field is altered by the moisture content and density of the wood, and the meter uses that alteration to figure out how much moisture is in the wood.
It is important to realize that the meter is reading an approximately average moisture content throughout that volume of wood.
Later we’ll look at how the operating characteristics of the two types of meters affect the interpretation and use of their readings.
– – – – – – – –
Before moving on in the upcoming posts about the next three points listed above, a couple of no-tech maneuvers deserve mention.
First, when at the lumberyard, you can estimate the moisture content simply by holding your hand on the wood surface. Use this as a relative measure for boards of the same species with similar surface quality (rough or planed) in the same storage environment. The wetter wood will feel slightly cooler and damper. It is a subtle sensation, but you can use your pinless moisture meter (or borrow one) to calibrate your senses. It can be done, and it’s quick and cheap.
I’ve heard of using your lips on the wood instead of your hand to increase the sensitivity. Now, as much as I love wood . . . nah, I don’t think so.
Second, if you buy wood and want to let it reach its equilibrium moisture content for the humidity level of your shop, you can probably do well enough by simply being patient. Feel the wood right after you buy it, compare it to boards of the same species that have resided in your shop for a long time, and wait it out for a few weeks, depending on the thickness of the stock. You can also resaw a small chunk and feel the inside surfaces, and watch its movement later.
If you wait long enough, the wood is going to be OK. But how long? Well, that is why it pays to have a moisture meter – efficiency, ease, and reliability.
Next: part 2.