Clamp setups
The most important step in a trouble-free clamping regimen for edge joints is to get a set of parallel-head clamps, such as those made by Jet and by Bessey. These invaluable tools eliminate most problems.
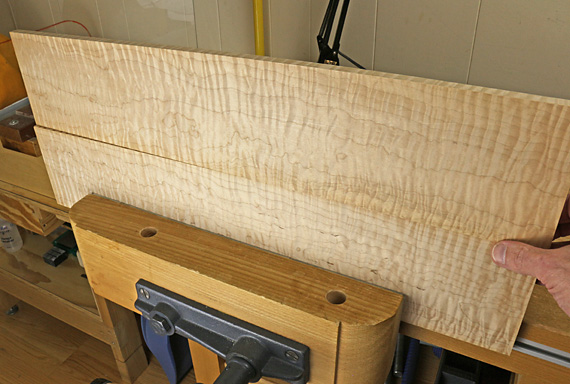
It is best to do the glue up on a flat base such as a workbench with a sheet of 3/4″ MDF on top or a dedicated assembly table. You then want to transfer that flatness to the panel to be glued.
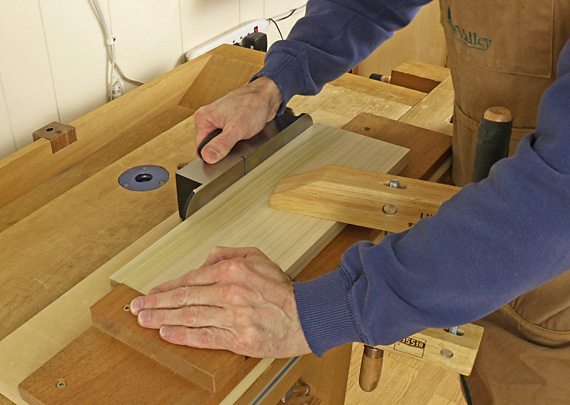
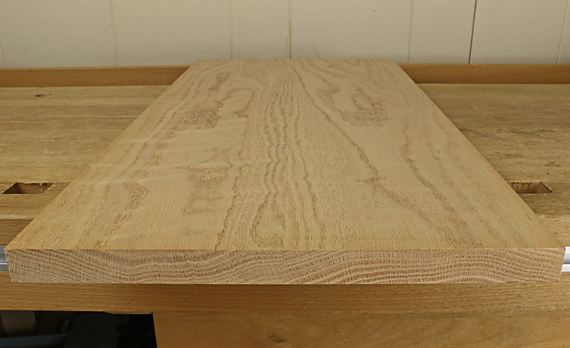
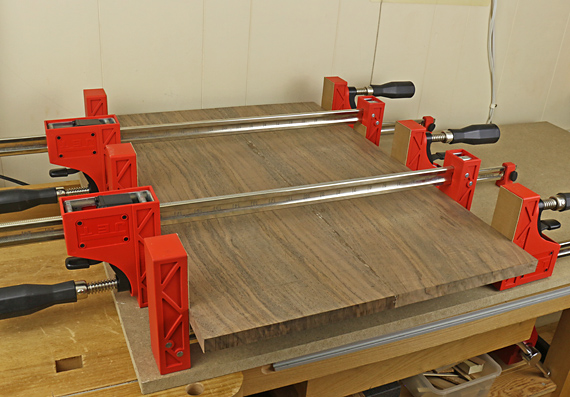
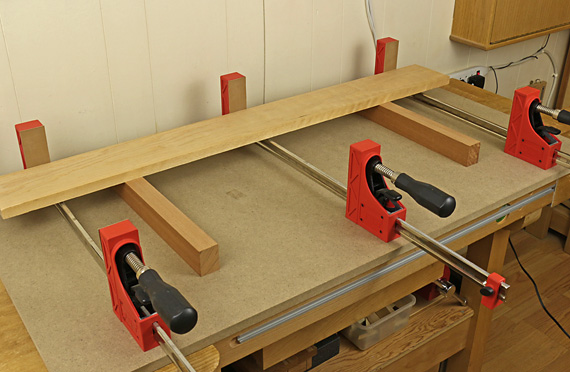
The best and most versatile method, especially useful for gluing up long boards, is to rip two thick boards to the same width and set them on the work surface parallel to the clamp bars where they will act as bearing strips. The top photo shows the bearing strips with the lower gang of clamps. One panel board is mocked up in place.
Make the height of the bearing strips sufficient for the boards to slightly clear the clamp bars, and cover their top surfaces with packing tape because glue will squeeze out on to them. You can make corrections for imperfections in the work surface by simply shimming the bearing strips.
[Tip: To make adjustments for creating a flat, untwisted bed for the panel, think of the bearing strips as winding sticks. View them directly as such or place actual winding sticks on top of them. Shim as needed.]
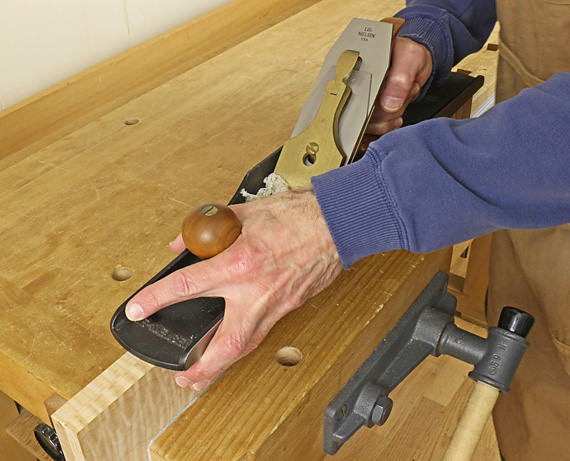
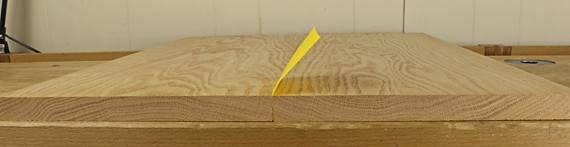
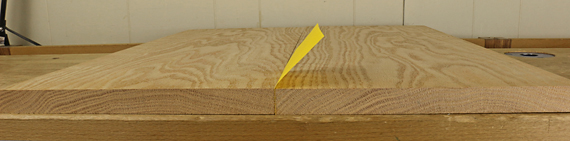
If the work surface is flat and the clamps uniformly sized, a quick method would be to put the boards directly on the clamp bars. However, glue will squeeze on to the bars, which is messy even if they are covered with plastic, an additional nuisance. Alternatively, pieces of 1/2″ MDF can be placed across the clamp bars and away from the glue lines, as shown below. This works well for small scale work and will keep glue off the bars unless it drips.
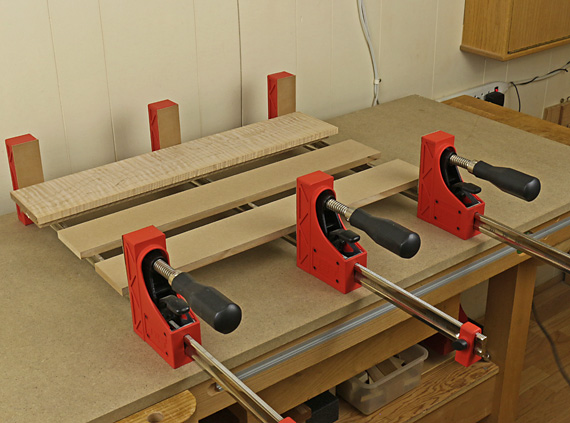
These setups keep the boards close to the underlying clamp bars and thus minimize forces that would tend to bow the bars. A possible problem with the second method, where there is no air space between the underlying clamp bars and the work pieces, is the transference of bow in the tensioned clamp bars to the glued up panel, though in practice and testing, I have not found significant bowing using heavy clamp pressure.
I almost always alternate clamps above and below the panel because this seems more reliable and safer, especially when later moving the assembly around the shop. Further, it affords an opportunity to tweak the pressure balance if things are amiss. After experimenting with light panels, observing for distortion, I think one could get away there without alternating, but I have found no practical disadvantage to alternating in any case.
The bars of the fewer upper gang of clamps will be further from the panel boards, so in theory, this produces asymmetric bowing forces. In practice, this is little or no problem but if there is any upward bowing of the panel, you can slant the clamp heads or use the short sides of the heads to bring the bar closer to the work piece.
Again, I have never found the need to use over-under cauls or those specialized clamps that produce a similar effect.
One more thing: Parallel-head clamps also obviate the need for the pyramidal pressure blocks described by David Charlesworth in the article “Accident Prevention” in Volume 2 of his excellent Furniture Making Techniques series. The blocks (or similarly, rounding over the outer edges of the panel) make good sense to neutralize the effects of the bowing that seems to occur with the sash clamps he is using.
Next: clamp pressure and how many clamps do you need?