Having recently been visited by a starting woodworker for some discussion and tips, this topic quickly rose. This moved me to write, so here we go.
You do not absolutely need any machines/power tools. Look in a museum, online, or in a book at some 300 year-old amazing furniture. No electric machines. Though surely one person did not make an entire piece.
Before about 55 years ago, I also had no power tools. Though I made lower quality things, a few are still used. Later, I bought an electric jigsaw and borrowed a power drill.
So, if you want the quiet, prefer the effort, like the feel, and maybe want to save money, enjoy non-electric woodworking! You can still make excellent things!
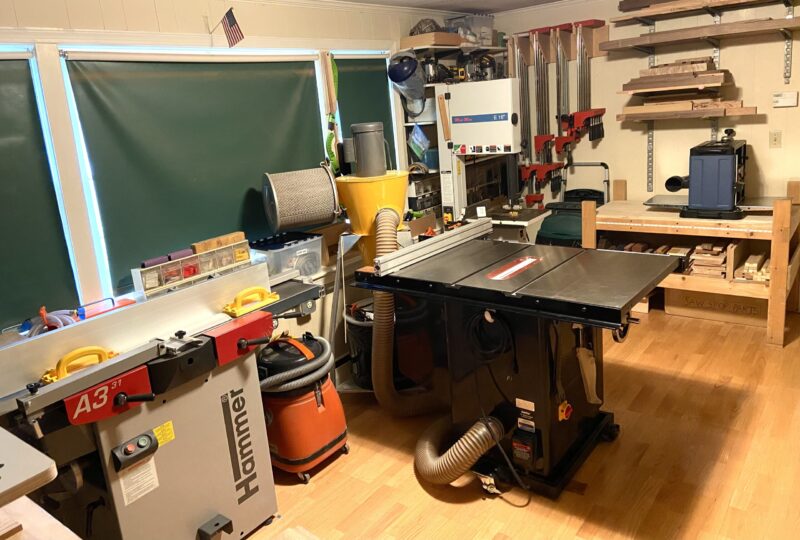
The first power tool I recommend is a thickness planer with a helical cutterhead and 13” cutting width. Most have a 6” cutting depth capacity, more than you are ever likely to need in usual use.
You can get one for well under $1000. A 15” model, though a stronger cutter with larger infeed and outfield planks, is much more expensive, much heavier to move, and you only gain 2” of cutting width.
I now use an Oliver (a little more expensive than some). It works very well for accurate flat thickness. It cuts an excellent surface finish with virtually no tear out, even in difficult wood. My old DeWalt, to which I built in a helical cutterhead, inexplicably bit the dust last year.
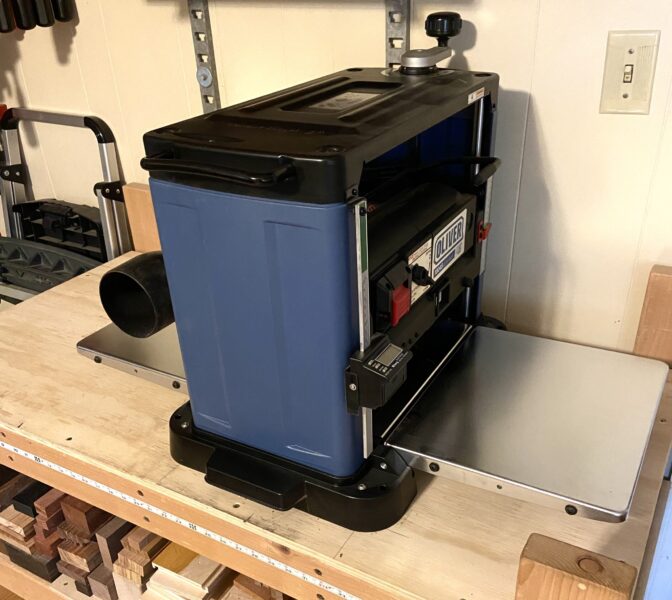
The thickness planer does more work, faster and easier, than any other power tool in my shop.
This is a fairly heavy machine to move, so I keep it removably screwed on a wood framed platform with at least 4 1/2 feet access on both in-feed and out-feed to allow the vast majority of my work. I use dust collection but that is getting ahead of the overall subject.
Of course, this machine only makes the side being cut come out flat if the bottom side of the board is already flat. Otherwise, the machine bends the board and transfers much of the error at the bottom to the cut surface at the top.
If this is your only machine, what can you do? The most traditional answer is to hand plane the foundation side to be flat. Keep in mind that hand planing has much of the same bending effect as the thickness machine.
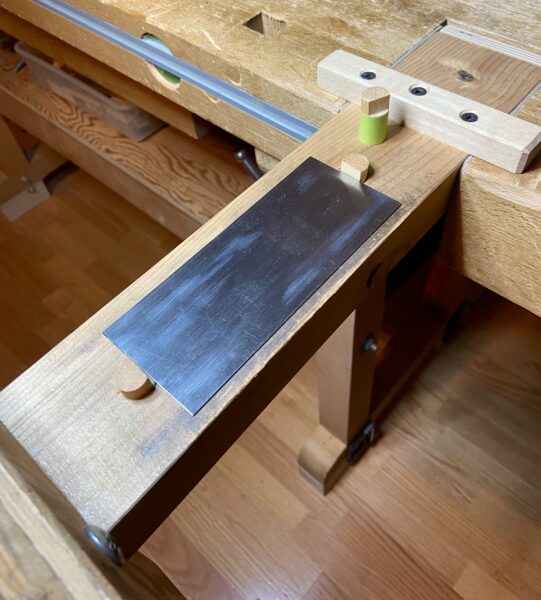
You can tape a few slivers of wood/veneer/playing cards at the bottom, using a truly flat workbench for reference to make it not wobble. Once the top surface is planed flat, flip it over, remove the slivers, and machine it. Alternatively, you can bypass hand planing by securely taping the slivers and then directly feeding it into the machine. Make the top flat, then flip it over to do the other side after removing the slivers.
Thickness planers at this level tend to slightly over cut the first 2 to 3 inches of the board going in and coming out. The simplest trick to avoid this is to send in a foot-long piece first, touch the tail end with just the workpiece going in, grab the foot-long by its leading end on the way out, and pass it or another piece in again at the tail of the workpiece. This works. Safety is your responsibility but please keep your hands well away from the opening of the cutting zone!
Having no other machine, you can still size, straighten, and square the edges and ends of the workpieces to perfection with a hand saw and hand plane. Sure, I do most by machinery, but if you are starting out and/or lack space or money, this is very doable work without plugging in.
Next, my suggestion for the next machine to buy early on.