The biscuit joiner just slightly makes the list of techniques for edge to side-edge joinery. It is not a strong or deep joint but it is easy to do. It does have a useful role.
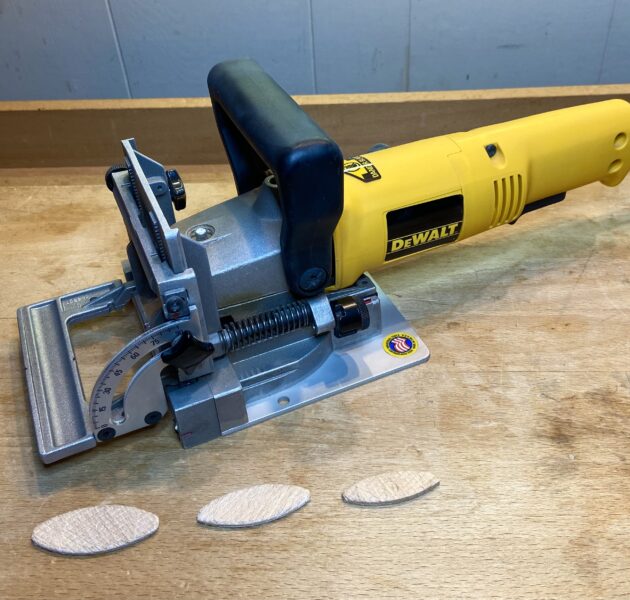
A machine for this can cost less than a $100 if you dare, $250 for a good DeWalt, or a thousand or two for Lamello exotics. I have had a DeWalt for many years without failure. It is handy to have the dust collection attachment. Now, niftier than my old DeWalt is their brushless, cordless version.
Wood biscuits that range in size from small to large (#0, #10, and #20) cover all work for me. The biscuits are only 5/32” thick. They fit snugly into the slots. I have never tried the plastic versions.

I have used biscuits for light weight, small, thin shelves and side pieces. I would not rely on them for frame strength or any other real strength issue.
The handiest role for biscuits is edge-to-edge joinery. That is, joining flat boards together to make a bigger flat board. Once you have flattened the pieces to thickness and planed the edges to produce the joints, it is invaluable to keep the thicknesses perfectly aligned. This saves you from a lot of unpleasant planing!
So, for the end to side-edge joinery that I am discussing in this series of posts, biscuits are not a core item. Still, the biscuit joiner is certainly worth having in the shop for most woodworkers.
Next: we’ll discuss screws. What you say? Screws for real woodworking? Yes, they have a role!