Archive for ◊ June, 2026 ◊

Author:
• Saturday, June 27th, 2026

At this point, I switch from the sharpening station to my scraper set up that I have described in a recent previous post. That rig has been working for around 40 years and still going strong. 

It pays off to first use your burnisher (you can read about what I use from a few posts ago) to push and stroke the flat side of the scraper. Keep the edge as close to flat as you can, without being totally in contact of the full width. It is really only touching near the edge. Go back and forth several times with moderate pressure. 
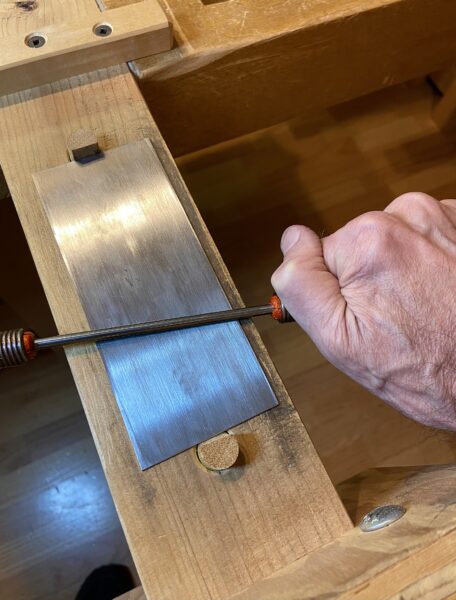
Finally, it is time to burnish the edge you will use for scraping. As seen in the photo below, the scraper is securely clamped with just a short amount exposed. The burnisher is pushed and/or pulled the full length of the edge with moderate pressure. 

I find it very helpful to move across some of the length of the burnisher as I push or pull it. I find this creates the scraper’s cutting edge better. 
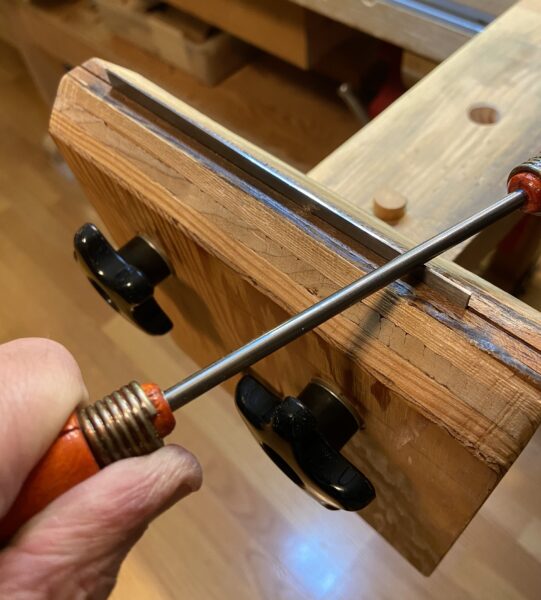
It is important to set the angle and keep it consistent throughout the stroke. But at what angle? I have changed over time, back and forth, and realize there are many good choices. 

I think about 5° is a good starting practice, and is what I generally prefer now. Note that as you go more steep, the scraper must be held and worked at a stepper angle to cut the wood. That starts to reduce your scraping ease and hand power. 15° is the maximum practical angle. 10° is overall better. I have seen as little as 1-2° recommended.

I set my angle at the beginning with my Wixey angle gauge. The real key is to be consistent throughout the burnishing stroke. This will make the scraper yield a consistent cutting effect for the width of the scraper as you work.

After using the scraper for a while, you can resharpen it by just redoing the final steps (i.e., what is in this post). No need to redo the sharpening stone work. Use the burnisher to flatten the curled edge by compressing against the flat side of the tool. The burnisher is held just a trace less than fully flat against the flat side of the scraper.

Then burnish the edge as you did before. You can even readjust the angle. After about three times, redo the whole routine again. It will be easier than at the start. 

I hope this has been useful to support, alter, or even begin your work with this very handy tool – the cabinet scraper. It is not a mysterious or difficult tool to prepare and use! Happy woodworking! 
Author:
• Saturday, June 27th, 2026

We well start from the beginning. 

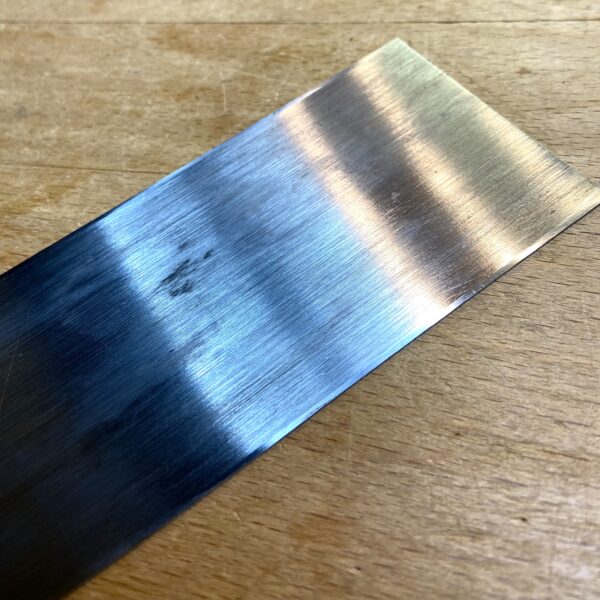
The edge is made flat, straight, and very smooth at 90°. This can be filed first, though I generally find this unnecessary because all can be readily done with sharpening stones. If you prefer, use a smooth mill file and a piece of wood to hold it square to the scraper edge. 

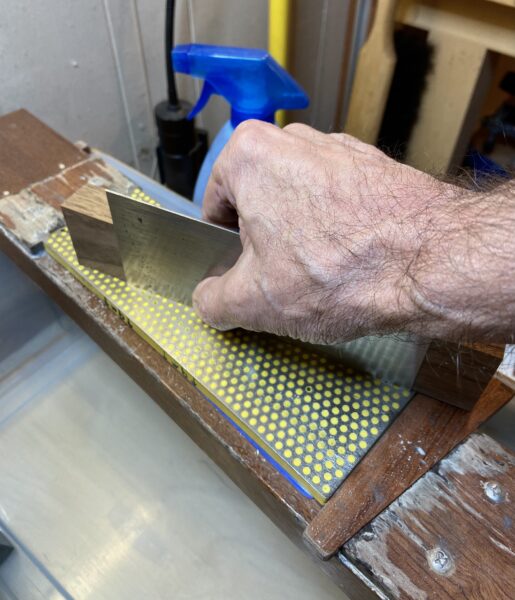
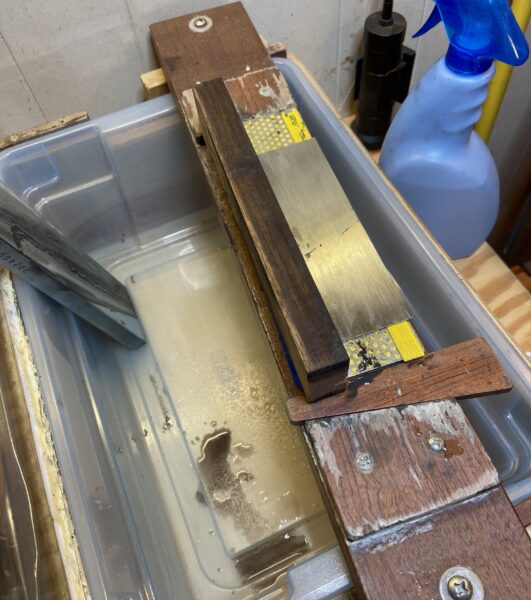
I start with my 325/45µ DMT diamond stone, using a simple block of wood to keep the scraper edge square to the stone while consistently moving it to different spaces on the stone as you scrape it. 

I do the same next on the 1200/9µ diamond face. Then I finish on the next finer step that I have available: the 8000/~2µ Kuromaku stone. To stop at 1200 is not bad but there is not much extra work to finish finer. Even 4000 is pretty good if that is what you have available. 

Next, the same general process is done to the flat face. Here, however, there is no need to take forever doing the whole surface. Just a short width – say 1/8” or so – needs to be treated to meet with the edge.

The easiest way to do this is the same general method developed by the late master David Charlesworth for the general sharpening step of the back of a blade. He used a thin strip – I like a .020” strip of plastic – under the blade on one side of the stone, while the other side the blade only contacts the stone with a very narrow width. For scrapers, I again use a simple block of wood to keep the edge contacting the stone flat and straight. Thus, only the most outer small fraction of an inch gets sharpened, and it is much less work.

Just like the edge work up, I go through 325, 1200, and 8000. I usually like to use grippy, waterproof gloves for this work on the wetted stones. 

I find that a little bit of back-and-forth between the edge and the side faces cleans things up nice and neat. And now you are done with the hard work!

Next, we will do the burnishing work.

Author:
• Monday, June 22nd, 2026

Now let us consider tuning up the hand scraper. Despite what you may have heard, read, or viewed, this is not a difficult task. What makes some demonstrations and discussions confusing is not presenting a simple understanding of exactly what you need to do with the scraper steel. Most demos do not clearly state what the actual task is for each step.

In the next post I will show and discuss the actual tasks being done. In this post, I will state what is done to the scraper metal at each stage. 

First, the sides and the skinny edge must be made flat and smooth. You do this because the steel is not manufactured smooth enough. That is ok. They should also be approximately square to each other. The surfaces should be honed to at least 1000 stone grit. Better is about 4000, even more. 

Second, compression should be applied to the side faces, just near the edges. Push hard on the steel repeatedly. 

Third, the edge itself should be burnished at an angle – to create the hook which is used to cut wood – scraping.  

That’s it. Done. There are variations and alternatives to achieve each step. These steps are not fully repeated for every sharpening. Every three or so sharpenings, however, require going back to some of the earlier steps. 

Coming up, I will show how I do it. There are other equally good methods and helper jigs to achieve the same principles.  

When you see – and understand – what is going on, you can alter the methods and probably come up with some of your own.   

Author:
• Monday, June 01st, 2026

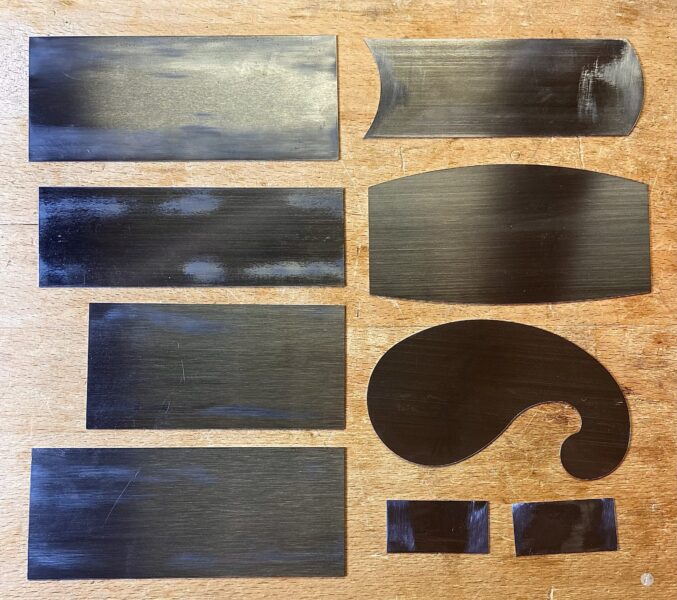
Here are the dozen hand-blade scrapers that I use. In upcoming posts, I will discuss usages, techniques, and how to sharpen them. 

These are all steel in the hardness range of Rc 48 – 52. Most are Lee Valley. Lie-Nielsen and Bahco are similarly very good. Thickness dimensions are inches/mm.

Top photo, left column, top to bottom:

Sizes approximate. Widths vary from initial purchase due to honing wear.   

1.  .020”/.50mm  6” x 2 1/2”

2.  .024”/.60mm  6” x 2”

3.  .024”/.60mm  5” x 2 3/8”

4.  .032”/.80mm  6” x 2 2/8”

Top photo, right column, top to bottom, curved models:

1.  .024”/.60mm  concave-convex

2.  .024”/.60mm  double convex with different radii

3.  .024”/.60mm  gooseneck 

4.  .016”/.40mm  two mini scrapers 1” x 2” (1” parts sharpened)

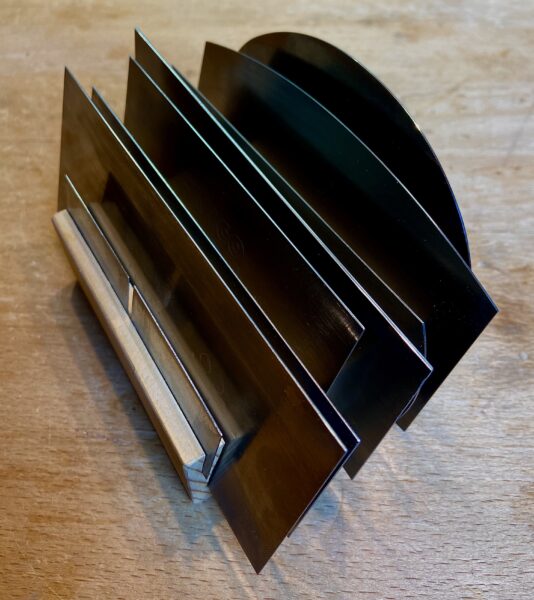
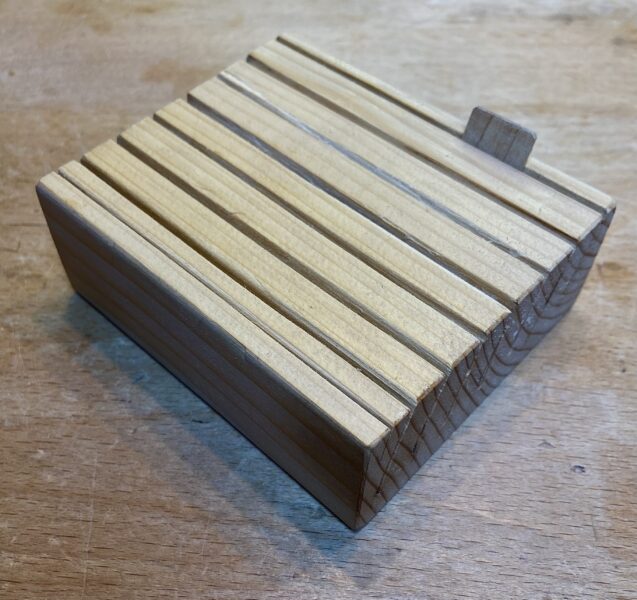
Here is the simple storage block (4” wide x 3 1/2” long x 1 3/8” high) with angled slots sawn:

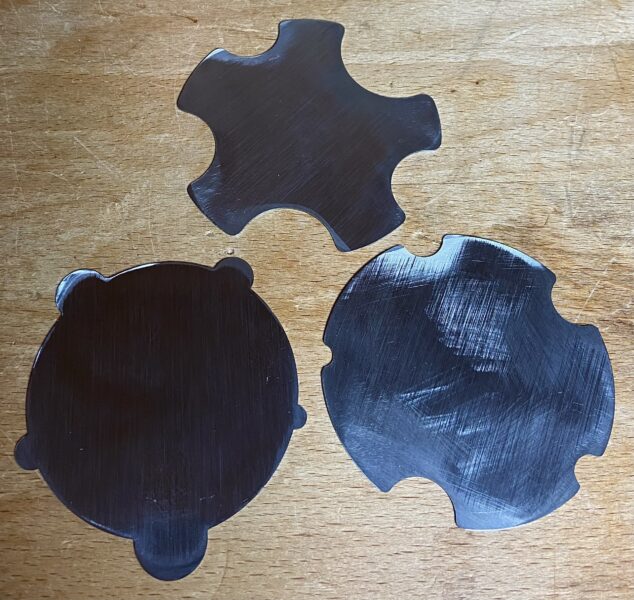
In the photo below, are three concave and convex small scraper combinations, 3” to 3 1/2” overall diameter. I find these very handy. I do not recall the brand name.

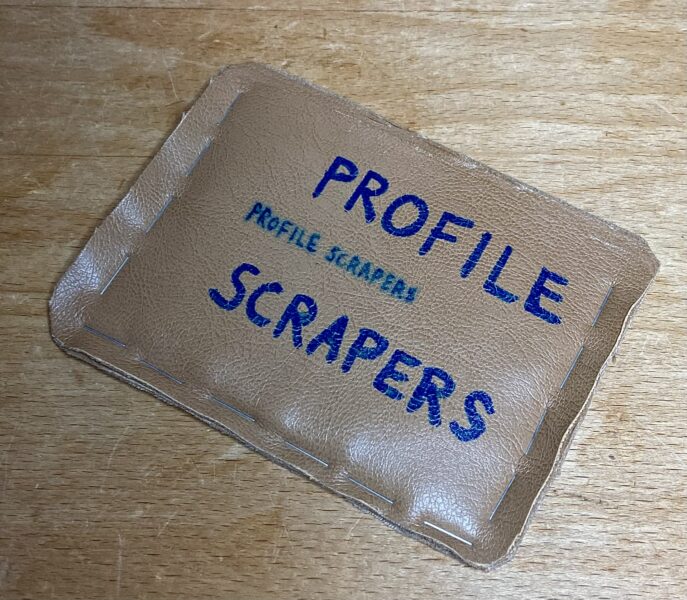
I store them in the simple thin leather stapled wallet:

So that’s my crew. I have left the cabinet scraper out of the discussion for now. More scraper discussion is on the way, including how to prepare, sharpen, and work with them.

Category: Tools and Shop  | 3 Comments