Archive for ◊ August, 2026 ◊

Author:
• Friday, August 28th, 2026

To finish this series, here is a suggested list of the remaining tools to add to the shop as it builds. 

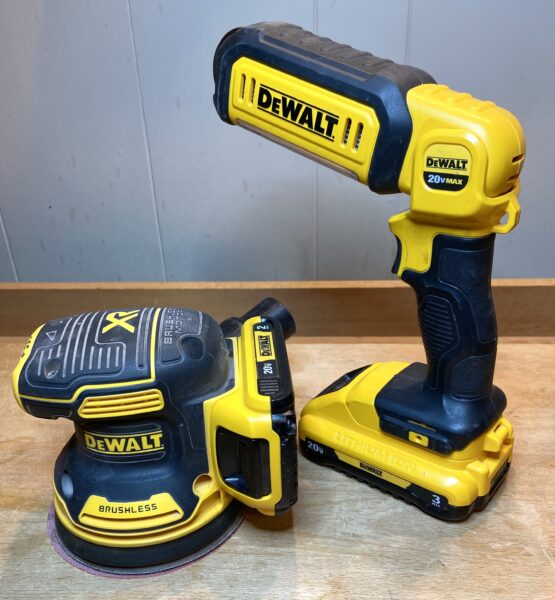
1. Cordless hand-held power sander. The 5” diameter is the most versatile and  practical. I like the 3M Xtract Cubitron II Net Disc 710W sanding discs.  

2. Flashlight. Cordless in the brand you choose to share 20V batteries and chargers. This functions much more often than expected.

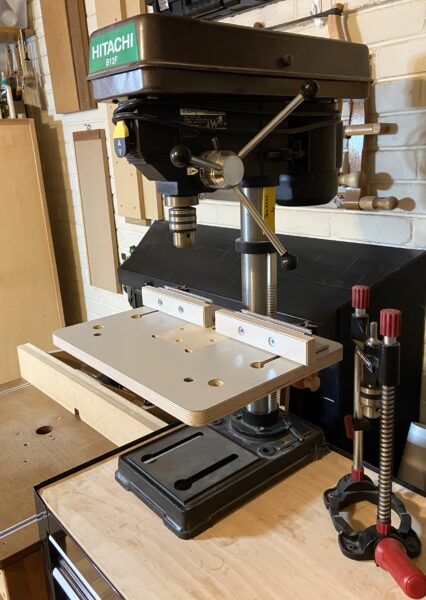
3. Drill press. The bench top model with 2 3/4” depth of cut and small table has done everything I have needed. A floor model is much more expensive. (Please see the brief safety notes in some of the previous posts in this series. Safety is critical for drill press work too.)
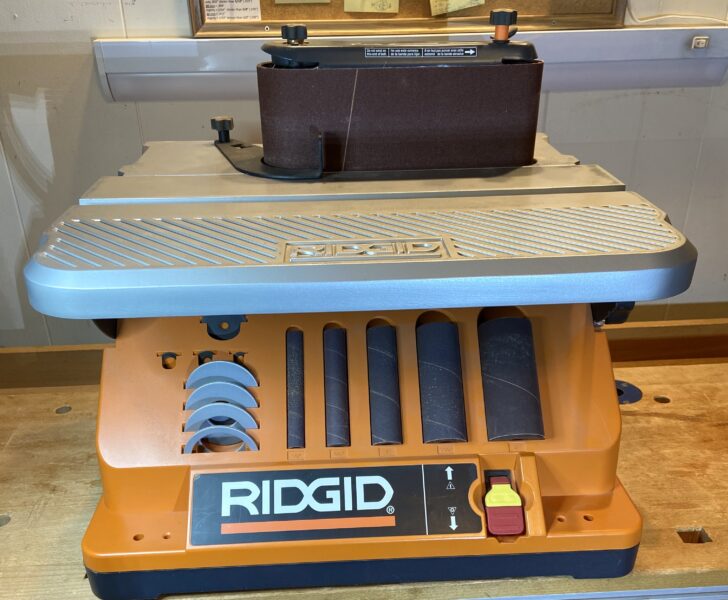
4. Belt/spindle/disc sanding machine. There are many varieties in this group of machines, so it probably is best to chose as your creative interests evolve. I have a Ridgid.
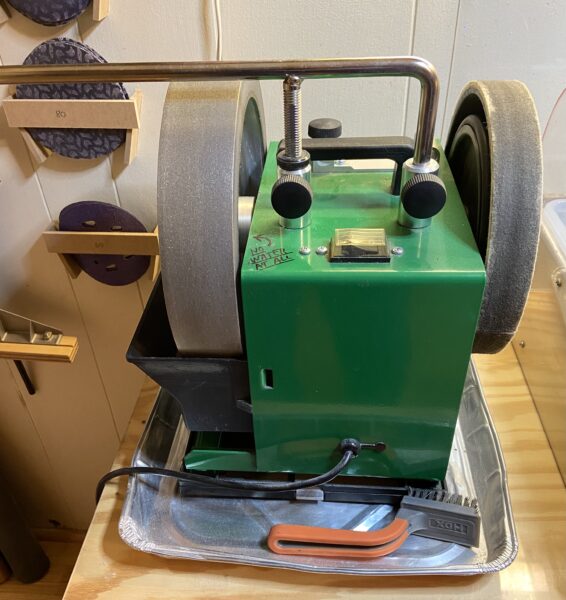
5. Grinding wheel for part of the sharpening process. I have had the Tormek for a long time and modified it. I do not think it is necessary to spend nearly the cost of it. Spend a lot less on the machine and put in a CBN wheel.
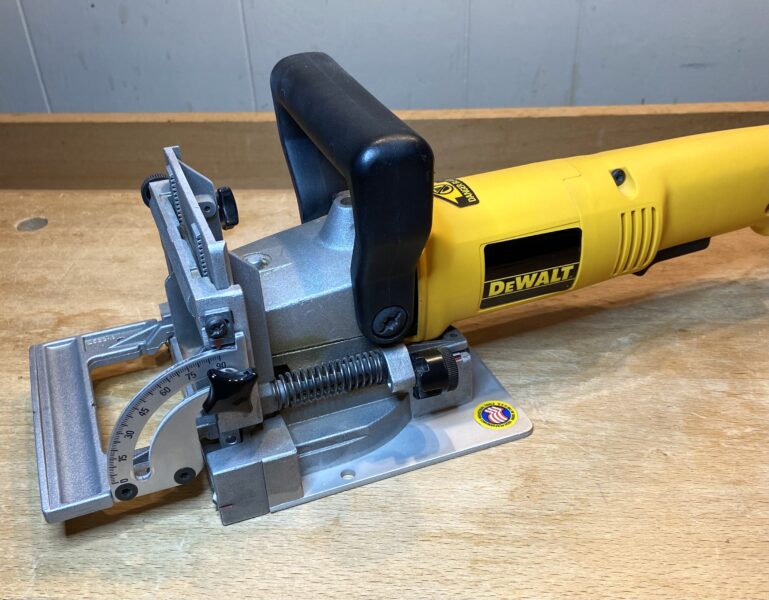
6. Biscuit joiner. Not big on the list but it is handy for some light joinery and edge-to-edge joinery. 
Two machines that are absolutely essential or totally unnecessary. It depends on your construction interests.

6. Lathe. I have never used one! It simply is part of woodworking that I do not do. I see my friend Rob’s incredible, beautiful work, so it is tempting, but the shop is out of space and there is only so much I want to do. Look around and follow your interests. 

7. Scroll saw. Another one I do not have now though I have used one in the past. If you want to do marquetry and other woodwork art, this is a machine you want.

Other machines:

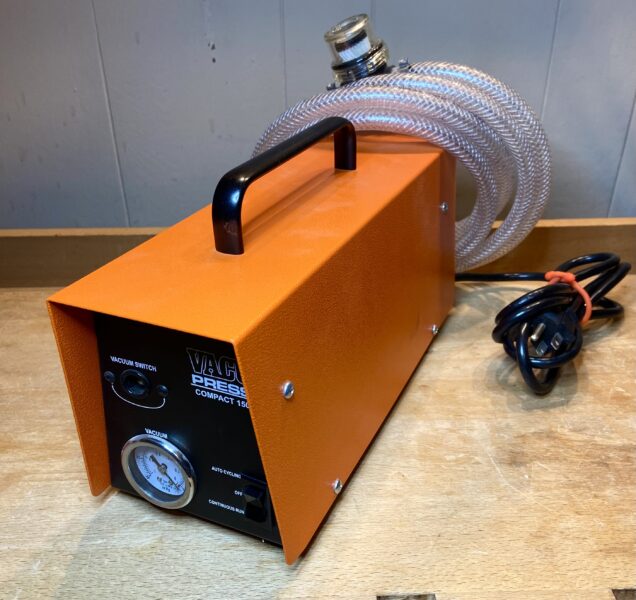
8. Veneer press. My small VacuPress makes veneer paneling much more practical. Pressing with lots of clamps and boards is more difficult and hard to get done fast enough for uniform pressure. 
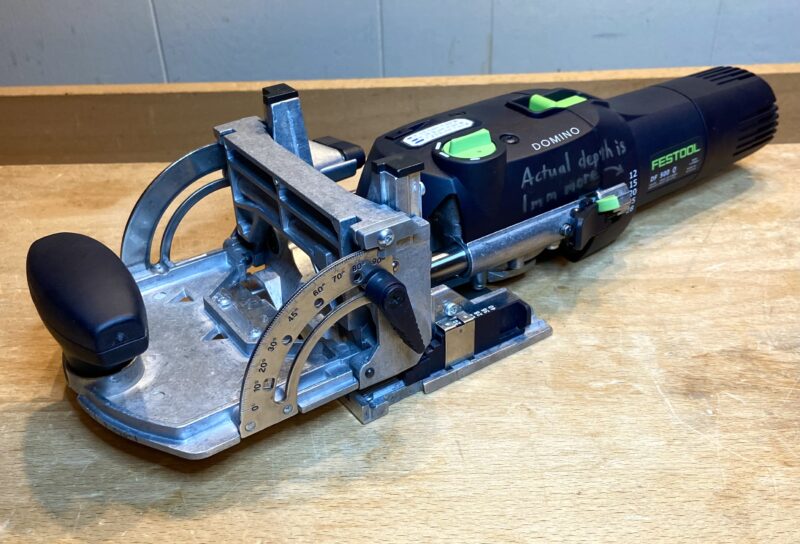
9. Domino. Yes, Domino$. As I discussed in a previous series of posts about mortise-and-tenon joinery and alternatives, a Domino is really handy. As expensive as it is, maybe check on new imitations. 
10. Mortiser. Having briefly had one in the past, I think only very high quality is worth using. However, I do not see a need for one at all for most woodworkers. In the few situations where mortises cannot not be routed, they can readily be chopped with good mortise chisels. Buy those instead.

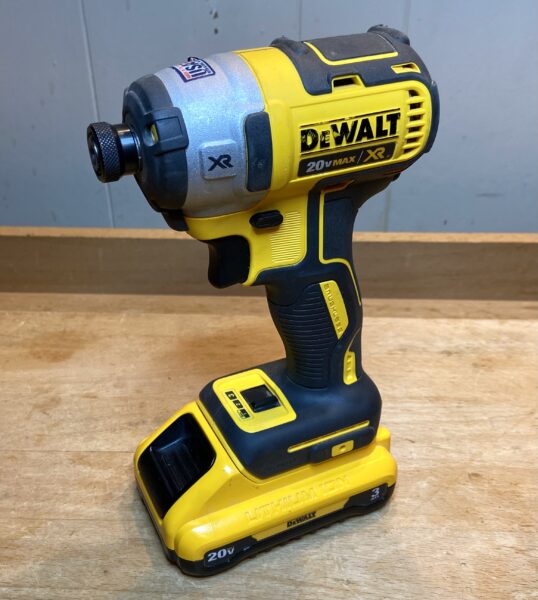
11. Impact driver. Cordless. Generally not necessary for general woodworking but very handy for screw work. 
12. Miter saw. Wonderfully accurate to crosscut angles in all directions with the bevel and tilt combination. Beats the table saw for that. This was essential for me to add wall-ceiling molding to most of my house. I later sold it after a while as I found it not essential for my woodworking projects. I probably should have found space for it.

13. Drum sander. Sanding width of 10” or 16” or 25”, etc. These can be helpful for large areas of sanding and some construction things like band sawing your own veneer sheets and then evening the surface thickness. After I owned one for a while, I sold it to open up shop space for things more needed. Some woodworkers find it very helpful though. 

Are there more? Yes, of course. But in this series, I have tried to help developing woodworkers (really all of us) build there machinery plan as woodworking advances.

As you build, remember that the 18th century woodworkers built all of their great work without electricity! So, the job can be done. You run the shop. Let the machines work for you!

This has been a 7 part series. 
Author:
• Wednesday, August 19th, 2026

The time for dust collection really comes when you get item #1, the thickness planer. It is difficult to run any shop without dust collection. Let’s break it down into sections. 

The lighter, smaller, and mobile tool is the shop vac. This cleans up scattered wood dust and particles, including from hand woodworking. It also attaches directly from many types of machine work such as some routing and most hand held power sanding. 

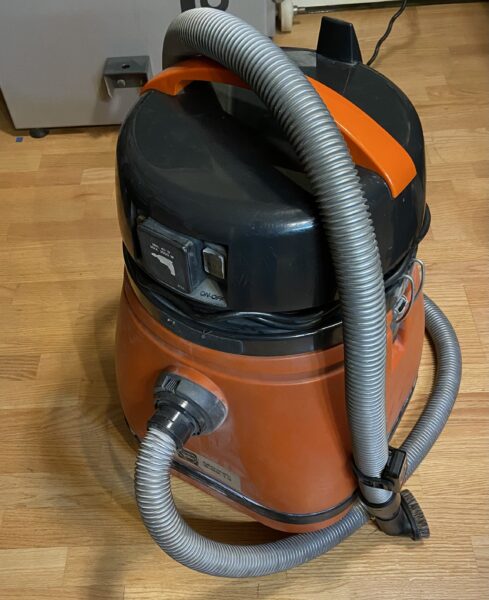
Long ago I made do with a cheap vac from the home center – very noisy and not efficient. Much better is the Fein Turbo II (see photo) which has held up well for many years. This combines a filter and a non-woven fleece bag making it efficient and easy to empty. Less expensive options include DeWalt and Shop-Vac models.  

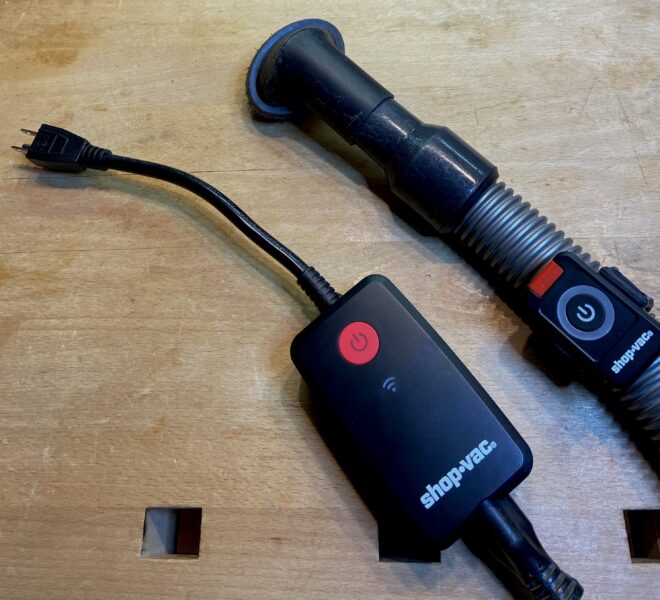
I like a wireless remote control to save the hassle of reaching around when working with things like cordless sanding or Domino. (The one in the photo is a recent replacement of an older model.) 

Also available are attached dust separator-collectors that collect more volume than fits in the vac itself. This seems like a good idea but it would take up too much space in my shop.  

For the big volume wood dust and debris – the thickness planer is the best example – you need a big dust collector. Let’s go through options.  

To save the most money, a portable dust collector is an option. It uses the usual 4” hose and takes up generally less space. I have not used one of these but at least one is said to manage a thickness planer.

In the next lowest price range are the machines with the loose absorption bag at the top and the collection bag below, with the motor on the side. Having used one of these long ago, the drawing capacity is good but the filtering efficiency is not good. 

Moving up in price is with a significantly better filter at the top, again with the bag below. Some look quite good. 

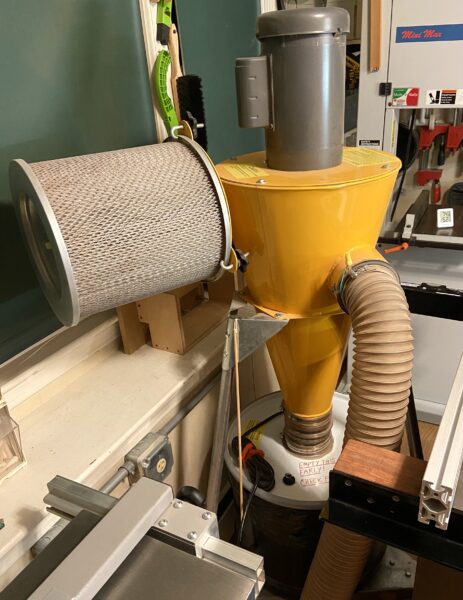
Going up more in price, I like the machine that I use – the Oneida. The HEPA filter really helps keep the shop clear of fine dust. Overall collection is excellent. (From their site, the Mini Gorilla that I have had for a long time has been replaced with a more convenient design.) They also have attachments to other dust collectors and shop vacs. 

In this post, I am just outlining for general guidance. If you are looking to buy dust collection machine(s) to build your shop, check models online, in a store, and with friends who use them. 

To make choices for dust collection in your advancing shop, I suggest understand: 1. collection strength and volume, 2. dust exposure, 3. space, 4. convenience, 5. cost. 

Next: for the final post (#7) in this series, we’ll go through most of the rest of machinery to develop a shop. 

Category: Tools and Shop  | 3 Comments
Author:
• Monday, August 10th, 2026

Where are we so far for the developing woodworker building the machine segment of his or her shop? 

1. thickness planer with helical cutterhead

2. router with multiple functional accessories, and a router table built or bought. And throw in a hand-held power drill.

3. table saw, big or small; think safety 

4. band saw; maybe even start with a jig saw or add it on

Now for #5: Jointer.  

Like all the other power tools, you can do high level woodworking without it but the idea of this series is to help along most developing woodworkers with how to sensibly, efficiently, and money-wisely build the shop.

I see little point in going less than 12” cutting width for a jointer, just as I suggested in Part 1 of this series to get a common 13” cutting width for the thickness planer. Of course, most of the time, only some, maybe little, of the 12” is used, but it is really worth it when you need it. 

But what about a jointer-planer combo? Great – with a good helical cutterhead and the 12”. That is, if you can afford a sufficient quality and have the space.

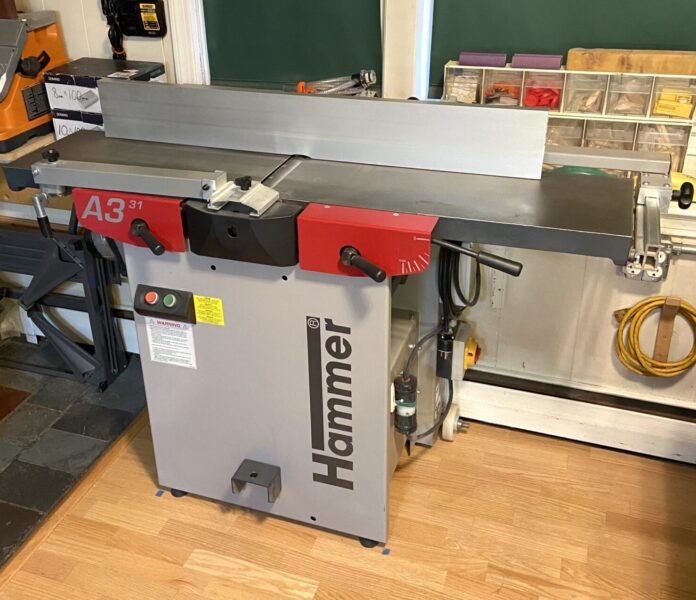
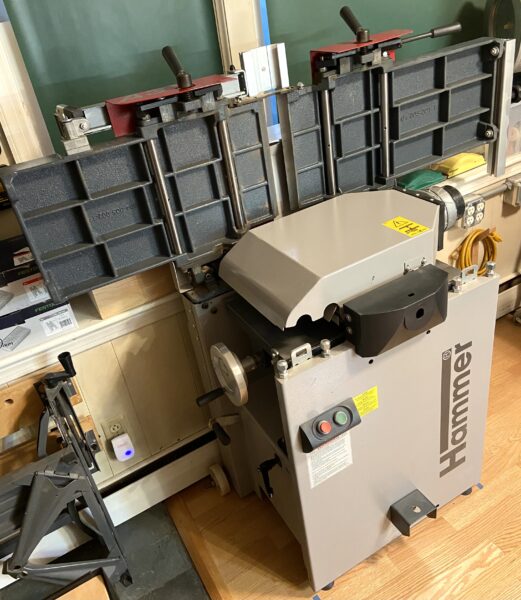
I got an excellent Hammer combo (see the photos) before helical cutters became common. I hardly ever use the thickness planer segment now. I instead use the Oliver with the helical cutter (see post part 1). The “old fashion” blade cutters in the Hammer work remarkably well, though any defects from difficult grain can be fixed up with the Oliver. 

For practical purposes – money/quality/space/future plans – I suggest the thickness planer (with a good helical cutter) first, then latter the jointer – also with a spiral cutterhead. Though I have not used such a jointer, I think it is not bad to save with “spiral” cutters that are HSS/tungsten-carbide/two edges, not four. (Maybe a Rikon or Cutech?) You can correct defects with the better thickness planer cutters. 

These are relatively light, small machines that are manageable in almost any shop. 

One tip: Any new jointer should be checked (unplugged; no power on!) to make sure all of the cutting edges are in the same plane as the flat outfeed table. A trace higher is ok but edges should never be lower or variable across the width. A little imperfection on the alignment of the variable-height infeed table is probably OK. Primarily, the outfeed table governs the cut. And, of course, the fence should be flat and square set at 90°.

You can get each machine – thickness planer and jointer – for around a $1000, with the better quality for the thickness planer. 

———————

CAUTION: Electric woodworking power tools are extremely dangerous and can cause severe injury including amputation of fingers. Please do not even begin to use an electric woodworking tool without first learning safety from a highly reliable source, understanding, and using appropriate safety procedure. 

This website is NOT the source for learning this important practice. The brief mentions on the topic are not nearly sufficient to keep you safe.    

———————

So there are my ideas so far. These posts really are more to help you come up with your own decisions as you build a shop, rather than declaring what are necessarily the “best” decisions. Like the rest of this blog, I want to help you see things YOUR way, not to necessarily follow me!  

Part 6 coming up.

Category: Tools and Shop  | 2 Comments
Author:
• Thursday, August 06th, 2026

At this point in building the machine part of your shop, you would have a thickness planer, a router with key accessories, a router table built or bought, a power drill, and a table saw. What comes next is, I feel, a close call.

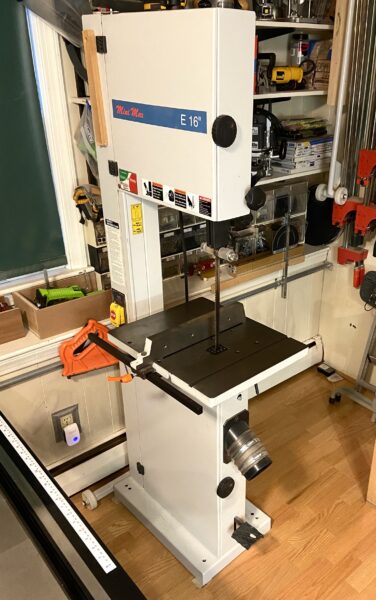
I suggest a bandsaw. With good quality, size, and blades, it will always stay useful, especially as you advance in designing projects and using interesting wood. There is no good substitute for a bandsaw. 

I suggest not doing what I did a long time ago. I bought a bandsaw with only a 6” resew capacity (maximum cutting height). After years of missing the ability to resew anything wider than 6”, I sold it for the saw with the 12” capacity that I use now. The larger saw takes up virtually no addition space than the smaller saw. 

12” is enough for me. The 2.4 HP is also good. I would not go less. A weaker 1.5 or 1.75 HP motor does not get through the cutting as easily or as accurately. The quality of the machine should be at least very good – wheel quality and alignment, table and guide accuracy, blade guidance, etc. 

Bandsaw blades is a big topic but suffice to say here that I do everything I need with three fine quality blades.

With the table saw and the band saw in the sizes I prefer, 220V outlets are necessary.

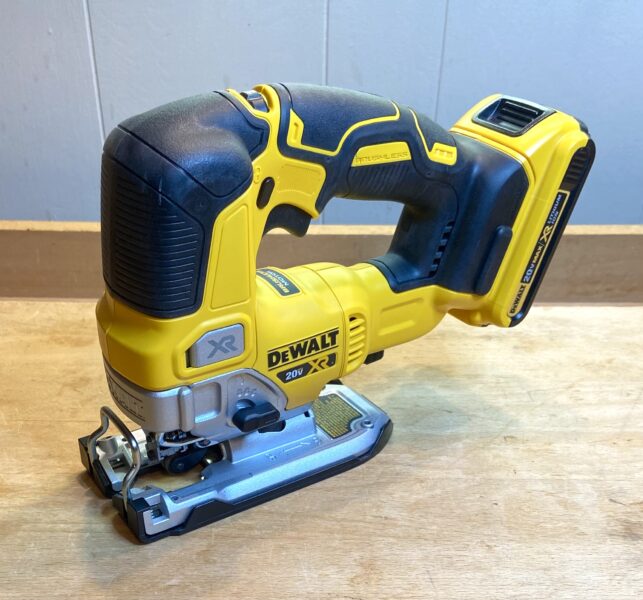
Despite all I have mentioned above, a lot of time on the band saw is done with 1” or 2” thick wood, often cutting curves and angles. With that in mind, I mention that one way of delaying buying a bandsaw is to get a cordless jig saw with a good variety of blades.

It will certainly not match a bandsaw but can still get a lot done if you do not mind making up for the reduced cut quality and accuracy.   

So now as your shop is continuing to grow in power machinery, let’s see what could be next. This is coming up in the next post!

———————

CAUTION: Electric woodworking power tools are extremely dangerous and can cause severe injury including amputation of fingers. Please do not even begin to use an electric woodworking tool without first learning safety from a highly reliable source, understanding, and using appropriate safety procedure. 

This website is NOT the source for learning this important practice. The brief mentions on the topic are not nearly sufficient to keep you safe.    

———————

Category: Tools and Shop  | 2 Comments