Dowel joinery. It takes little equipment. Even beginners can do it with care. Yet among many woodworkers, it just does not get the states it deserves. Let’s consider.
I learned the principle and technique mainly from pages 130 – 140 of The Fine Art of Cabinet Making, by James Krenov, published in 1977 and read by me just several years later. I had Tage Frid’s book Tage Frid Teaches Woodworking first and thought that explained dowel joinery. Despite lots of other great instruction by Frid, the dowel procedures were no match to Krenov’s book.
I highly recommend reading the late, great Krenov’s work in that book, and his other four books. I will discuss that in upcoming posts.
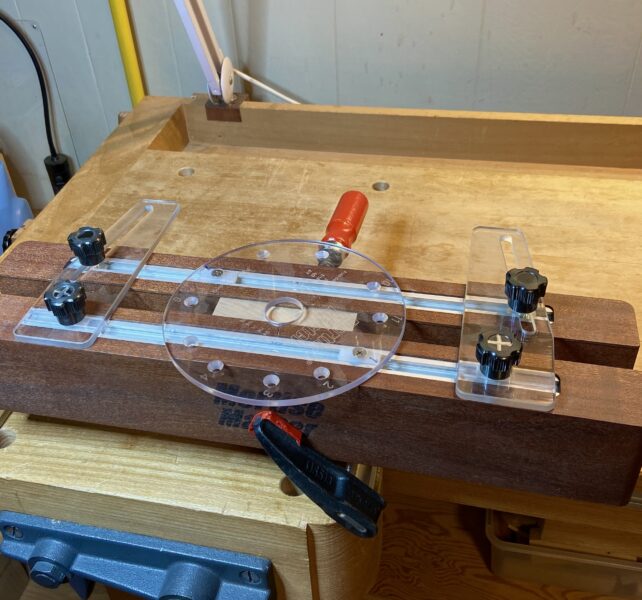
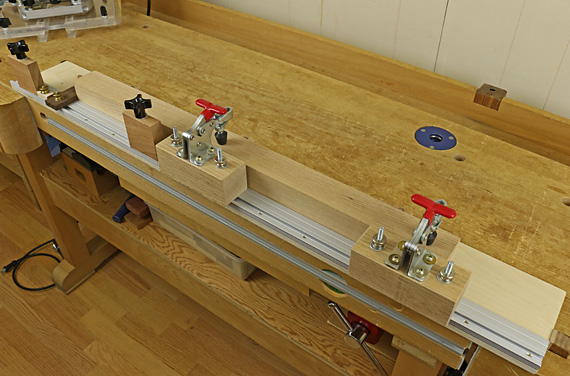
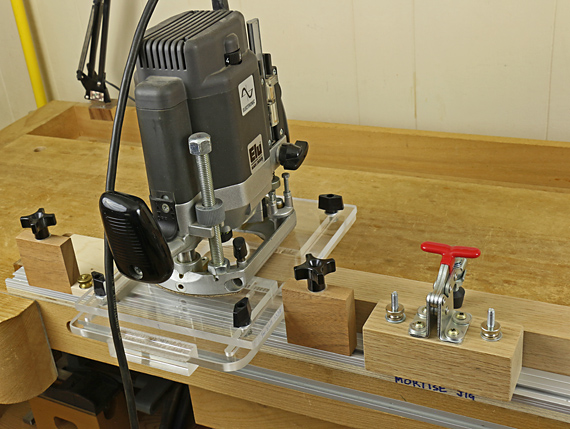
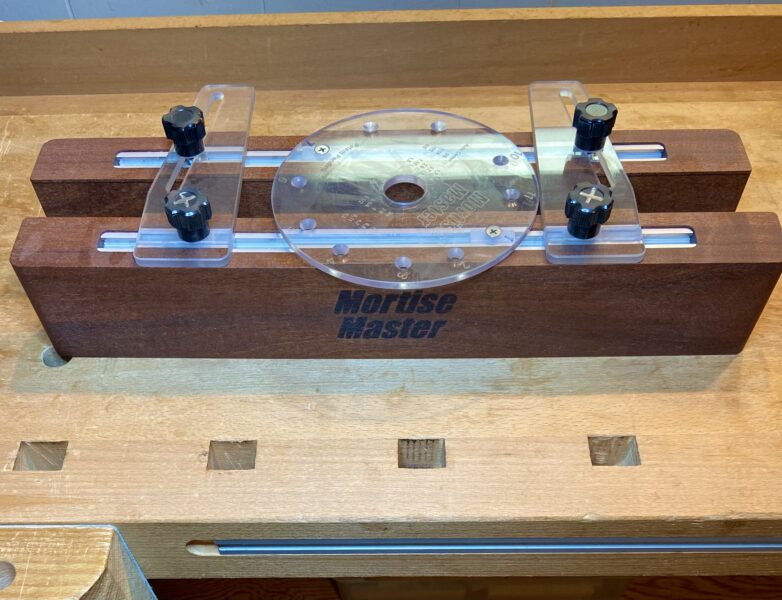
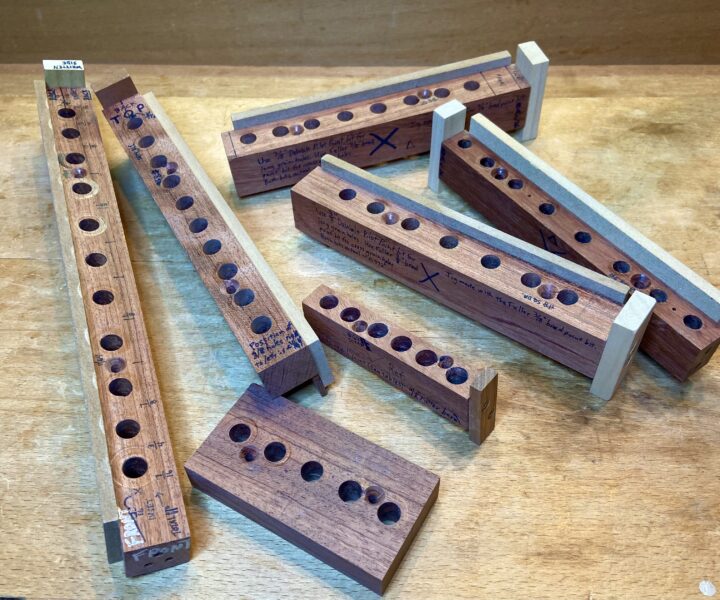
In the photo below, see the collection of remaining jigs for doweling that are directly based on Krenov’s writing. I used these for many years. They worked well. Now I usually use factory made jigs that make the job easier and faster.
There are two main issues with dowel joinery. First, as with almost all joinery, is strength. Bottom line: Yes, made well, they are plenty strong, including compared with mortise and tenon, and with Domino. The best strength assessment based on mechanical destruction that I have seen online is done by the DowelMax man. Find it at dowelmax.com
The second big issue is accuracy. Drilling the holes is easy but the sets of holes on the boards being joined must be placed correctly. In other words, the two groups of holes must align together exactly to allow the boards to join exactly where you want them. Unlike tenons and Dominos, you cannot slice away bits of dowels to allow the boards to shift. Well, you actually can do this a little with dowels but strength is reduced quickly.

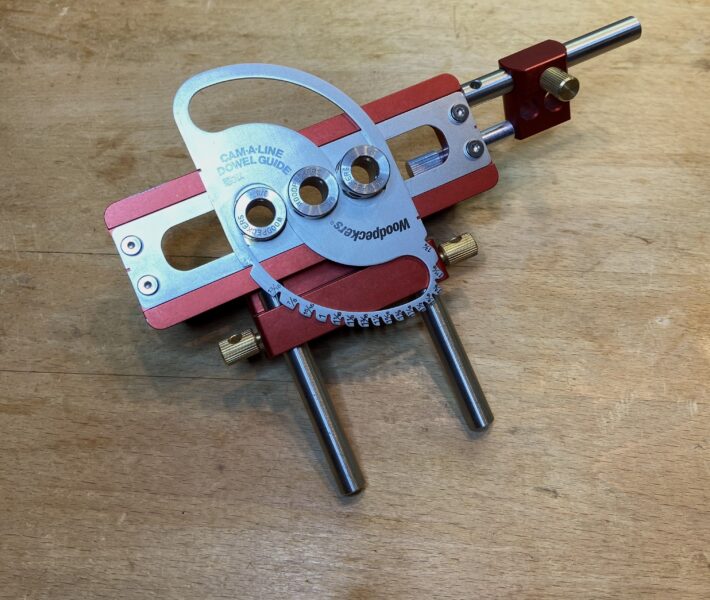
I like the JessEm jig (above) – very straight forward – and the Woodpeckers jig (below) – allows more dowel placement variation and length alignment. DowelMax jigs look great and have some nice placement and angle options. I have not used them but they have great reviews.
So, now we have covered three winning joinery systems which are convenient, strong, and make great woodworking:
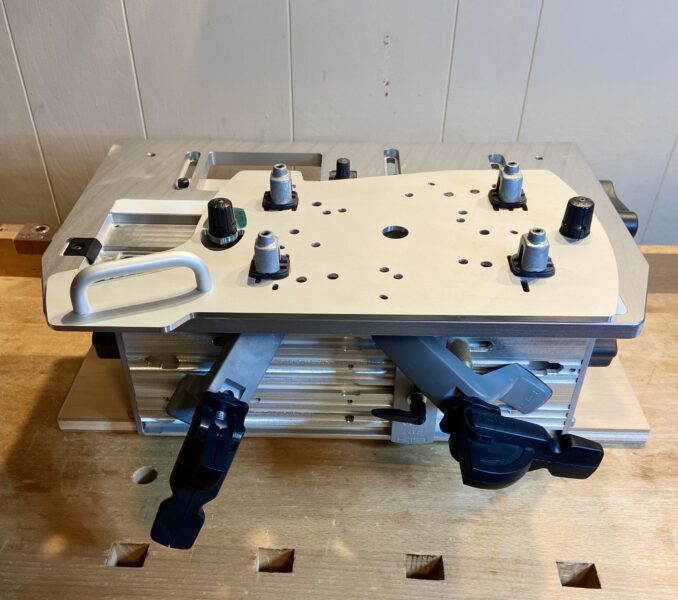
Pair of mortises with free tenon
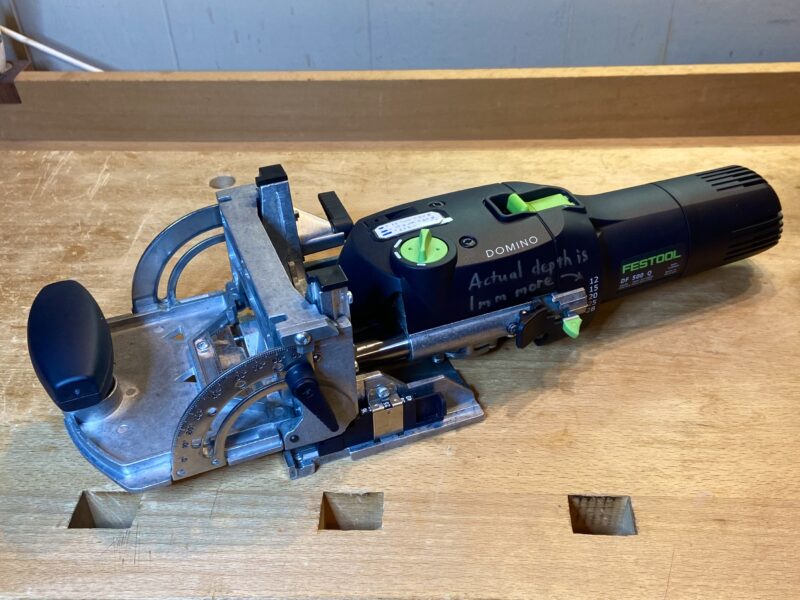
Domino
Dowel joinery
Upcoming: More dowel joint strength discussion, angled joints, biscuits, and screws. They all belong in the shop.