Archive for ◊ November, 2025 ◊

Author:
• Friday, November 21st, 2025

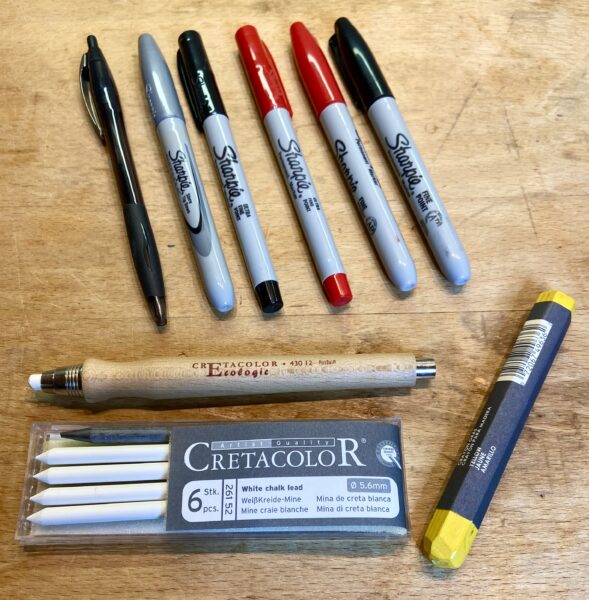
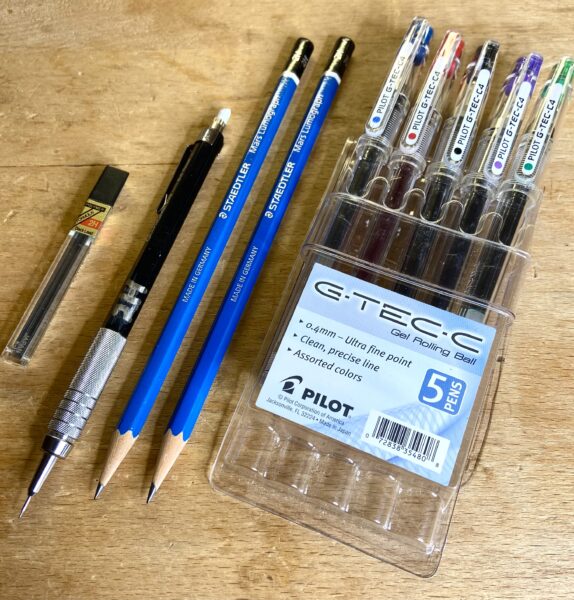
For drafting work, the 0.5mm 2H pencil lead is perfect. HB lead tends to smear on the drafting paper, making a less neat drawing and more difficult erasure. 

I use the wooden pencils, also 2H, infrequently because the point easily enlarges in contact diameter. That interferes with the precision of the drawing, especially in small places. Note that they come without erasers. 

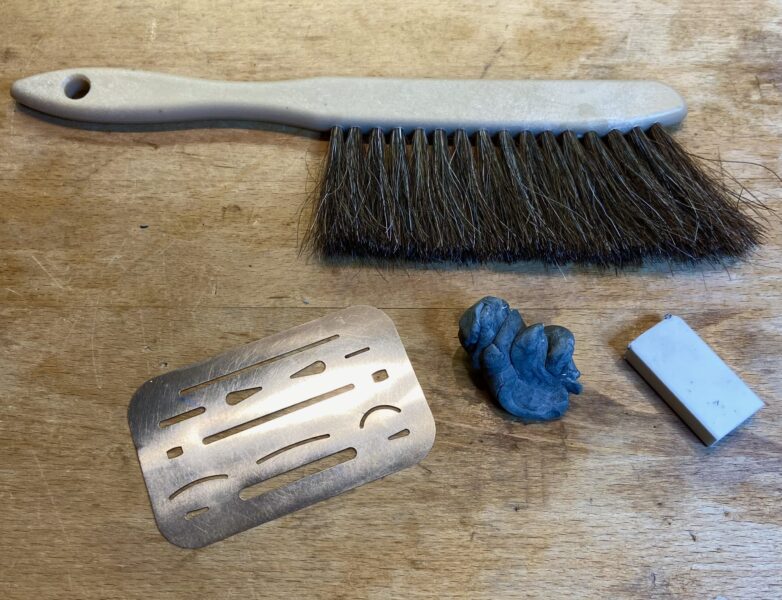
Sometimes I will use the small eraser on the top of the mechanical pencil, especially in tiny areas to erase. For most erasing, I use the white polymer/vinyl rectangle. It erases more easily than the grey kneaded eraser but it does make particle dust. That needs to brushed away with the soft, light brush. You can blow away the dust but it is a pain in the neck to get rid of it all. The same goes for just brushing it away with your hand. 

The thin aluminum eraser shield is a must. You cannot get close enough to the retaining line without it. 

The ultra-fine 0.4mm gel rolling pens (Pilot) are for those occasional times where you want to go directly over the main pencil lines to finalize a drawing. (Of course, there is no going back!) This will make it easier to see the main components as it is hanging on the board in front of the workbench.

Well, these three posts cover just about all of the drawing tools you need for the shop. They are all well worth having readily available. 

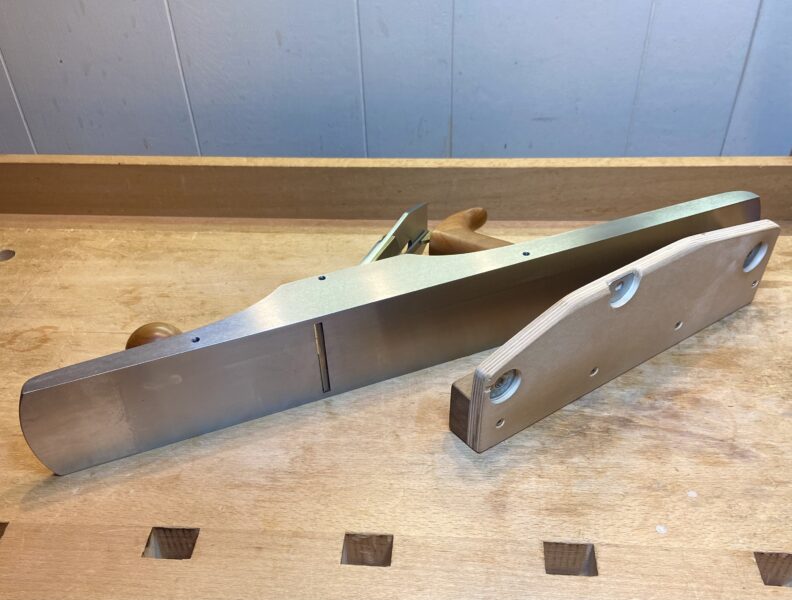
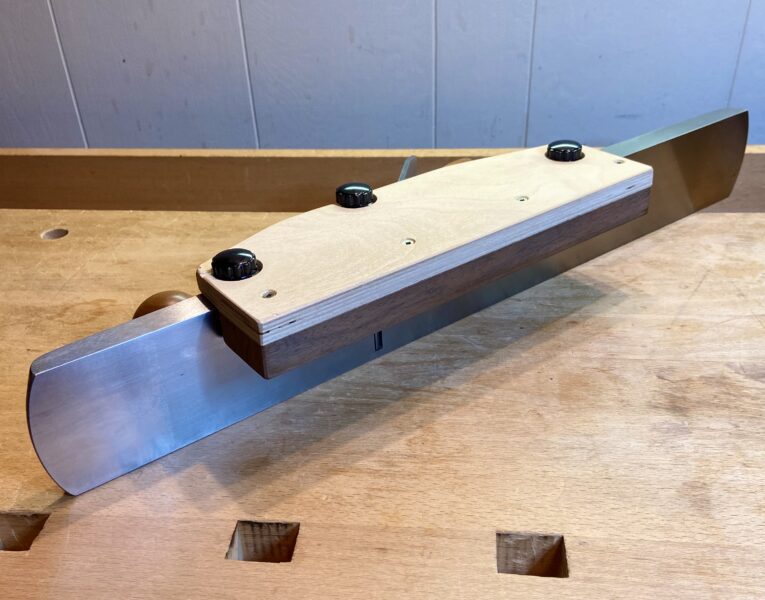
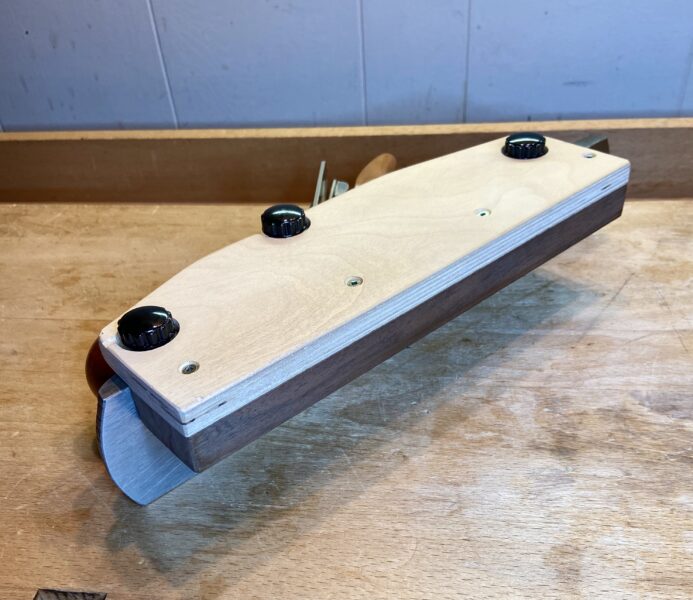
But do I draw every piece? No. A few easier ones do not get a formal drawing. Dangerous as it can be, I sometimes use only crude hand-drawn sketches. For some pieces, there are no sketches at all. The main example for that is small boxes.

By the way, with only one exception, I have never made the same piece more than once! Why? I guess I like new ideas, new designs, and new challenges

I should also add: I have use two and three dimensional programs on the computer to try designs. Despite some obvious advantages, I just have not adapted to it. It may be ahead, though for now I am quite comfortable with the pencils.

Category: Tools and Shop  | 7 Comments
Author:
• Thursday, November 20th, 2025

Now let’s go through some less commonly used writers – not actually pencils – that can help in the shop. 

First is the one with the thick lead in the wooden handle. This is the CretaColor 5.6mm white chalk lead. Plain white chalk is a decent alternative. The black charcoal lead is less useful but can help on a light surface. 

This is handy for marking wood stock with a rough size, placement, or whatever purpose – a quick way to get organized. A simple pencil marking is slower to make prominent and is not seen as well. 

The yellow Dixon “lumber crayon” (to the right in the photo) is used for the same purpose. I find it less easy and fast to put out the markings, though it is sturdier. 

At the top of the photo are some pens – go old Sharpies – and a regular thin writing pen. Only occasionally do I use these on wood. They are sometimes useful for better visibility on wood without a smoothed surface that later will be planned or sanded. Where they are very helpful for is labeling things in the shop – machines, tools, parts, etc. Easy to write and easy to see the words and numbers.

So that covers it for wood and the shop. On the next post, I will go through the set for drafting, which uses a different set of writing tools.

Author:
• Wednesday, November 19th, 2025

Pencils are tools. Nearly every project in the shop involves using them, and using the right ones for you really helps. I will explain my preferences. Of course, yours may differ but hopefully the lists in these posts will be of value. 

The list starts with a good-old #2 (neutral HB lead) hexagonal wooden pencil with an eraser. (Dixon Ticonderoga is my long-time favorite.) This type of pencil looses sharpness quickly with woodworking but is faster and easier to sharpen with a little battery machine. I use it for basic layout, marking the correct sides, edges, and directions, etc. It helps to have red and white ones handy for certain woods, and to distinguish different marking tasks. Neither color writes as well as the #2 HB. 

You may like and prefer the carpenter’s flat pencil. (We are called woodworkers, not carpenters. This is with all respect to both.) The edge holds up better and follows a wood edge well. I have found more precision and instinct with the #2, but give them a try for your own preference. 

Separate erasers? No need if you do not make mistakes. (That was a joke. Laugh.) The pencil eraser fades quickly, so I like the white polymer/vinyl rectangles (at the left in the photo row). The gray art drawing kneaded eraser does not work very well on wood. (It will come up in the future post regarding drawing design.) The dark yellow piece of crepe rubber (at the right in the photo) is very occasionally used for erasing a coarse line in rough-surface wood. 

Now let’s look at more detailed marking. The mechanical pencils work very well with consistent, precise lead. The 0.5mm HB lead does the job most often. If I want even finer lines, the 0.3mm HB lead works with care, but it does break very easily. This can be avoided by pushing out just a short length. The pencils come with lots of extra leads, as well as erasers for the pencil and separate hand-held erasers.

Coming next, we will go through some non-lead writing tools that can play useful roles in the shop and at the hunt for new wood. 

Author:
• Wednesday, November 05th, 2025

Here is the shop-made fence that I have been using since well before the current manufactured versions became available. It works very well for planing a board to a straight, 90° edge. Here is how to make it.

Start with settled dry wood. I used quarter-sawn walnut with a straight, even grain. It is 11” long, 1 3/4” wide, and 3/4” thick. 

This 3/4” thickness of the guide will center the plane blade of a 2 3/8” wide (14” long) jack plane on a workpiece 7/8” thick. For a 2 3/4” wide (22” long) jointer, the blade is centered on a 1 1/4” workpiece. A better compromised wood thickness for the guide would be about 7/8”. That would center the blade on 5/8” work with the jack, and 1” work with the jointer.

However, the guide wood thickness does not need to be precise. Here is what is important: The jack or jointer blade edge should be correctly exposed in its width. The edge of these blades should be sharpened to extend very slightly more in the center than at the sides. Thus, set up the blade exposure so the cutting edge is very slightly more at the center of the workpiece width, and less at the sides of the workpiece width.

Ok, back to making the guide. See the photos. I used a piece of flat, high-quality, 11-layer, 1/2” thick plywood to attach to the guide wood with four screws. It is 3 3/4” wide, angled at the top edge. There are three 1” wide, 3/16” deep holes at the top to accommodate steel washers, glued in. Corresponding #10-24 1/2” thumb screws pass through the holes and screw into 10-24 drilled and taped holes in the plane wall. 

It takes careful but not difficult work to set up this attachment system. It does no damage to the plane wall if set up properly. 

There are a couple of very shallow, 1/8” wide slots in the top of the guide wood to accommodate the exposed cutting edge in the jack and jointer. 

Additional note: With the new fence screwed onto the plane, check for square between the fence and the bottom of the plane. Carefully plane/scrape the outer face of the guide wood to get it perfectly square to the plane bottom.

To make accurate plane cuts with the guide, it is all about using your hands, shoulders, and body weight. (Assuming you sharpened the blade nicely!) The right hand pushes the plane with the index finger usually extended. The left hand lays over the side of the guide with the thumb at the top and the four other fingers and palm heel keeping it snug against the wood work. 

At the start of the cut, the left hand thumb and palm heel can apply some pressure to the front of the plane. Then, in the long middle range of the cut, both hands keep light pressure over the whole plane. Finally, the heal of the right hand presses down at the curved lower part of the plane handle at the last part of the cut.  

Well, I made this guide tool years before there were factory-made metal guide fences available. If you prefer, check out the several different plane fences made by Veritas: Jointer Fence, Bevel-up Jointer Fence, Technical Fence, Universal Variable Angle Plane Fence, Variable Angle Fence for Veritas Bench Planes, and Variable Angle Fence for Veritas Rabbit Planes. That is certainly more versatility than the basic guide that I show you here, but I still use mine after 40 years for 95% of my edge planing. 

Now you have options. I do suggest to avoid doing the precise planing task without a guide. 

Enjoy the work!