Have my techniques in dovetailing changed? Yes, of course. Many of my shop techniques do indeed change over time. I like to refine, alter, and upgrade most skills.
For dovetails, I adopted important techniques from the outstanding David Barron. He has 51 videos on YouTube at David Barron Furniture. Many are directly for dovetail skills. His skill and precision are welcoming and enjoyable.
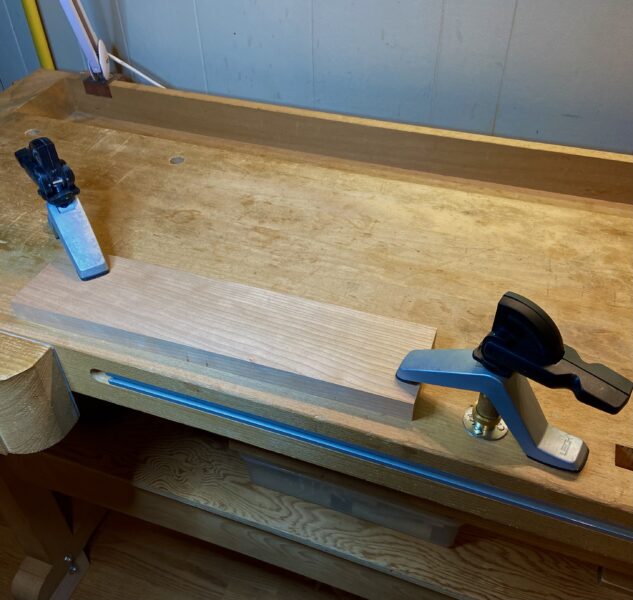
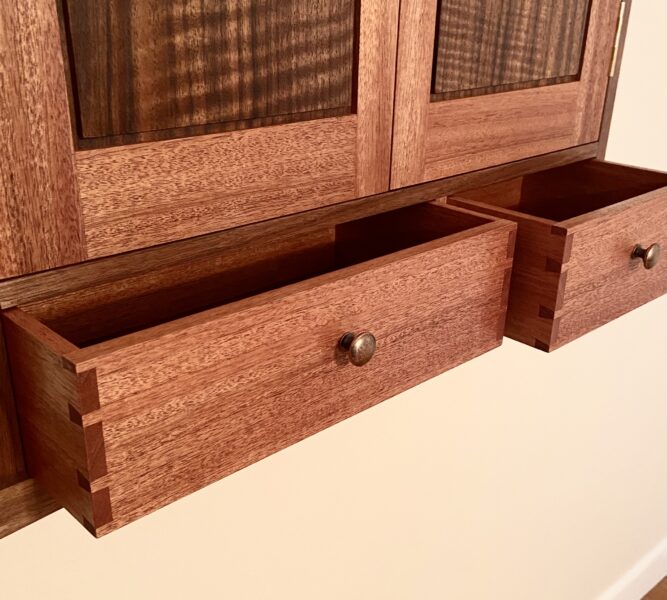
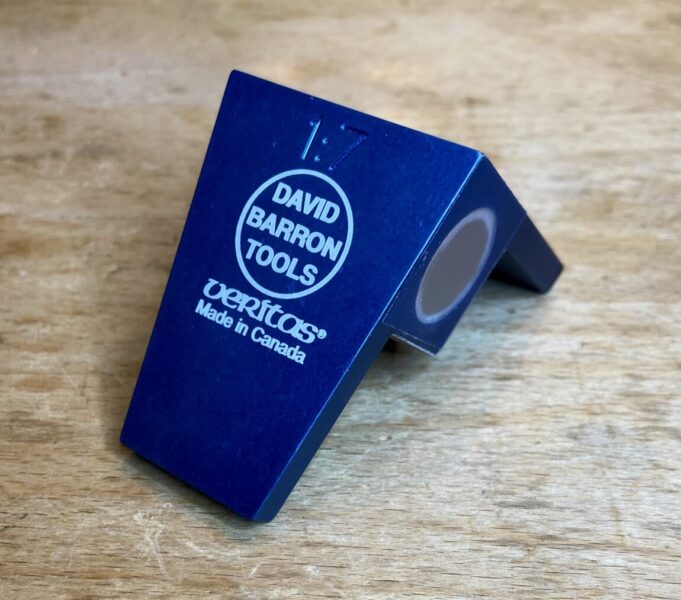
I have used some of his techniques in the past half-year for drawers and boxes. This mainly involves his magnetic saw guide. It makes sawing dovetails easier and more reliable than anything else I have tried. They are available online at Highland Woodworking and at Classic Hand Tools (England). Options available are 1:4 through 1:8, as well as 90° and 45° guides.
With the saw guide, and with some of the steps he recommends, I can dovetail in a more controlled and relaxed manner than ever before. Thank you, David!
By the way, please check the link “Dovetail Guide” at Series Topics on this website for a 44-page mini-book written entirely by me several years ago for the former version of Craftsy. Naturally, as usual, I have changed some of the techniques along the way, but there remains lots of worthwhile material for you.
So, here is my point: as skilled as you may be, or as much difficulty as you may have, go ahead and be persistent, brave, and joyful in the wood shop. Life deserves it.