Tag-Archive for ◊ handles ◊

Author:
• Wednesday, May 05th, 2021
wooden drawer handle

Here are some thoughts on handle design that I hope you will find useful for your work.

We experience several aspects of woodwork at once – design, spatial sense, texture, color, sound, smell, style reference, etc. A hand-friendly handle can be a significant addition.

Exotics such as the Macassar ebony, above, are my favorites for handles. They finish beautifully and wear well. Note the stand out from the surface of the piece. This avoids finger grime from building up on the surface of the woodwork.

I almost always want a shape that is directly consistent with the design of the piece. In fact, the curves and proportions of the piece tell me how to shape the handle. I rarely want to introduce a new theme in the handle, though that might work more often for designers more talented than I.

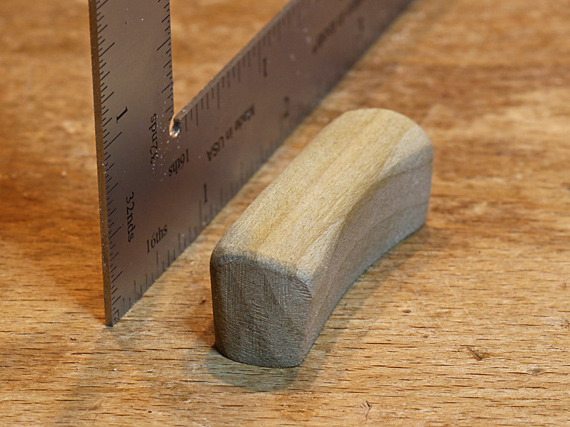
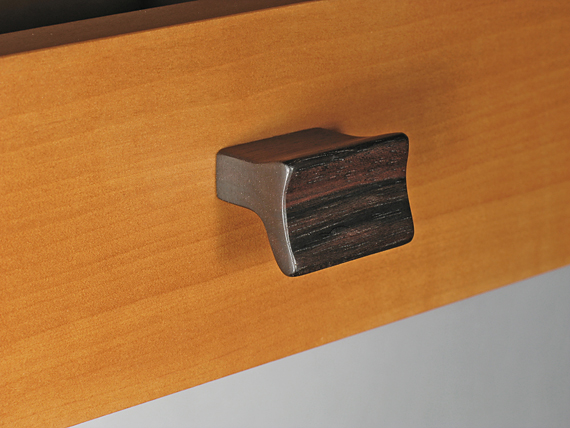
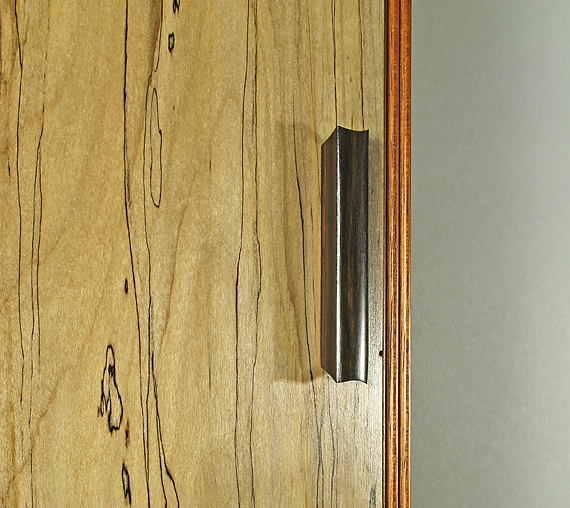
The cabinet handle below is shaped much like the cabinet itself. The hard edges on the top will not be grabbed but the hard edges on the sides have a nice feel, especially since the sides are undercut. 

wooden cabinet handle

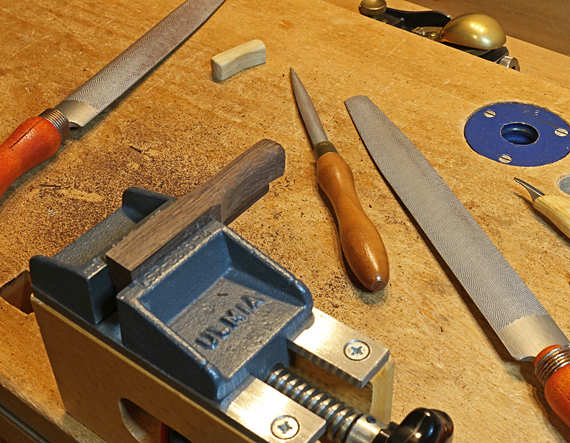
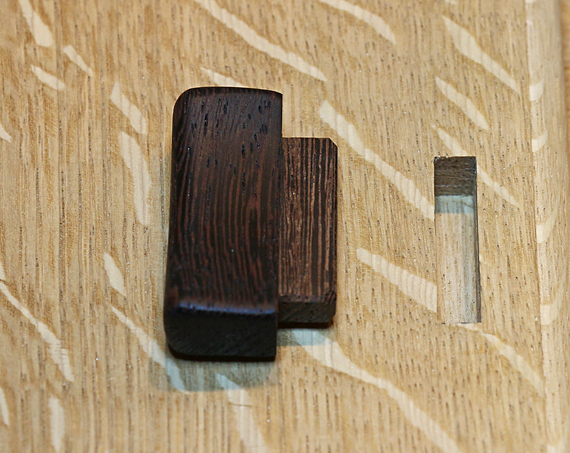
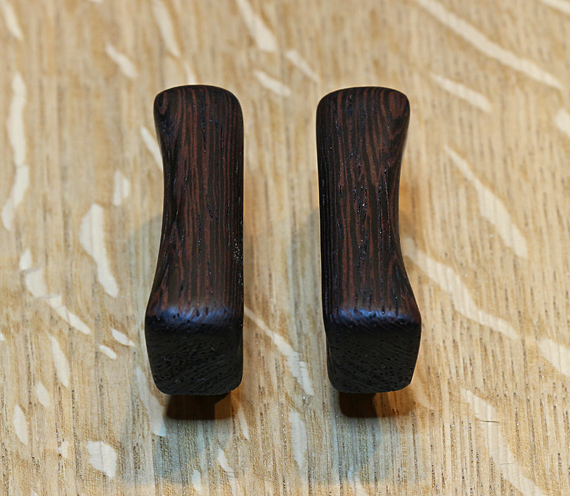
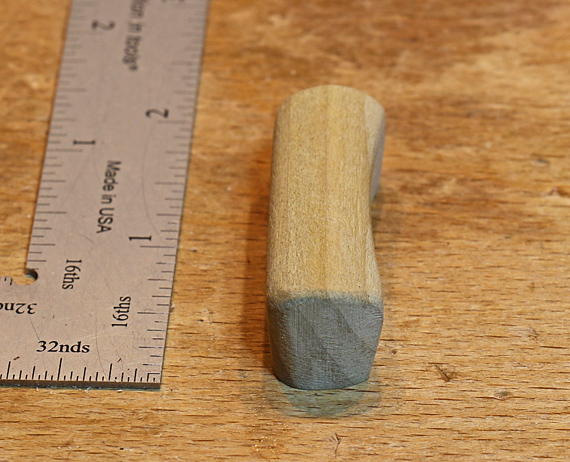
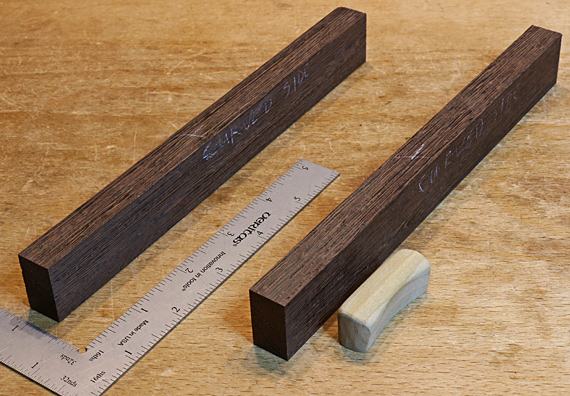
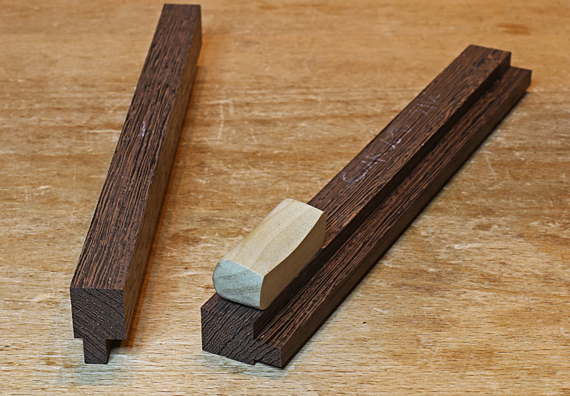
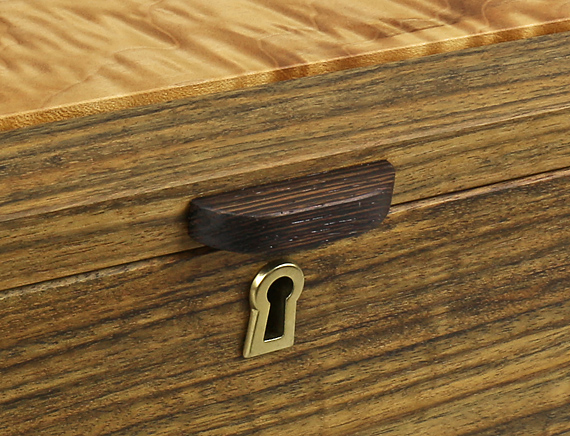
Below, the very simple small chest handle in wenge is in keeping with the simple design of the piece that relies mostly on the beauty of the wood, pleasing proportions, and the joinery for interest. The underside of the handle is slightly hollowed to make for a nice finger grab.

wooden box handle

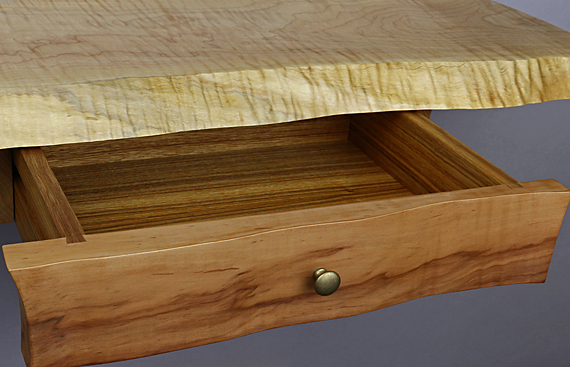
Below, this wall shelf with a side-hung drawer has so much going on with the wood species and figure, plus the undulating surface on the drawer front, that any further statement from the handle would be too much. The simple brass knob fits the bill.

metal drawer handle

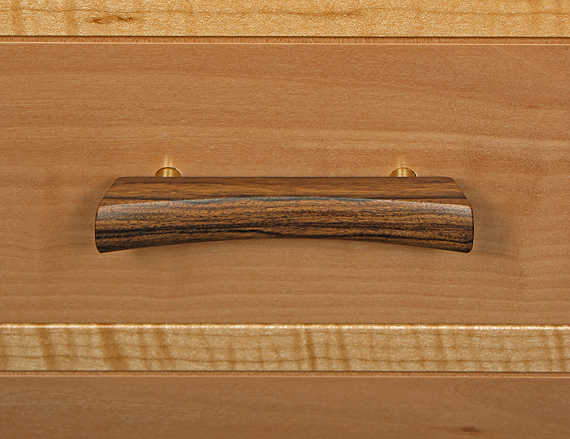
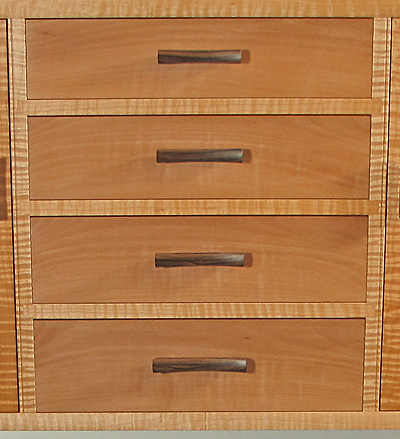
This drawer handle, below, in Honduras rosewood, borrowed shamelessly ripped off from a design by Michael Fortune, also fits with the gradual curves of the cabinet. (Hey, I did add the bowed front, which made it a lot more difficult to make.) Speaking of “borrowing,” I will be nothing but flattered if you borrow any of my designs shown here.

wooden drawer handle

The length and bulk of the handles are graduated to be consistent with the graduation in drawer sizes. Yes, that took a lot more work.

graduated drawer handles

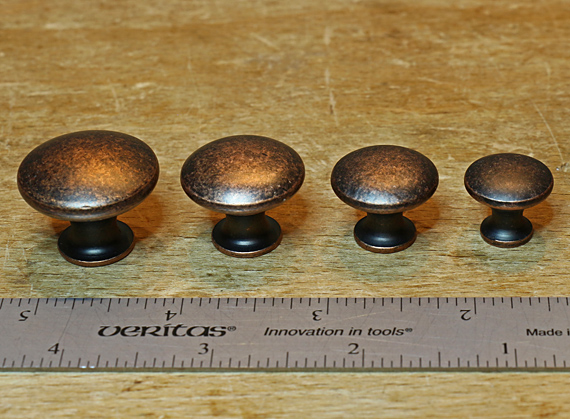
Lee Valley offers graduated-size metal handles in a variety of finishes.

graduated size knobs

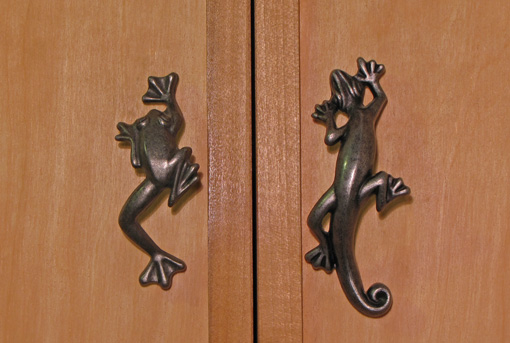
Finally, sometimes it is fun to introduce something different, such as these manufactured handles, which have been on my tool cabinet for a very long time. 

metal cabinet handles

Give it a try – enjoy enhancing your work with custom handles. Keep in mind too, that thoughtfully selected manufactured handles also can go a long way to add to your woodwork.

Category: Techniques  | Tags:  | 4 Comments
Author:
• Tuesday, May 04th, 2021
making wooden handles

When sculpting the handle, keep the workpiece large for as long as possible. Of course, at some point you will have to cut loose the handle itself but the work becomes more difficult on the smaller piece, which may be impossible to clamp. 

Decide early on if you want a knife-cut finish or a smooth, sanded finish. Work for a good appearance but also keep testing the feel of the handle.

wooden cabinet handle

The finished handle in wenge is shown above mocked up on a piece of white oak scrap. (The scrap was used to test an edge profile; it is not a door). Note the hollowed left side and that the curved right side is also sloped toward the door. These features make for a pleasant grab by the thumb and first two fingers.

A hand-friendly handle does not necessarily mean that all the edges must be softened as they are here. Sometimes a distinct edge or corner feels right.

Create shoulders on the end of the tenon. The mortise, created with a shopmade slot jig for the router, is 1 1/4″ long and 3/8″ deep. 

mortise for handle

Here is the pair of handles.

pair of wooden handles for cabinet

Next: designing handles for your woodwork

Category: Techniques  | Tags:  | 2 Comments
Author:
• Friday, April 30th, 2021
handle mock-up

Like most furniture makers, I am not a sculptor, artist, or serious carver. However, I do want interesting handles to truly enhance the woodwork in which I have invested so much time and effort. With few exceptions, generic handles just will not do. 

I will first discuss how I make handles, step by step, and later consider design. The goal here is to transmit a practical approach to making unique wooden handles accessible to most any woodworker. For much more on designing for woodworkers, see this extensive series

1. Sketch

I sometimes start by briefly drawing ideas on paper but sketching on a small block of wood is the principal starting point. The wood gives me a better sense of size, partly because I am holding the wood as I sketch, and it is, after all, a handle that I am making. There are two requirements for sizing the handle: it must coordinate with the woodwork (drawer, door, etc.) and with the human hand. Use an easy-working wood like poplar or pine. 

2. Mock-up

Once I have a decent three-dimensional sketch on the wood, I hack away at it with carving knives, rasps, and a coping saw – whatever it takes. Here again, it is not only appearance that is developing but also hand feel. CAD is not the answer here. Like all mock-up work, this should be a relaxed, fun process with some happy anticipation. Maybe you will be lucky on the first try or maybe it will take a several tries. No problem. And the last mock-up does not have to be perfect or great. For example, you might end up with something like: “It’s good except just a quarter inch longer and a bit thinner.”

The finished handle is going to look a lot better but this mock-up will do for now.

mock-up

3. Analyze 

Now I analyze the mock-up to decide on a wood species and the specific section of a board to be used. Further, I figure out how to machine blanks from which the handle can be efficiently produced. At this point, I also decide on the joinery – usually a tenon – to attach the handle, and how to make the joinery as I machine the blank.

handle blanks

Above, each wenge blank is about 8″ long, wide enough to allow the handle to be shaped from it, and tall enough to incorporate the tenon. The extra length allows for safer machining, easier handling later when shaping, and mistakes. 

4. Machine the blanks

The offset tongues, produced on the router table, will later become tenons. Use whatever your good judgment indicates at the router table, such as featherboards, push blocks, etc. If you have enough wood, work the tongue near the edge of a board, then rip away the blank, but think ahead to end up with nice figure for the final handle.

The key is to essentially make the joinery now. These tongues are a precise barely fat 1/4″ thick. 

blanks with tenon

Next: Sculpting the handles to look and feel good.

Category: Techniques  | Tags:  | Comments off