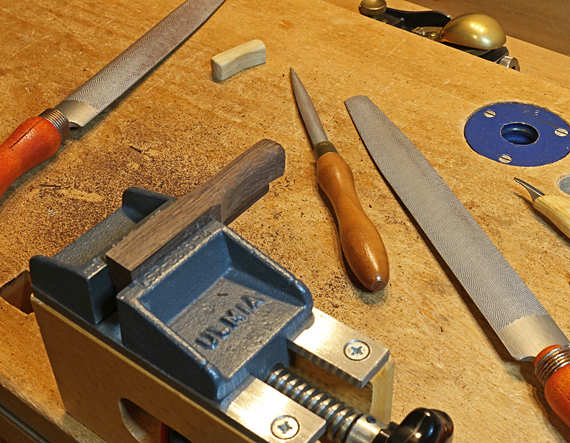
When sculpting the handle, keep the workpiece large for as long as possible. Of course, at some point you will have to cut loose the handle itself but the work becomes more difficult on the smaller piece, which may be impossible to clamp.
Decide early on if you want a knife-cut finish or a smooth, sanded finish. Work for a good appearance but also keep testing the feel of the handle.

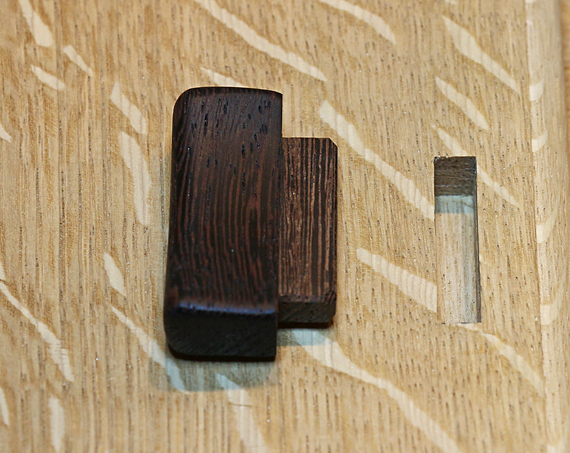
The finished handle in wenge is shown above mocked up on a piece of white oak scrap. (The scrap was used to test an edge profile; it is not a door). Note the hollowed left side and that the curved right side is also sloped toward the door. These features make for a pleasant grab by the thumb and first two fingers.
A hand-friendly handle does not necessarily mean that all the edges must be softened as they are here. Sometimes a distinct edge or corner feels right.
Create shoulders on the end of the tenon. The mortise, created with a shopmade slot jig for the router, is 1 1/4″ long and 3/8″ deep.
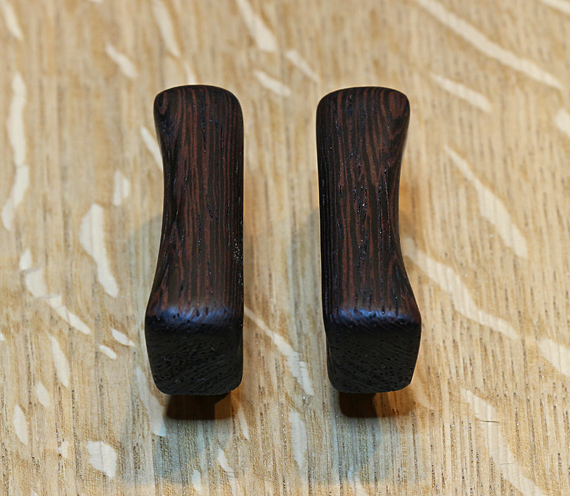
Here is the pair of handles.
Next: designing handles for your woodwork

With such handles, do you routinely apply with only glue and not screws nor wedges?
I glue the mortise and tenon. The joint is stronger in shear than the wood of the door itself. No screws or wedges needed.
For an exception, please see the third post in this series. The drawer handle with the brass posts (actually tubes) is screwed from the back.
Rob