This discussion primarily applies to PVA glue, which most woodworkers use for these joints. I prefer Titebond III for its relatively long open time, ease of use, and dependability. Alternative glues with longer open times include special slow-set PVAs or liquid hide glue.
The gluing process
Speed is paramount. It is absolutely imperative that the thin layer of glue not start to skin over or stiffen. This can result in a weakened joint and/or a glue line that is too thick. I suspect this is one of the main causes of failed edge joints and cosmetically poor joints.
A good glue up requires a rehearsal – it is worth the time. Dry clamp the boards, working out clamp placement and distribution, and examine the joint. When readying for the glue up, prepare the clamps open to the correct length. Rehearse how you will hold and move the boards for glue application. For example, the middle of a three-board panel needs glue on both edges. How will you support it for gluing the second edge?
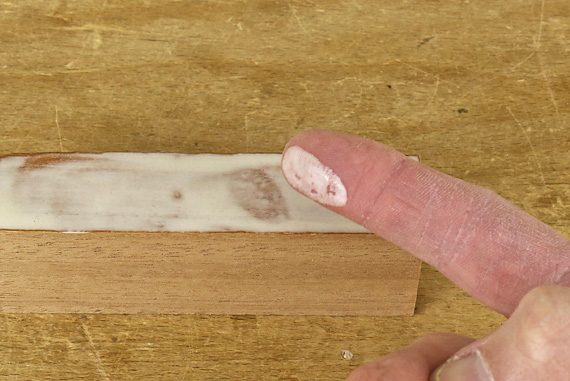
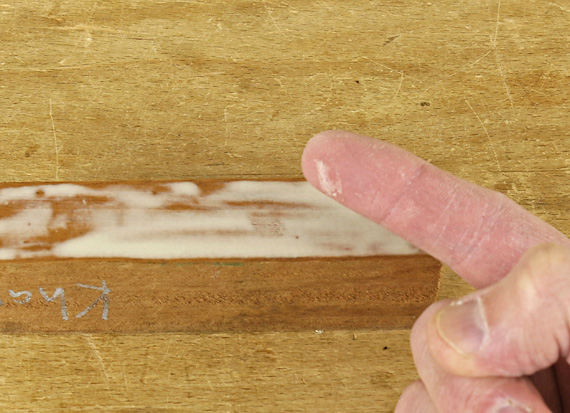
Again, if the glue skins over at all, you lose, so when it’s game on, move fast! In the first photo below, the glue is good to go but the glue that is partially skinned over and stiffened in the next photo will produce a failed joint.
Applying glue to both sides of the joint ensures good wetting and equal penetration on both sides of the joint. Set up two edges side-by-side and work on both at once. First, put a modest amount of glue in the biscuit slots where its bulk will delay skinning over. To apply glue to the joint surfaces, I run a bead directly from the bottle and then spread it out to the edges with a brush or roller. Using my finger to spread the glue seems inevitably to transfer glue to somewhere I don’t want it.
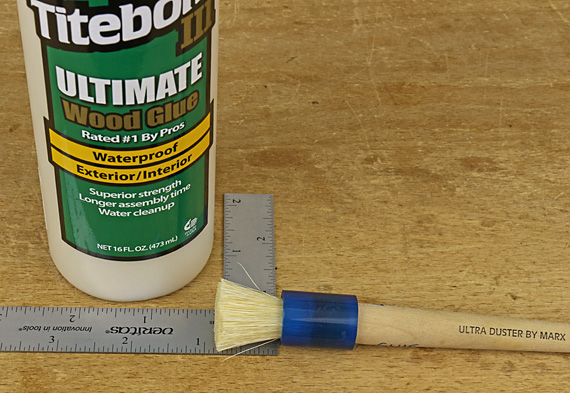
I like the inexpensive hog-bristle brush available from Tools for Working Wood but I crop the 1 1/2″ bristles to about 7/8″ (see photo at top), which allows me to push the glue faster using it nearly upright. Flux brushes are a poor substitute as they cannot spread the glue as fast and shed bristles on the work.
Squeeze out
I aim for light squeeze out along the full length of the joint, trying to avoid dripping. In theory, one could apply the perfect amount of glue that is just short of producing any squeeze out but then when you assemble the joint and see no squeeze out, you would not be sure if there is just the right amount of glue inside the joint or too little. Thus, squeeze out is simply assurance that you have applied enough glue and as such, there is no point in making it excessive.
As for removing glue squeeze out, I prefer to wait until it is rubbery then lift most of it away with a sliver of wood cut to a chisel edge. Then I spot remove most of any remaining glue with a wet rag that is more than damp but less than drippy.
I recall reading somewhere that removing the squeeze out before it fully dries can cause the outside of the glue line to dry faster than the interior and thus produce a tiny gap on the outside. There may be some truth to this as I have infrequently observed a hint of gapping early on after clearing the squeeze out but it has never persisted in a well-made joint. Therefore, and also because removing substantial fully dried squeeze is a hassle and can chip the wood, I keep it practical and don’t worry about this issue.
Next: Finishing up, a summary, and a thought.
