It pays to have a wide repertoire of options to hold wood in place while working on it. Here is a very simple, albeit unoriginal, device that can be used in conjunction with many of the other methods discussed elsewhere on this blog.
The idea for these planing stops came to me from a version made by Veritas. The adjustable feature of the Veritas is nifty, but I have an inhibition about forcefully pushing my planes toward large pieces of metal, even aluminum. The shop-made version is super-simple, super-cheap, and wooden.
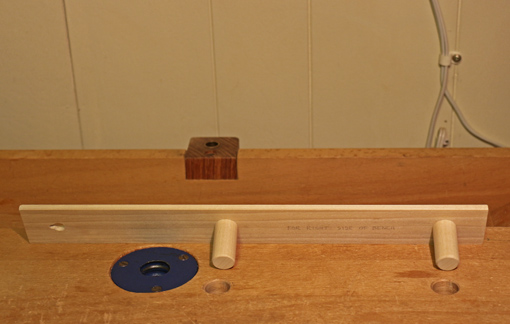
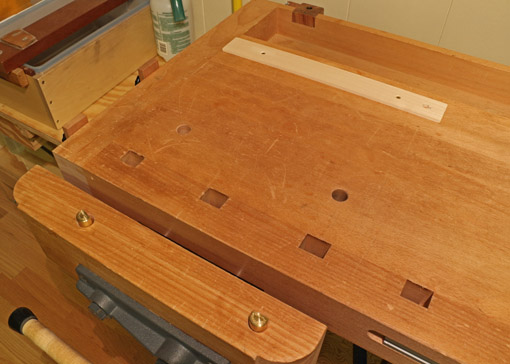
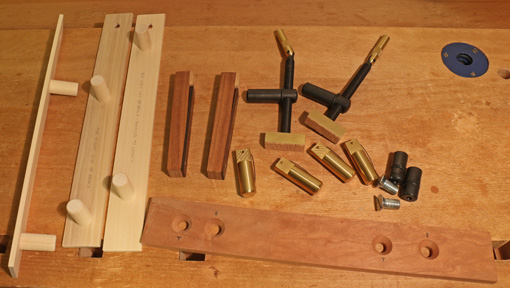
These are made from 15″ x 1 3/4″ x 7/32″ poplar with 1 /1/2″-long pieces of 3/4″ dowel attached with brass screws, deeply countersunk. I spaced the dowels to accommodate the holes in my workbench. If I had great forethought several years ago when boring those holes, each pair in both directions would be separated by a constant distance. As it is, I had to make three planing stops, each with a different dowel spacing, to make full use of the hole patterns. This is not a problem because I want to have a few stops in any case.
The low profile of these stops allows their use with thin workpieces but is still sufficient to secure thicker boards.
For planing along the length of a board, two dogs usually suffice to secure the wood. However, vigorous planing with the scrub or jack, working diagonally or directly across the board, tends to dislodge it. A third stop is very helpful in these cases. Similar situations often arise in random orbit sanding, routing, and carving. Workpieces that have curved edges, live-edge boards, finished drawers, and wide panels also can thwart the simple two-dog work holding system.
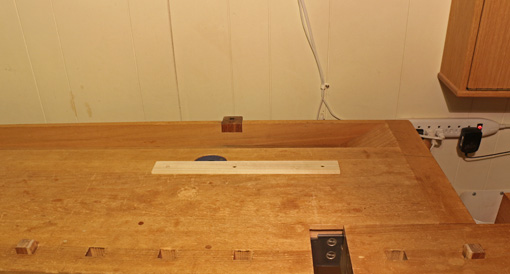
The photos above are at the right side of the bench with the tail vise and wooden bench dogs. (The blue Record holdfast hole is not involved in this system.)
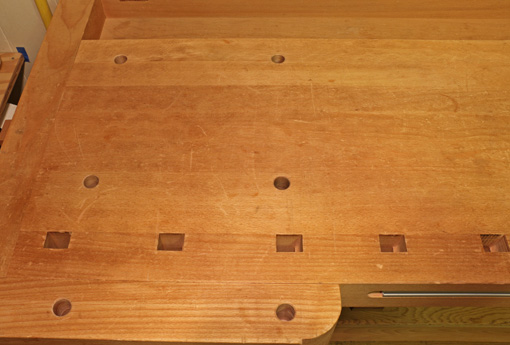
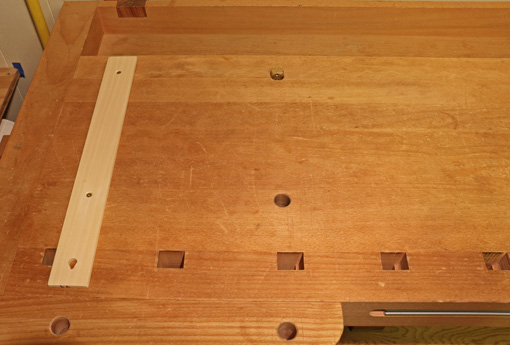
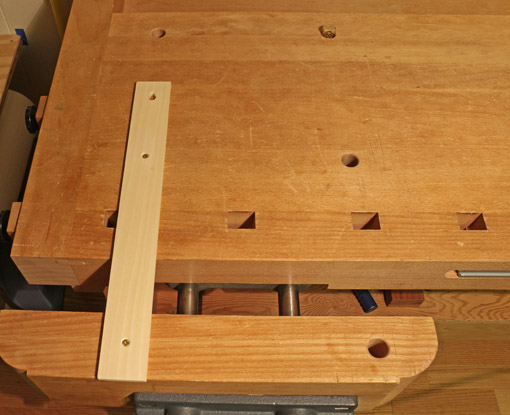
Below is the hole pattern on the left side of the bench. Following are some of many possible configurations of planing stops, Veritas Bench Pups, and bench end stops.
Here the planing stop is set up as a simple end stop, assisted by a single Pup:
Here, Pups in the front vise and the two stops at the end of the bench work with the planing stop:
Yet another variation, to put work further outward:
With all of this gear, something can probably be worked out to manage just about any work piece on the bench top:
Addendum:
Before settling on this version, I experimented building an adjustable version using different types of screws with the heads projecting from the tops of the dowels. The heads would then run in a T-slot in the stop piece. This would make the dowel positions adjustable like the Veritas version.
It became too finicky for my taste, especially since I wanted to keep the stops less than 1/4″ thick so they could be used for panels and other thin work pieces. The adjustable design can be done using a thicker stop piece. Readers may want to give it a try, but I like the thin and simple version.

Thanks Rob, great idea and something everyone can do without going out searching for speciality blacksmithed metal pieces that probably cost mor thantheir worth, or wait months to get. Hope all is well.
Thanks, Rick. I like simple.
Rob
The hole spacing comment is a great heads-up for when I turn those oak planks into a work bench!
Thanks.
LaVern,
OK, I will have saved one soul from the neglect of forethought.
On the left side of the bench, I made the pairs of holes equidistant along the length of the bench, but I should have used that distance for the across-the-bench spacing (not including the vise holes). In other words, those four holes on the left side of the bench should be at the corners of a square.
The same spacing should also have been used for the pair of holes on the right side of the bench.
Thus, one bench stop dowel spacing would fit all hole pairings.
It is best to layout the spacing and drill the holes with a simple template, rather than measuring and marking.
Good luck!
Thanks for reading. This is an example of one reason why I write the blog.
Rob